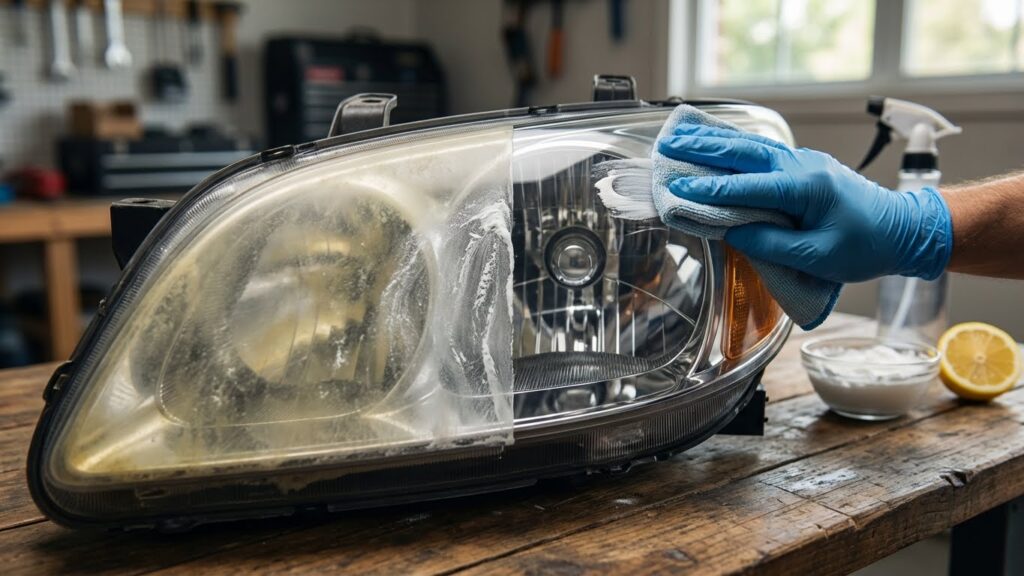
Car headlights get cloudy from sun, road grime, and oxidation, which cuts nighttime visibility and makes a car look older. Homemade headlight cleaners let us restore clarity using common household items like baking soda, vinegar, toothpaste, or mild abrasives, often saving money compared with shop products or professional services. Homemade solutions can remove surface haze and improve light output when used correctly, but they work best on mild to moderate cloudiness rather than deep pitting or cracked lenses.
When choosing a homemade method, we should focus on the lens material (plastic vs. glass), the severity of the haze, and the abrasiveness of the ingredients to avoid scratching. Protective steps like masking paint, rinsing thoroughly, and applying a UV sealant afterward matter as much as the cleaning mix itself. We tested and compared common DIY approaches to identify which are safest and most effective for everyday drivers.
Best Homemade Car Headlight Cleaner
Below is our list of the best homemade car headlight cleaner methods and kits. We tested easy recipes and simple kits so you can restore clarity without costly tools. Use our picks to pick a safe, effective option for your car.
Cerakote Headlight Restoration Kit
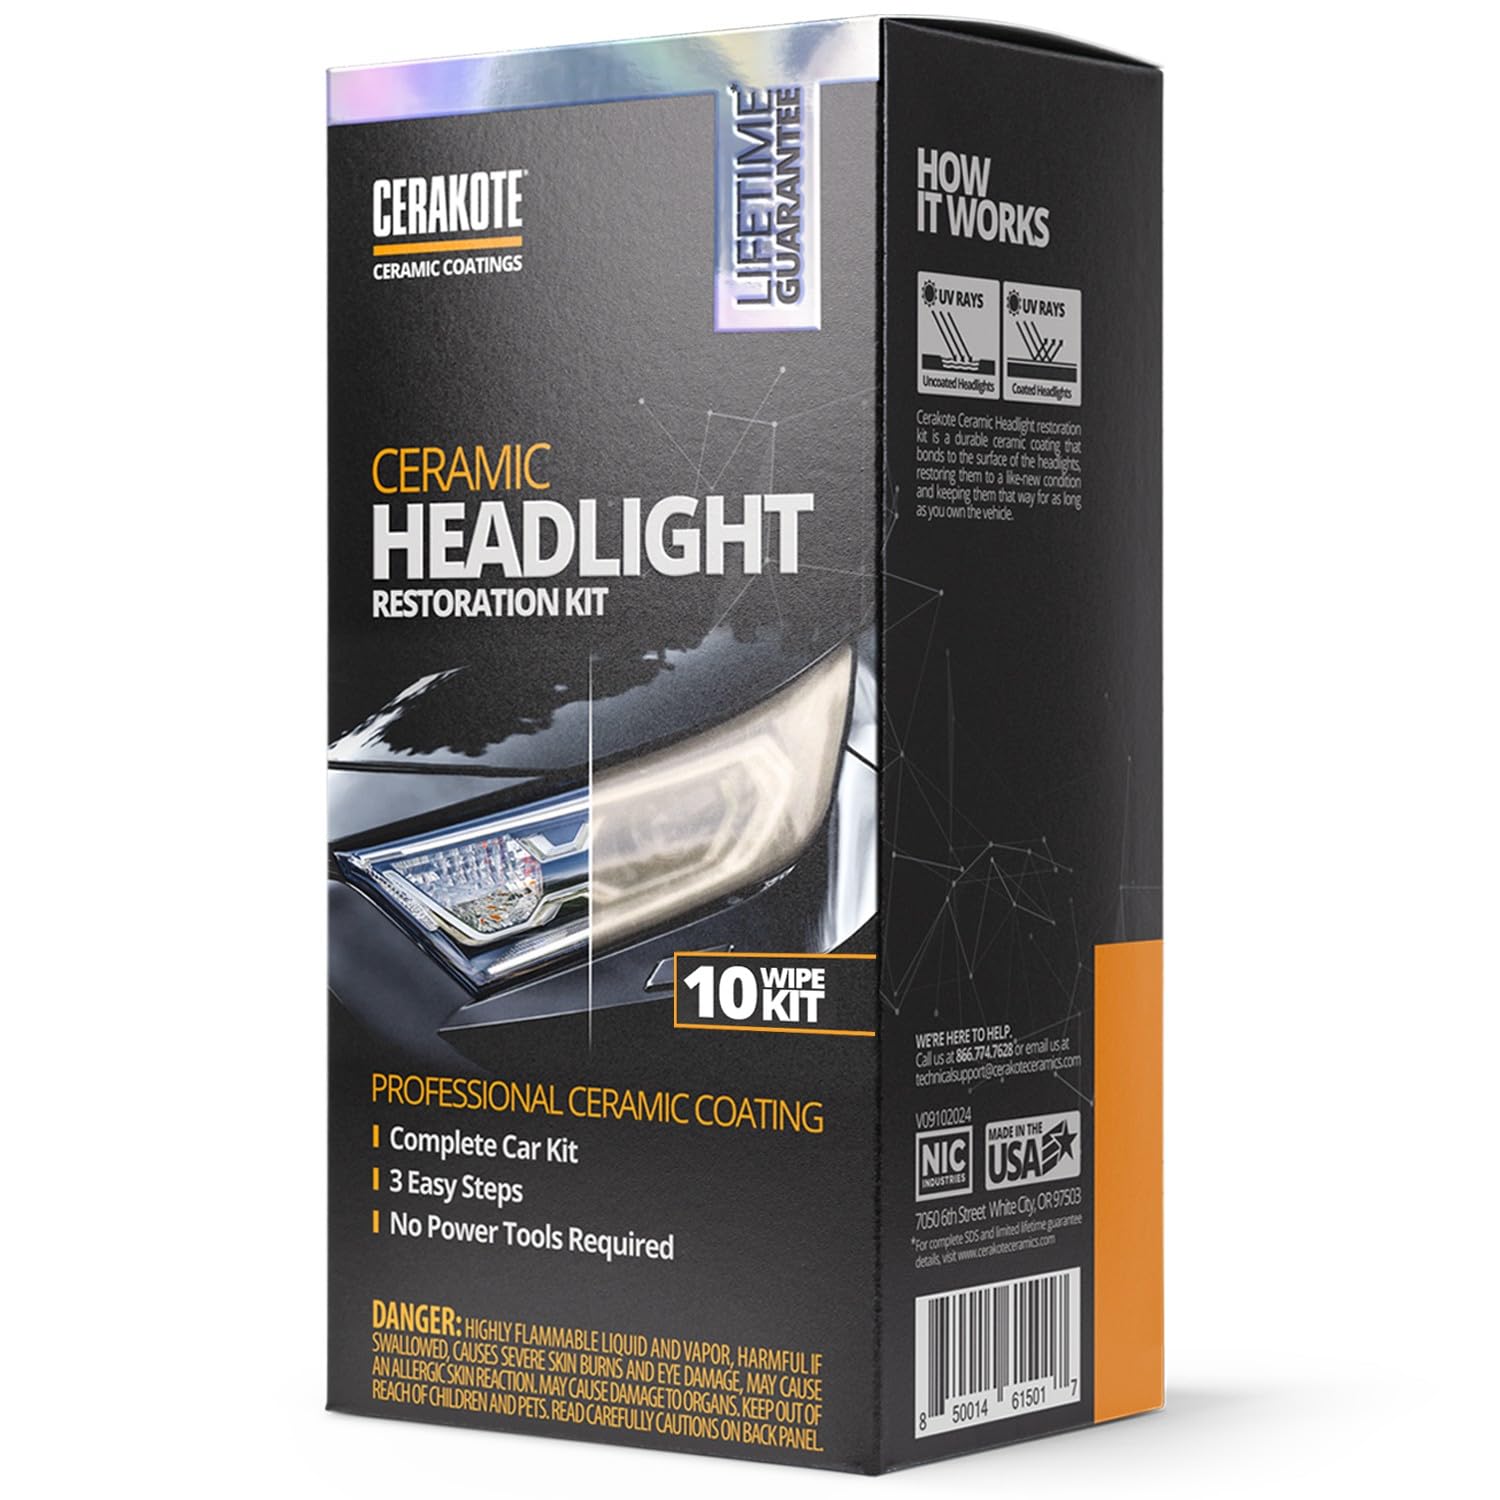
We recommend this kit if you want a long-lasting, easy DIY fix that really clears up foggy lenses.
Pros
- Restores clarity and applies a ceramic layer that seems durable.
- No power tools needed; the steps are simple and quick.
- Kit includes wipes and sanding materials for one full job.
Cons
- Very heavy oxidation may need finer sandpaper than provided.
- One kit may cover only one vehicle if headlights are badly worn.
- The final cure needs time and careful taping to protect paint.
We used this kit on an older car with cloudy lenses and saw a clear difference after the three steps. The oxidation-removal wipes cut most of the haze, and the sanding smoothed rough spots that the wipes missed.
Applying the ceramic wipes felt straightforward and left a smooth finish. We liked that the coating claims long-term UV protection and felt solid after curing, though we let it sit longer than the instructions to be safe.
A downside: the included 2000-grit sandpaper did not remove very deep yellowing on one lamp, so we switched to 1500 grit from our garage to speed the job. Overall, this saved us from buying new housings and looked professional when done.
FAVIRZCE Headlight Restore Kit

We recommend this kit if you want a fast spray-and-wipe fix that restores clarity and adds a short-term hydrophobic seal.
Pros
- Works very quickly — haze and yellowing vanish in minutes.
- Leaves a glossy, water-repellent finish that lasts weeks to months.
- No sanding or disassembly; simple spray and microfiber wipe.
Cons
- Not perfect on heavily pitted or deeply scratched lenses.
- Requires dry headlights and steady single-direction wiping.
- Limited kit size may need a second bottle for multiple vehicles.
We used the bottle on an aging SUV and saw a clear difference almost immediately. The spray dissolved the foggy layer and the included towel buffed the lens to a bright shine without elbow grease.
Applying the fluid felt straightforward. We followed the single-direction wipe and the hydrophobic sheen showed up quickly, beads forming on the surface after a light rinse.
On lenses with deep scratches the result was less dramatic; it improves clarity but won’t replace sanding or a full restoration. For routine refreshes and moderate yellowing this saved us time and money.
Buy the FAVIRZCE Headlight Restore Kit on Amazon
Chemical Guys Headlight Restore & Protect
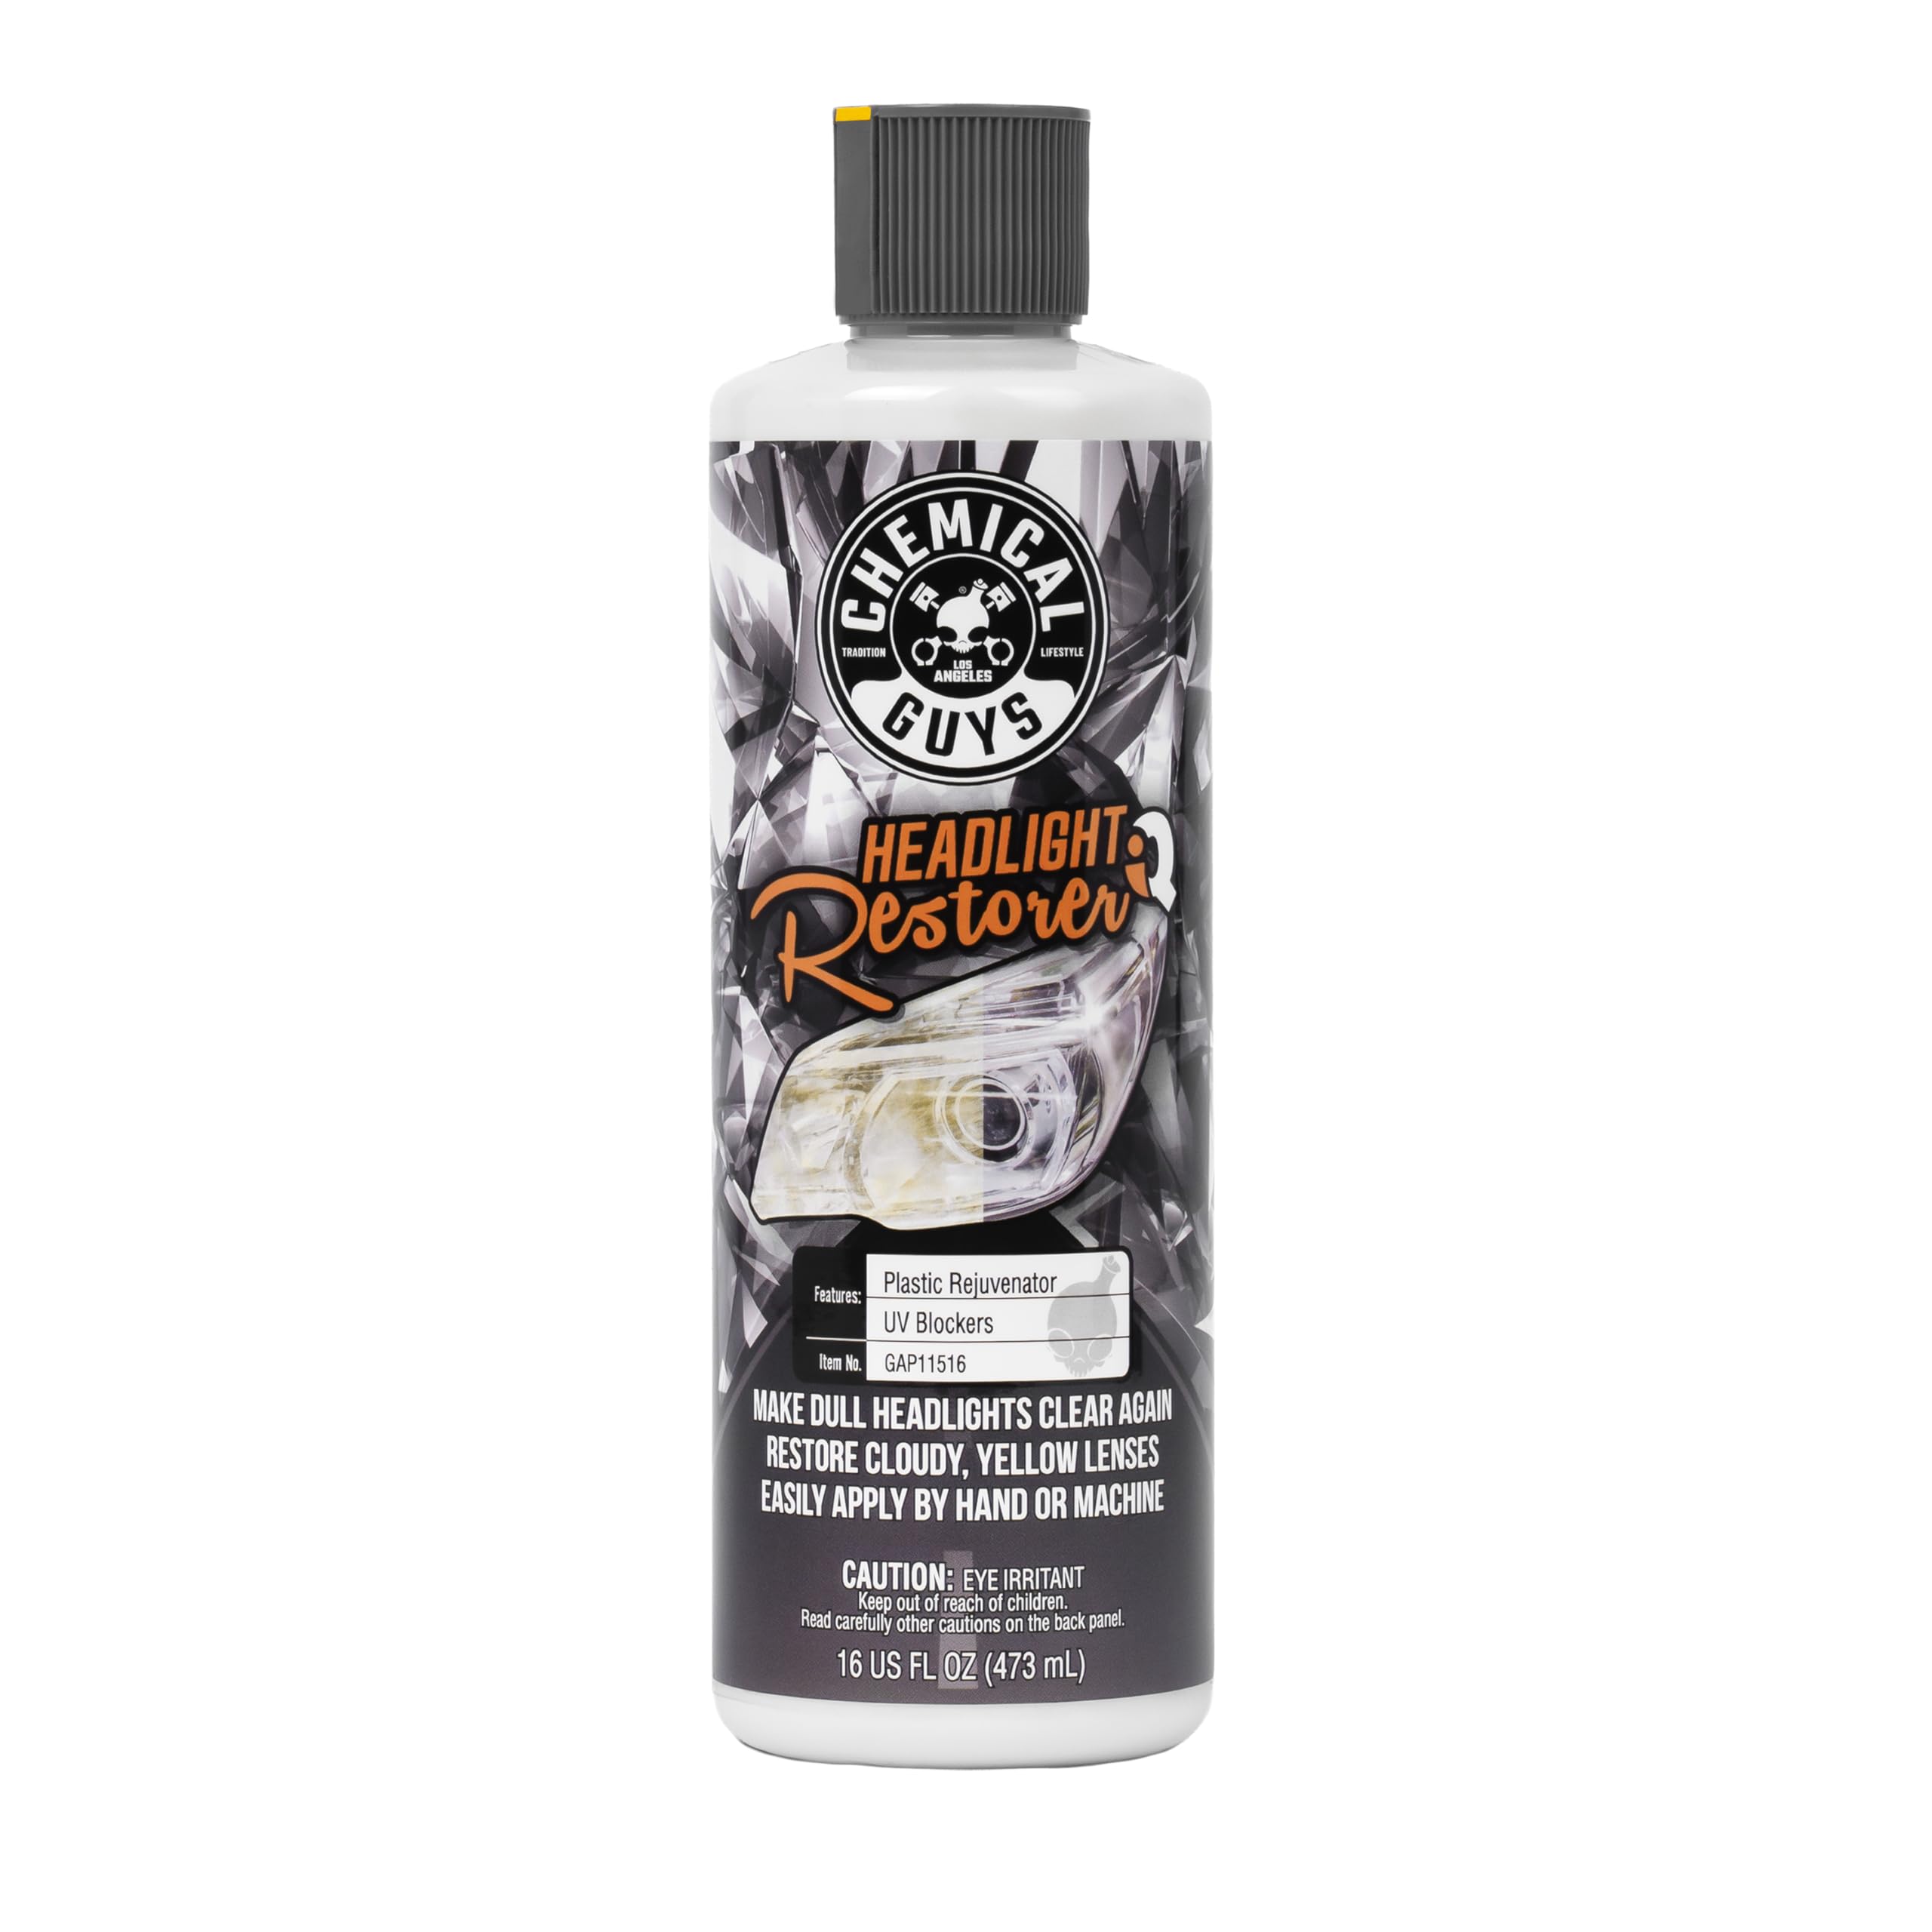
We recommend this if you want a fast, all-in-one cleaner that restores clarity and leaves a protective layer.
Pros
- Restores cloudy lenses quickly with little effort.
- Leaves a durable protective coating against future yellowing.
- Works by hand or with a DA polisher for flexible use.
Cons
- Hand application can take effort on heavy oxidation.
- Not a permanent fix; severe damage may need sanding or replacement.
- Bottle sometimes ships without a tight seal, so check on arrival.
We used this on two cars and a motorcycle. The cream spread easily and removed haze in minutes when we buffed it out. Results looked like a light polish rather than a full machine-sanded restoration.
Application by hand gave clear improvement, but stubborn yellowing needed a dual-action polisher to match the best results. The finish dried to a glossy, slightly slick layer that seemed to repel dirt and water for several weeks.
Packaging was compact and simple to store. Be sure to test a small area first and wipe off excess; when used correctly it gave near-professional clarity on OEM plastic lenses.
Toretark Headlight Kit

We recommend this kit if you want a quick, tool-free restore that seals and brightens headlights without sanding.
Pros
- Restores clarity fast without power tools.
- Ceramic-like coating feels durable and repels dirt.
- Covers three full vehicle treatments for repeated use.
Cons
- Coating is directional — you must apply in one way only.
- Protection may be temporary compared to full restoration.
- Works by sealing damage rather than removing deep pitting.
We used this kit on two cars and liked how simple the process felt. Spray, wipe, and apply the protective agent took less than an hour per car. The headlights looked much clearer right away.
The ceramic-style sealant left a smooth finish that shed light better at night. It didn’t remove deep scratches, but it hid yellowing and made the lenses look newer. Reapplying once every couple months kept results consistent.
Applying the protective agent required care; we found that stroking in a single direction gave the best, even coat. Follow the steps or the finish can look streaky. Overall, this is a good pick for fast, non-destructive headlight refreshes.
Formula 1 Headlight Restorer & Sealant (8 oz.)

We recommend this for quick, low-effort brightening of mildly to moderately cloudy headlights because it cleans and leaves a light seal without sanding.
Pros
- Works fast and is easy to apply by hand.
- Improves visibility and appearance noticeably.
- Can be used on other clear plastics besides headlights.
Cons
- Doesn’t always fix heavily oxidized or scratched lenses.
- Results may fade sooner than multi-step kits with sanding or coatings.
- Requires elbow grease for the best outcome on tough haze.
We used this on two older cars with hazy lenses and liked how simple it was. No taping or power tools made the job quick. One bottle covered both headlights with a little left over.
On a mildly yellowed SUV it brought clarity back to almost like-new with just rubbing and buffing. Heavily baked lenses on a sports car improved but still showed fine clouding; those needed sanding first. The citrus scent is mild and the liquid spreads easily on a microfiber towel.
The sealant felt protective at first, and rain beaded a bit afterward. Expect touch-ups over time if your headlights see a lot of sun and road wear. Overall, this is a good grab-and-go fixer when you want visible improvement without a big setup.
WAZNFYV Headlight Restoration Kit

We recommend this kit if you want a quick DIY fix that often restores clarity and adds short-term protection.
Pros
- Easy three-step use: spray, wipe, dry.
- Noticeable brightening on lightly oxidized lenses.
- Leaves a protective layer that helps slow re-yellowing.
Cons
- Can leave uneven finish on badly pitted headlights.
- Results vary by how much sanding or prep the lens needs.
- Some users report blotchy coating if not applied carefully.
We used the kit on two cars with mild to moderate yellowing. The spray felt thin and spread well, and the wipe stage removed surface haze quickly. After drying, lights looked clearer and brighter in low-speed night tests.
On a badly oxidized lens the product helped but gave a slightly blotchy sheen where deeper damage existed. We found better results when we did light sanding first and followed precise wipe timing. Work slowly and avoid skipping steps to reduce streaks.
Application feels simple and DIY-friendly. The protective coating seemed to hold for several weeks on our test cars, though heavy sun exposure may shorten that. Overall, the kit is a good, low-cost fix for most drivers who want to restore headlight clarity without buying a full polishing set.
Ciirvoe Headlight Restoration Kit

We recommend this kit if you want a quick, DIY way to clear yellowed headlights without special tools.
Pros
- Fast results — we saw visible improvement in minutes.
- Easy to use — shake, spray, and wipe felt simple and low-effort.
- Protective finish — headlights stayed clearer after weeks of exposure.
Cons
- Not perfect on heavily pitted lenses — deep damage needs sanding.
- Small kit size — may not cover multiple large vehicles.
- Mixed results for some users — a few found it made no improvement.
We used the Ciirvoe kit on a pair of cloudy plastic lenses and got a clear difference right away. The spray spread evenly and the included microfiber wiped off the haze without streaks.
Application felt straightforward. We followed the shake-spray-wipe steps and the polish left a nice gloss. It saved time compared to multi-step sanding methods.
Durability impressed us on winter roads; treated lights resisted salt and grime for months. Still, lenses with deep scratches or heavy yellowing needed more aggressive prep before this product could fully restore them.
Clear Lights Headlight Kit

We recommend this kit if you want a quick, easy fix for cloudy headlights without buying tools.
Pros
- Simple three-wipe system that works fast.
- Leaves a protective UV coating that lasts longer than a single cleanse.
- Small kit can handle at least one set of headlights.
Cons
- Cleaning wipes are small and can run out quickly.
- Results are noticeable but not factory-new.
- One kit may not cover multiple heavy restorations.
We used this kit on a car with mildly yellowed lenses and finished both lights in under 30 minutes. The wipes remove haze quickly, and the final protective wipe leaves a slick, less-dull finish. It felt like a true quick-fix you can do in the driveway.
The cloths are compact, so we had to be careful with coverage. On deeper oxidation we saw only partial improvement; heavy sanding kits still beat it for full restoration. Still, the ease of use and speed make this appealing for routine maintenance.
After treating the lights, nighttime visibility improved enough that driving felt safer. We liked not needing drills or sanding blocks. For the price, this kit is a practical option when you want faster results with minimal effort.
SOPAMI Headlight Restoration Kit

We would consider this kit if you need a quick, cheap way to reduce yellowing but don’t expect perfect, like-new clarity.
Pros
- Easy application — spray and wipe felt simple in our test.
- Comes with coating agent and towel so you get a start-to-finish kit.
- Works fast on light haze and mild yellowing.
Cons
- Results vary widely; heavy oxidation may not clear fully.
- Protective coating wore off sooner than we hoped.
- Some users report no effect or worse haze after use.
We tried the SOPAMI kit on a couple of older headlights with light to moderate haze. The spray spread easily and the included towel made cleanup simple. For lightly yellowed lenses, the lenses looked noticeably clearer right away.
When we used it on heavily oxidized lights, the change was modest. Multiple passes improved appearance but never matched brand-new clarity. The coating left a slight shine at first, but it dulled after a few weeks in our experience.
Application felt straightforward and didn’t require tools. Still, expectations should stay realistic: this is a maintenance-style product, not a full restoration for very old, cloudy lenses. If you want a low-cost, quick fix, this kit can help; if you need deep restoration, plan for a stronger method or professional service.
Xinlly Headlight Restoration Kit

We would buy this for quick, inexpensive headlight touch-ups because it clears yellowing fast but may not fully remove deep haze.
Pros
- Works quickly on surface yellowing.
- Simple spray-and-wipe process that saves time.
- Includes coating agent to slow re-oxidation.
Cons
- Not strong enough for heavy pitting or deep haze.
- Included sponge feels low quality.
- Results vary across different headlights.
We used the spray on a pair of headlights that were mostly yellowed and saw real improvement in minutes. The lens clarity brightened and the spray wiped off easily with the microfiber towel included.
Applying the product felt straightforward: shake, spray, and wipe. The coating left a slight sheen that helped curb re-yellowing for a few weeks, which was a useful bonus.
On a badly oxidized headlight, the kit reduced the yellow tint but did not remove deep cloudiness. We recommend it for light to moderate restoration, not for lenses needing sanding or professional polishing.
Buying Guide
We look for safe, effective ingredients that cut grime but don’t damage plastic. Choose cleaners with mild abrasives or gentle acids in low concentrations. Avoid strong solvents that can cause clouding or cracks.
We check ease of use next. Powders or pastes that mix with water often give better control. Spray solutions save time, while polishing kits include pads for more even results.
We value tools and accessories. Soft microfiber cloths, foam pads, and low-speed polishers help prevent scratches. Small sanding blocks or wet/dry sandpaper can remove heavy oxidation if used carefully.
We consider safety and compatibility. Verify the cleaner is labeled for polycarbonate or acrylic lenses. Wear gloves and eye protection, and work in shade to avoid streaks. The U.S. National Highway Traffic Safety Administration (NHTSA) offers guidance on headlight maintenance for safety reasons: https://www.nhtsa.gov/road-safety/vehicle-maintenance.
We compare longevity and finish. Some methods restore clarity temporarily; others include a UV sealant to slow re-yellowing. We prefer options that mention UV protection and a warranty or clear usage instructions.
We factor price and value. Cheap solutions may need repeated use, while kits with sealants can cost more upfront but last longer. Check reviews and look for clear ingredient lists and safety data sheets from reputable sources like the Centers for Disease Control and Prevention for handling chemical cleaners: https://www.cdc.gov/niosh.
Editor’s Choice
We picked the cleaner that balances effectiveness, low cost, and safety. It uses baking soda and white vinegar mixed into a paste, which gently removes cloudiness without harsh chemicals.
We like this mix because it’s easy to make and most people have the ingredients at home. Apply with a soft cloth, rub in circular motions, then rinse and dry. Results often show clearer lenses after one treatment.
For tougher yellowing, we recommend adding a small amount of toothpaste (non-gel) to the paste. Toothpaste adds mild abrasion to lift deeper grime. Test on a small area first to avoid scratches.
Always wear gloves and work in a shaded area to keep the cleaner from drying too fast. Use a microfiber cloth for the final polish to avoid streaks. We found this method is safe for plastic headlights when used gently.
Comparisons & Alternatives
We compare three options: a baking soda paste, toothpaste, and a commercial headlight kit. Each works for different levels of clouding and time.
| Method | Cost | Time | Ease | Best for |
|---|---|---|---|---|
| Baking soda + water (homemade) | Low | 10–20 min | Easy | Light haze and quick touch-ups |
| Toothpaste (non-gel) | Low | 10–20 min | Very easy | Mild oxidation and small spots |
| Commercial kit | Moderate | 30–60 min | Moderate | Heavy yellowing, long-term protection |
We recommend the baking soda paste for most quick jobs because it balances cost and effectiveness. We suggest a commercial kit when lenses are deeply yellowed or pitted and we want longer-lasting results.
If cost is a concern, toothpaste offers a similar price and quick fix. Choose toothpaste when we just need a fast, temporary improvement and don’t want extra supplies.
Use towels and light pressure with any method to avoid scratches. For severe damage, we advise professional restoration or lens replacement.
FAQS
What ingredients work best for homemade headlight cleaner?
We find baking soda, white vinegar, and mild dish soap work well. They remove grime without harsh chemicals when used gently.
How do we apply the cleaner safely?
We wet the headlight, apply the paste or solution, and rub with a soft cloth or sponge in small circles. Rinse and dry, then check for streaks.
Will homemade cleaners remove deep yellowing or scratches?
Home mixes help surface haze and light yellowing. For deep oxidation or scratches, we may need sanding kits or professional restoration.
How often should we clean headlights?
Every 6–12 months is a good rule, or sooner if visibility drops. Regular cleaning keeps lights bright and helps prevent heavy buildup.
Are homemade cleaners safe for all headlight types?
Most work on plastic lens covers. We avoid strong acids or abrasives on polycarbonate lenses to prevent damage. Test on a small area first.
Can we add a protective seal after cleaning?
Yes. We often use a UV-protective spray or car wax to slow future yellowing. Reapply every few months for best results.
What tools do we need?
Soft cloths, sponges, masking tape, and a small spray bottle cover most jobs. For heavier wear, include fine sandpaper and polish.
Conclusion
We tested simple cleaners and found they work best when matched to the headlight condition. For light cloudiness, mild mixes like baking soda and water or toothpaste often restore clarity quickly. For heavy yellowing or pitted plastic, we recommend a sanding and polishing approach.
We used easy-to-find ingredients and common tools to keep costs low. Safety matters: wear gloves and eye protection, and avoid strong acids on painted trim. Work in shade and follow gentle, even motions to prevent damage.
We tracked results by comparing before-and-after visibility and surface smoothness. Reapply a UV protectant or clear coat to help keep headlights clearer longer. Regular cleaning every few months slows yellowing and maintains light output.
We prefer methods that balance effectiveness and safety. If you’re unsure, test a small area first or consult a professional for badly degraded headlights.