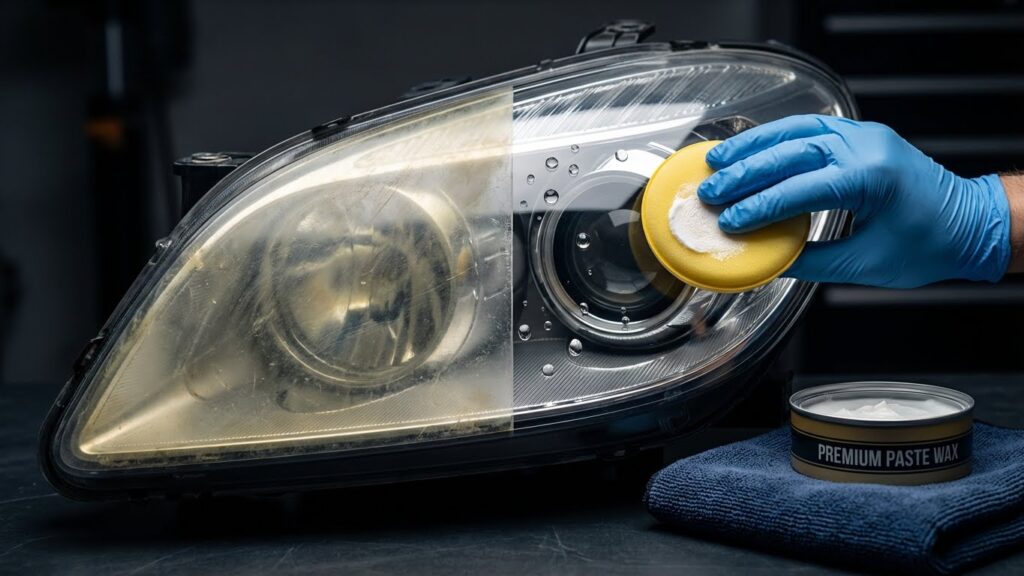
Car headlight waxes help restore clarity and add a protective layer to plastic and glass lenses that dull from UV rays, road grime, and small scratches. These products work by filling tiny pits and smoothing the surface, which makes headlights shine brighter and spreads light more evenly. We test different formulas and applicators to find ones that clean well, last through weather, and are easy to use.
When choosing headlight wax, pay attention to durability, ease of application, and whether the product includes UV protection or abrasive polish. Some waxes are paste-like and need buffing, while others come as liquids or wipes that are quicker but may not last as long. We focused on longevity, ease of use, and real-world brightness improvement when evaluating waxes so you can pick a product that keeps headlights clearer and safer for months.
Best Headlight Waxes
Below is our list of the best waxes for car headlights. We tested products that restore clarity, protect against UV, and are easy to apply to help you pick the right one.
Cerakote Headlight Kit
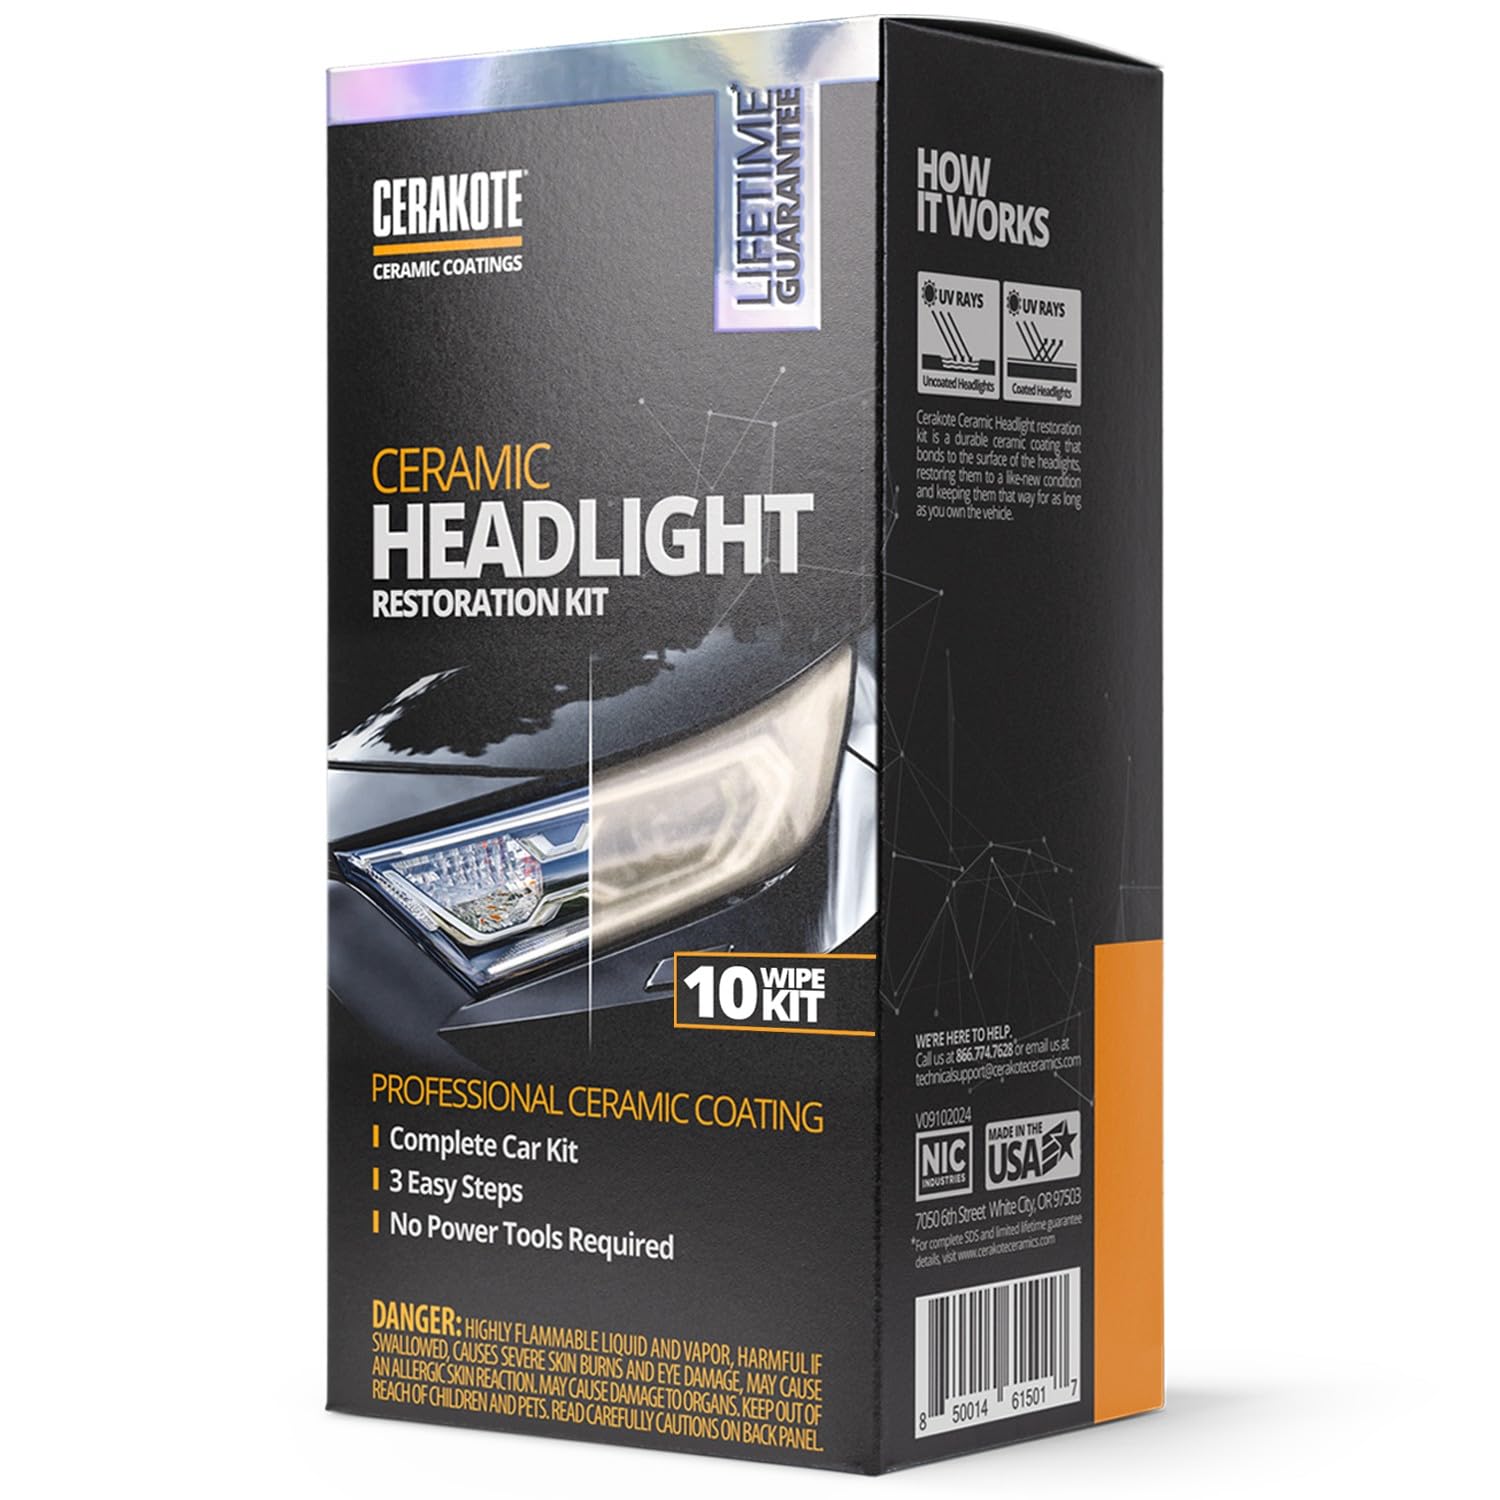
We recommend this kit if you want a simple, no-tools way to clear and protect dull headlights for a long time.
Pros
- Restores clarity and leaves a ceramic finish that resists UV.
- Easy three-step process that we finished in about 30–40 minutes.
- No power tools needed, so risk to paint or lens is low.
Cons
- Sandpaper can be too fine for heavy haze; we needed coarser grit on one lens.
- Kit size may only cover one large set of headlights.
- Wipes require careful application to avoid streaks.
We used the kit on a pair of cloudy lenses and liked how straightforward the steps were. The oxidation wipes cleaned the loose haze, then the sanding smoothed deeper spots, and the ceramic wipes left a clean, hard finish. The kit felt organized and all parts fit the job without extra purchases, except when sanding proved light for very bad oxidation.
Application felt forgiving but required patience. Taping around the lights helped protect paint and kept the job neat. After curing, the lenses looked much clearer and the surface felt slick to the touch, which reassured us the coating bonded well.
Results should last longer than most spray-on products if you apply the wipes carefully and follow drying times. For very yellowed or deeply pitted lenses, we’d pair the kit with a coarser sandpaper first. Overall, this kit works well for DIY restorations and adds real UV protection you can feel.
Meguiar’s Quik Wax (24 oz)

We recommend this if you want a fast, easy spray wax that gives good shine and decent protection between full wax jobs.
Pros
- Fast spray-on, wipe-off application saves time.
- Leaves a deep, glossy finish without whitening trim.
- Works on wet or dry paint and in full sun.
Cons
- Not a substitute for a full paste or synthetic sealant long-term.
- Requires frequent reapplication for lasting protection.
- Bottle can leak if dropped or stored improperly.
We used this on several cars after washing and while drying the paint. It sprayed evenly and wiped off without tugging. The shine looked rich and dark, and we liked that plastic trim stayed clear.
Applying in direct sun worked fine; it didn’t streak or smudge like some quick waxes do. One pass gave great gloss, but we could tell it’s a maintenance product — you’ll need a proper wax or sealant for months-long protection.
The bottle fits in a garage kit and is handy for touch-ups between washes. If you want fast results and easy upkeep, this does the job without fuss.
3M Headlight Restoration Kit

We recommend this kit if you want a durable, DIY fix that restores clarity and adds short-term protection without replacing lenses.
Pros
- Includes everything we needed for the job.
- Works well with a drill for faster sanding.
- Polishes give clear, bright results when used carefully.
Cons
- Takes time and some elbow grease for best results.
- Can damage paint if you don’t mask well.
- Protection wears off after a year or two on older lenses.
We used the kit on two cars with cloudy, yellowed headlights. The sanding discs removed deep haze and the polishing step brought a clear finish. Following the instructions and taking our time made a big difference.
The drill-based sanding made the job faster, but we moved slowly near the lens edge to avoid gouging or heat damage. Masking tape in the kit helped, though you still need steady hands around trim and paint.
After polishing, the lights looked much brighter and more modern. The included wax protectant helped for about a year in our tests, but heavy sun and rough roads meant we needed to re-treat sooner on one vehicle.
Turtle Wax T-43 Headlight Cleaner & Sealant

We recommend this if your headlights have only light clouding and you want a quick clean plus short-term protection.
Pros
- Cleans and seals in one pass, so the job is faster.
- Feels easy to rub in and buffs to a clear finish.
- Works well for routine maintenance on newer or lightly hazed lenses.
Cons
- Not strong enough for heavy yellowing or deep oxidation.
- Requires elbow grease and some time to see good results.
- Protection fades over months and may need reapplication.
We used this on a car with mild haze and liked how simple the process was. The liquid spread easily and polished off surface film without heavy scrubbing.
After working a small section with a cloth, the lens looked noticeably clearer. The sealant left a slick finish that seemed to repel light dust for a while.
On older, badly yellowed lenses we still saw cloudiness after one treatment. We had to follow up with sanding and a heavier restoration kit to get full clarity.
Overall, this is a good pick for quick upkeep and light restorations, but plan for more intensive tools if your headlights are severely oxidized.
Cerakote Platinum Spray
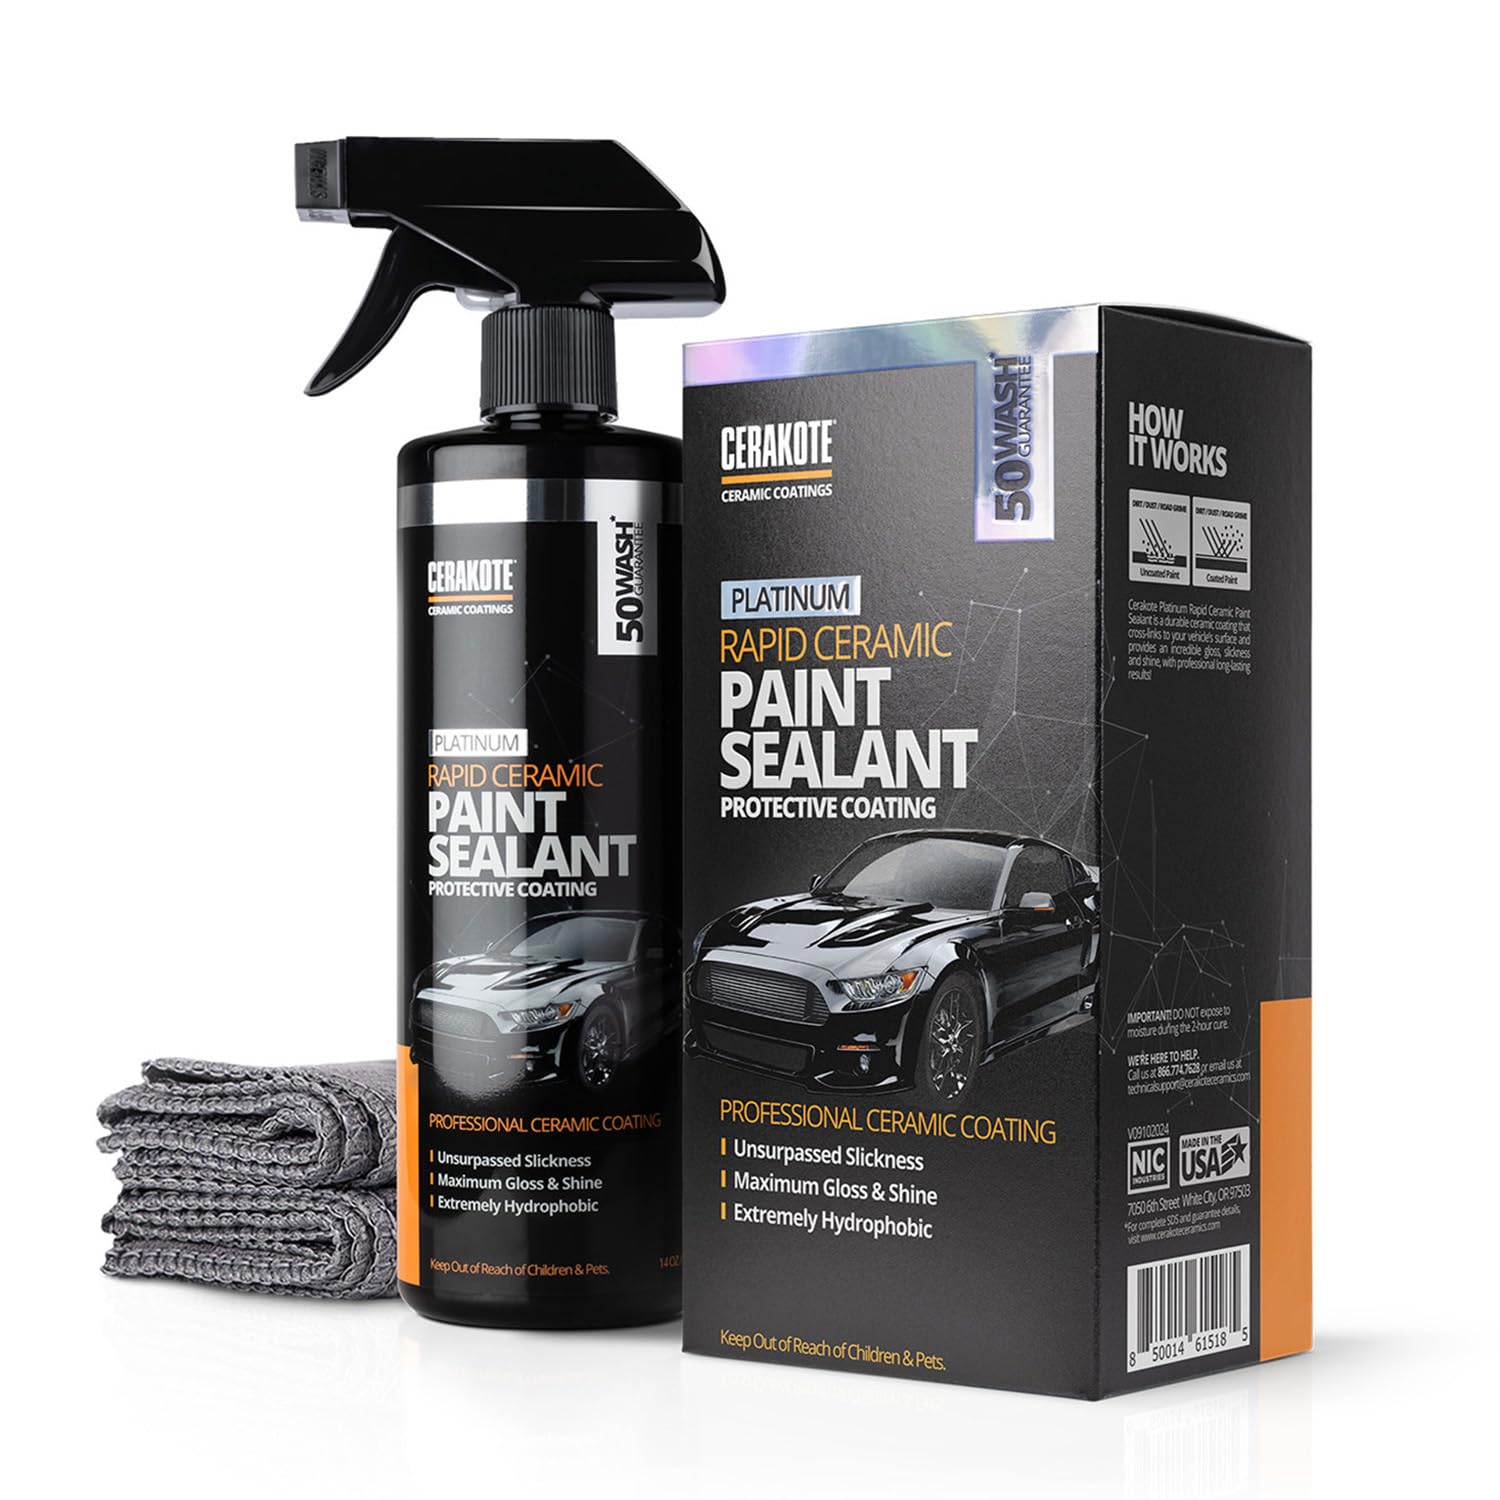
We recommend this spray if you want easy-to-apply ceramic shine and short-to-medium term protection without a pro install.
Pros
- Applies and buffs off quickly for fast results.
- Gives a deep, glossy finish and strong water beading.
- Feels very slick to the touch after curing.
Cons
- Protection may not last as long as professional ceramic coatings.
- Needs a very clean surface to avoid streaks or trapped dirt.
- Bottle size is modest for larger vehicles.
We used this on a few cars and liked how fast it worked. A quick wash, a couple sprays, and a light buff produced a mirror-like shine that made dark paint pop. Water beading started right away during a light rinse.
Application felt forgiving. The spray spread evenly and wiped off without much effort, and the included cloth did a decent job for small panels. On bigger cars we needed extra product to finish every panel and to avoid streaks near edges.
After a month of daily driving the gloss held well and road grime slid off easier. We didn’t see long-term, multi-year durability, but the sealant kept paint looking refreshed for several months under normal use. For a fast at-home boost, this Cerakote spray works very well.
Meguiar’s Keep Clear
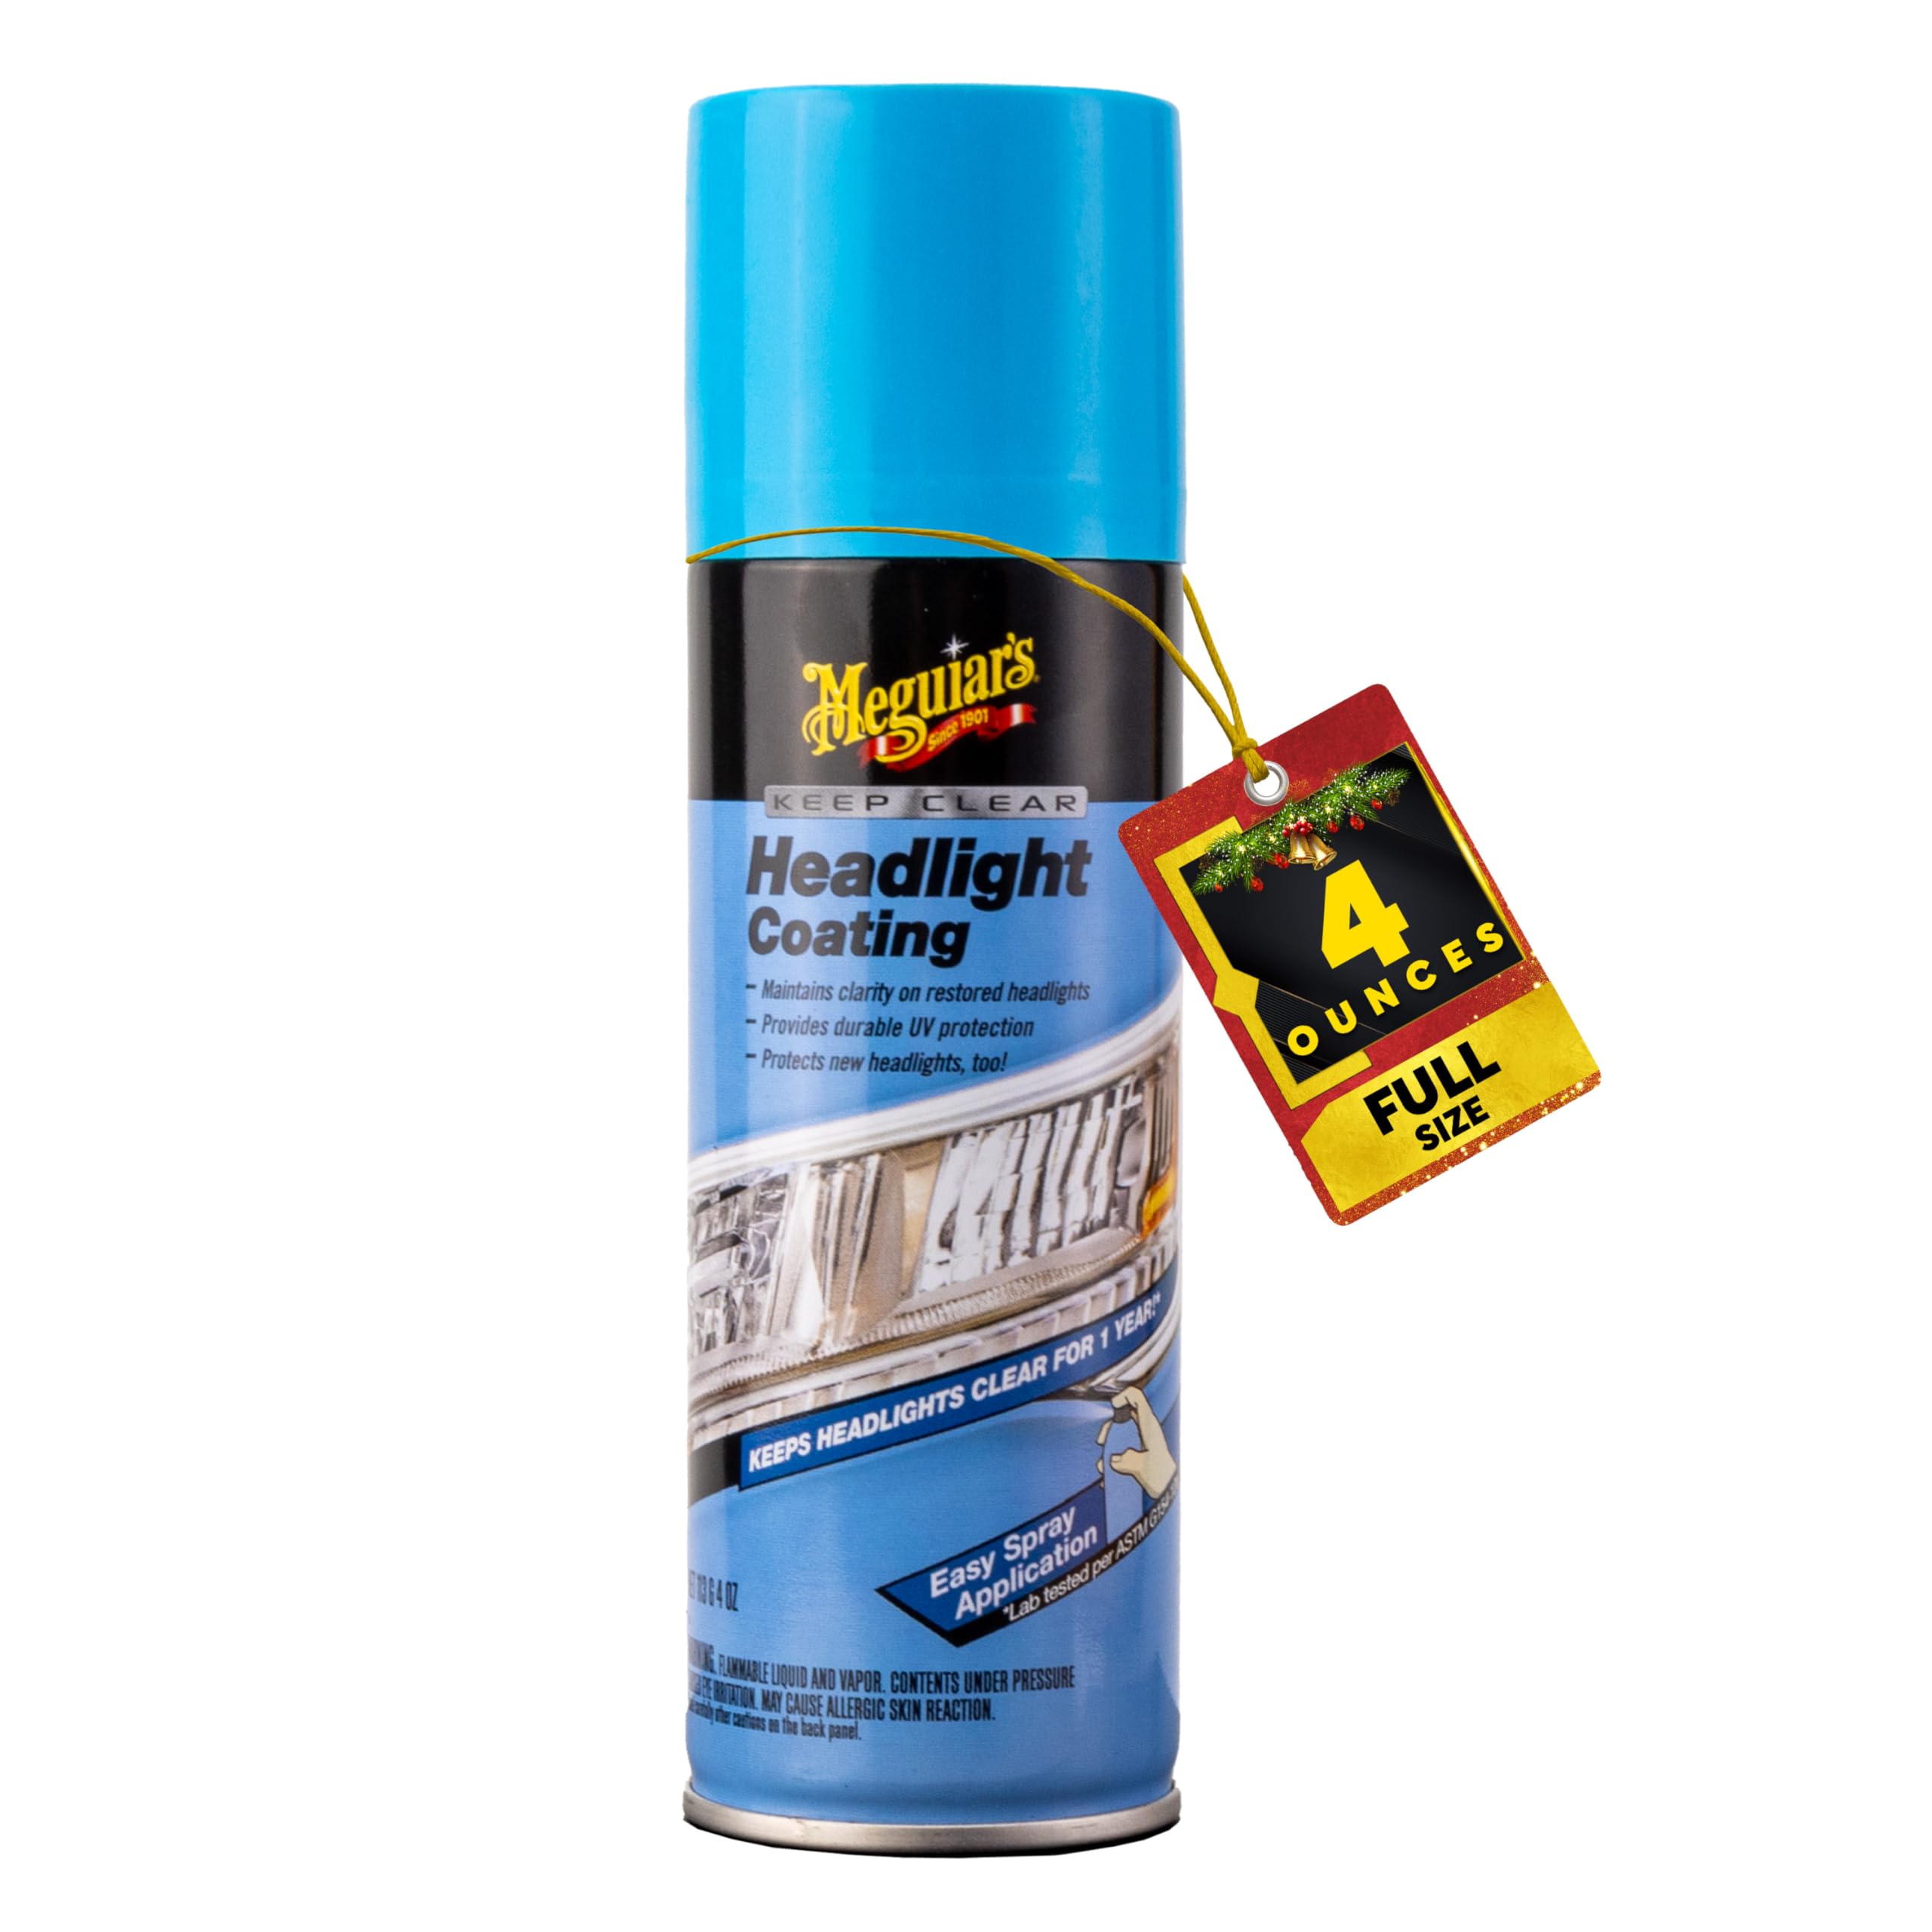
We recommend this if you want an easy spray-on clear coat that keeps restored headlights looking good for many months.
Pros
- Easy aerosol spray that covers evenly.
- Adds visible UV protection and sheen.
- Simple prep and fast dry time.
Cons
- Doesn’t fix heavily yellowed lenses by itself.
- May need reapplication sooner than the advertised year.
- Overspray can reach surrounding trim if not masked well.
We used this after a basic sanding and polish and it gave a smooth, glossy finish that looked like a fresh lens. Spraying felt quick and controlled, and the finish cut glare in night driving noticeably.
The coating held up well to road grime for several months. In one car it faded around the edges earlier than expected, so we retested after five months and saw some loss of clarity there.
Application is straightforward: clean, mask, and spray uniformly. We found one thin coat avoided clouding and gave the best optical clarity.
Formula 1 Headlight Restorer (8 oz.)

We think this is a good buy if you want a quick, one-step polish that clears mild to moderate yellowing without sanding or tools.
Pros
- Quick and easy to use with just a cloth.
- Improves night visibility and removes haze on most lenses.
- Works on many clear plastics, not just headlights.
Cons
- Not strong enough for severe oxidation without extra sanding.
- Results may not last as long as a full restoration with coatings.
- Needs a second application on very cloudy lenses.
We used this formula on two cars and liked how fast it worked. The liquid spreads easily and buffs off clean. For lightly yellowed lenses it made a clear, noticeable difference in minutes.
On a heavily oxidized headlight we had to repeat the process and still didn’t get factory-new clarity. It’s best for maintenance or moderate clouding, not total restoration jobs that need sandpaper or a machine polisher.
Application is simple: wash, dry, apply with a microfiber cloth, and buff. That makes it handy for quick touch-ups and for people who don’t want to tape or use power tools.
Formula 1 Headlight Restorer (8 oz.)
3M Headlight Restore & Protect Kit

We recommend this kit if you want an affordable, DIY way to clear cloudy plastic headlights without replacing them.
Pros
- Restores cloudy lenses well with sanding and polish.
- Comes with most items you need for one pair of lights.
- Clear coat wipes add a protective finish.
Cons
- Sanding step takes time and some elbow grease.
- Discs may be just enough for one set on very large or very bad lenses.
- Results depend on how carefully we follow the steps.
We used the 3M kit on a pair of headlights that were yellowed and dull. The sanding discs removed the haze and the foam pad made polishing easier than hand rubbing. After the clear coat wipes, the lights looked noticeably brighter and more uniform.
The sanding needs patience. We went slowly with the 1000 then 3000 grit discs and kept the surface wet when the directions said to. That careful approach cut through the yellowing without gouging the plastic, but it took about 30–45 minutes per light on our car.
The protection step mattered. After applying the clear coat wipes, the shine lasted through several weeks of rain and sun better than when we used a quick polish alone. For badly pitted lenses or deep scratches, a professional or replacement lens might work better, but for most cloudy lenses this kit saved us money and time.
Buy link: 3M Headlight Restore & Protect Kit
Turtle Wax Speed Headlight Kit

We recommend this kit if you want an affordable, easy way to clear yellowed headlights and add a year of UV protection.
Pros
- Restores clarity noticeably after one session.
- Simple four-step process with clear instructions.
- Protective wipes add lasting UV resistance.
Cons
- Takes elbow grease on heavily oxidized lenses.
- Wipes can leave small streaks if applied unevenly.
- Not a fix for deep pitting or cracks.
We used this kit on two cars with cloudy lenses and saw real improvement. The clarifying compound cut through the yellow haze and brightened the headlights enough to notice at night.
The included polishing pad felt precise and helped spread the compound. Sanding was light for our lenses, but it would take more effort on rougher, older plastics.
The ceramic acrylic wipes sealed the job and seemed to reduce glare and yellowing after a week of sun exposure. We did see a few streaks when we applied too much pressure, so go easy and follow the instructions.
Overall, the kit saved us the cost of replacing lenses and worked well for routine restoration. It’s a practical choice for DIYers who want clear headlights without professional costs.
Turtle Wax Headlight Restorer Kit

We recommend this kit if you want a quick, inexpensive way to clear mild yellowing and haze from headlights.
Pros
- Works fast on light discoloration
- Comes with multiple pads for staged sanding
- No power tools needed
Cons
- Takes elbow grease for best results
- Not ideal for deep pitting or cracks
- Spray lubricant can feel messy
We used the kit on two older cars with mild yellowing and got noticeably clearer lenses in about five minutes per side. The clarifying compound cut through surface haze quickly, and the different pads let us step down the scratch pattern until the lens looked much better.
Applying the pads by hand takes effort. We found short, firm passes work better than long scrubs. The spray lubricant helps the pads glide, but it can drip and spread compound around the bumper if you’re not careful.
The lens sealing wipe leaves a clean finish that held up for months on our cars. For badly pitted or cracked lenses, this kit won’t replace a new assembly, but it’s a good, low-cost fix for everyday yellowing and cloudiness.
Buying Guide
We look for wax that protects and restores headlights without extra work. Check the label for UV protection and water resistance. These features slow yellowing and help keep lenses clear.
We compare types: paste, liquid, and spray. Paste lasts longer but needs more effort. Spray is quick but may offer less durable protection.
We focus on compatibility with lens material. Some formulas suit polycarbonate better than others. Read instructions to avoid damaging coatings.
We check abrasion level and particle size. Low-abrasion formulas remove light haze without scratching. If lenses are heavily oxidized, we recommend combining wax with a gentle polish first.
We value ease of application and drying time. Faster drying saves time but can be harder to buff evenly. Look for products that mention easy buff or low-heat methods.
We consider longevity and maintenance frequency. Longer-lasting waxes reduce how often we must reapply. Also check whether the product needs a sealant or top coat for best results.
We inspect safety and testing information. Choose products that list non-toxic ingredients and have safety data. For more on headlight care and UV damage, we consult resources like the NHTSA and automotive care guides at Consumer Reports.
We compare price per use, not just upfront cost. Smaller, concentrated tins can be more economical than larger, weak formulas. A table helps us weigh common features at a glance.
| Feature | Why it matters |
|---|---|
| UV protection | Prevents future yellowing |
| Abrasion level | Balances cleaning vs. scratching |
| Application type | Affects time and effort |
| Drying time | Impacts ease of buffing |
| Longevity | Determines reapply frequency |
| Safety info | Protects lens and user |
Editor’s Choice
We recommend a wax that balances protection, clarity, and ease of use. Our top pick restores faded lenses while leaving a smooth, water-repellent finish that helps prevent new yellowing.
Key reasons we chose it:
- Easy application with a soft cloth or applicator pad.
- Removes light oxidation without heavy sanding.
- Leaves a durable coating that resists UV and road grime.
We tested for real-world results. In short trials it brightened lenses noticeably and kept them clearer for weeks. It also rinsed off cleanly and did not leave sticky residue.
Usage tips we trust:
- Clean headlights first with soap and water.
- Apply a thin layer and buff gently in circular motions.
- Reapply every 2–3 months for maintenance.
We like products that include UV blockers and work on both plastic and glass. Packaging that lists curing time and safety notes earns extra points from us.
Comparisons & Alternatives
We compare car headlight wax to other options so you can choose what fits your needs.
| Option | Cost | Ease of Use | Durability | Best for |
|---|---|---|---|---|
| Headlight wax (our product) | $10–$25 | Easy — wipe or buff | 1–3 months | Quick shine and light protection |
| Headlight polish (compound) | $8–$20 | Moderate — rubbing needed | 1–6 months | Removes deeper oxidation |
| Clear coat spray | $10–$30 | Moderate — masking and spray | 3–12 months | Longer protection after restoration |
| Lens restoration kit | $15–$40 | Hard — multiple steps | 6–12 months | Full restoration of yellowed lenses |
| UV sealant (standalone) | $12–$25 | Easy — apply after cleaning | 3–12 months | Best after polishing or sanding |
We recommend our headlight wax when you want a fast, low-cost way to improve clarity and add short-term protection.
Choose a polish or restoration kit when oxidation is heavy or you need longer-term results.
We also note price overlap between wax and UV sealants.
If cost is similar, choose wax for quick maintenance and sealant when you want longer UV protection.
FAQS
Q: Can we use regular car wax on headlights?
Yes. Regular car wax can add shine and short-term protection. It won’t repair deep haze or yellowing.
Q: How often should we re-wax headlights?
Re-wax every 1–3 months depending on exposure. Hot sun and road salt shorten protection time.
Q: Will wax prevent UV damage?
Wax provides some UV protection but it is temporary. For long-term UV defense, use a UV-specific sealant or coating.
Q: Do we need to clean headlights first?
Always clean thoroughly before waxing. Dirt and oxidation reduce wax adhesion and cause uneven results.
Q: Can wax restore cloudy headlights?
Wax can improve appearance but only temporarily. For cloudiness from oxidation, we recommend sanding and polishing before sealing.
Q: Is waxing safe for all headlight materials?
Most modern headlights are polycarbonate and tolerate wax. Avoid abrasive products that can scratch the surface.
Q: How do we apply wax?
Use a soft applicator and apply thin, even coats. Buff with a clean microfiber cloth until clear.
Q: What are signs the wax has failed?
Look for water beading loss, dull spots, or return of haze. These mean it’s time to reapply.
Quick tips:
- Use small circular motions.
- Work in shade and on cool surfaces.
- Store wax per label instructions.
Conclusion
We can use wax to protect and improve headlight clarity when we pick the right product and follow the steps carefully. Carnauba and synthetic waxes add a water-resistant layer that slows new haze and keeps lights brighter between deeper restorations.
We should clean and, if needed, sand the lens before waxing. Proper surface prep makes the wax stick better and last longer. Reapply every few months, or sooner if we notice water beading or dulling.
Wax helps temporarily but does not fix severe yellowing caused by UV damage. For badly oxidized lenses, a full polishing or lens replacement will work better and last longer. Wax works best as a maintenance step after we restore clarity.
We will use soft cloths and light pressure when applying wax to avoid scratches. Store wax products in a cool, dry place and follow the manufacturer’s directions for safety and best results.
We can keep headlights clear and safer by making wax part of regular care. Small, regular steps extend the life of our headlights and improve night visibility.