
Car headlights fade from clear to cloudy over time, which cuts down on nighttime visibility and makes a car look older. Headlight restoration kits aim to remove the yellowed, hazy layer and restore clarity using sanding, polishing, and protective coatings. We tested many kits to see which ones actually brighten headlights, are easy to use, and last through weather and road grime.
The main things to watch for are the abrasives and the final protective sealant. Kits that include multiple grit pads or sandpapers plus a durable UV-resistant coating tend to give longer-lasting results, while simpler kits may only offer a short-term cosmetic fix. We tested a range of kits for effectiveness, ease of use, and durability to find the ones that restore clarity and keep it.
Contents
Best Car Headlight Restoration Kits
We tested and reviewed top car headlight restoration kits to find ones that clear haze, restore brightness, and last. Our list focuses on easy-to-use kits with good results and clear instructions so you can pick the right option for your car.
Cerakote Headlight Kit
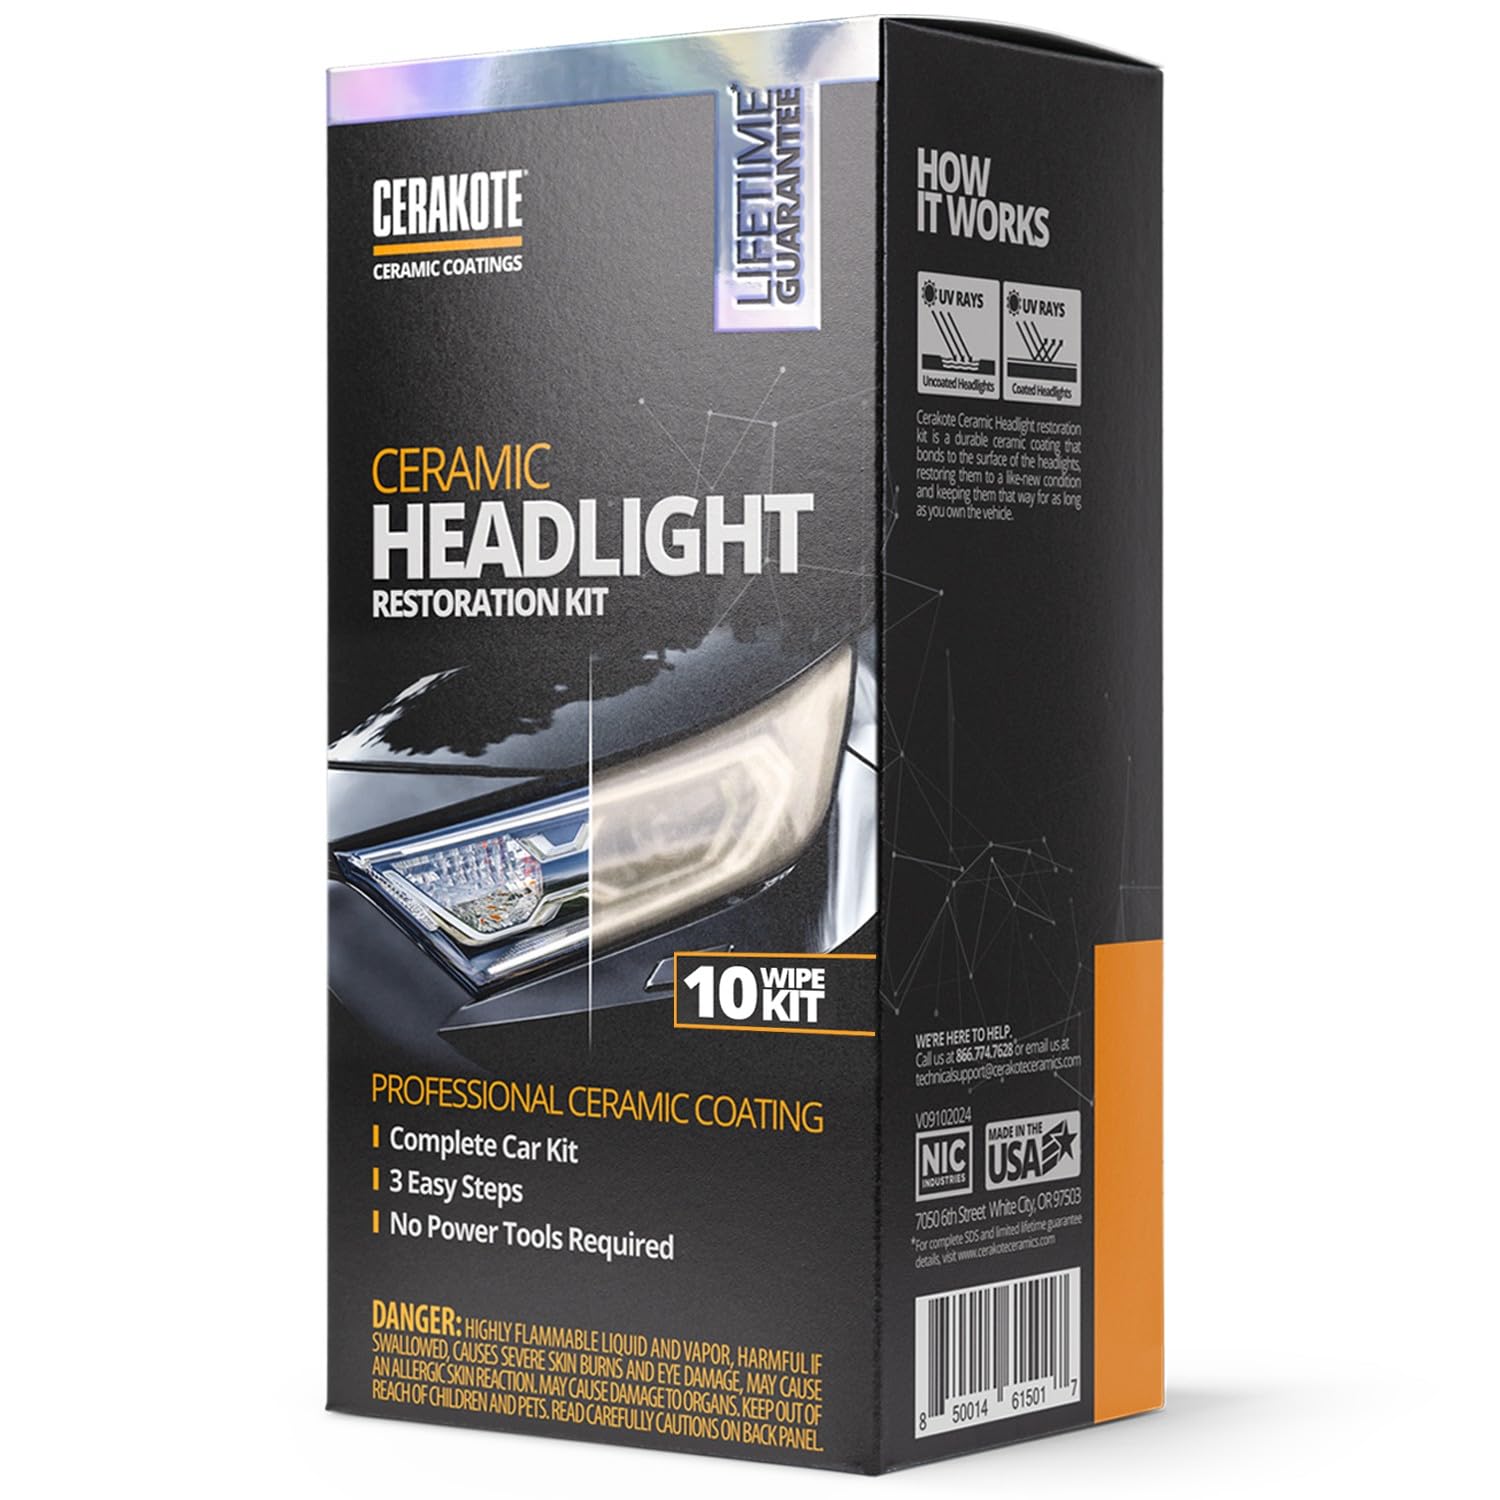
We recommend this kit if you want a long-lasting ceramic finish and an easy, no-power-tools process.
Pros
- Restores clarity well and leaves a durable ceramic seal.
- Very simple three-step process that we finished in about 30 minutes.
- No power tools—less risk of accidental damage to lenses or paint.
Cons
- Sanding step can need coarser paper than the kit supplies for heavy oxidation.
- Finish needs careful masking and curing time to avoid edges or streaks.
- Kit size may only cover one or two large headlights on heavily oxidized cars.
We used the wipes and sanding pads and saw a clear difference right away. The oxidation remover wipes take off the worst haze, and the ceramic wipes left a smooth, hard finish that felt different to the touch.
Sanding took the most effort on our badly yellowed lenses. The included 2000-grit was fine for light haze, but we swapped in a coarser grit when the old oxidation was thick. That extra step made the result much closer to new.
Applying the ceramic coating was straightforward, but we taped around the lens and let it sit without touching for the recommended cure time. The headlights stayed clearer after a few weeks of sun exposure, and the coated surface seemed to resist return of yellowing better than non-ceramic kits.
3M Ultra Headlight Restoration Kit

We recommend this kit when you want a durable, drill‑based restore that actually clears heavy haze without replacing the lens.
Pros
- Restores deep yellowing and scratches with drill sanding.
- Includes everything we needed — tape, multiple grits, and protectant.
- Professional abrasive discs gave consistent, repeatable results.
Cons
- Takes time and some elbow grease for best finish.
- Risk of hitting paint if masking is sloppy.
- Results can fade over a couple years, needing reapplication.
We used the kit on older, cloudy headlights and saw a big change after following the steps. The sanding discs cut through the yellowing faster than hand polishing, and the final clear coat left the lenses noticeably brighter.
Masking tape and the clear directions kept us from damaging the bumper, but we still recommend steady hands with the drill. The kit’s sequence of coarse to fine discs makes it easy to see progress as the lens clears.
The finish looked near‑new after polishing, though we noticed slight loss of clarity after a year on a high‑mileage car. Reapply the protectant or repeat the process as needed to keep headlights clear.
Buy link: 3M Ultra Headlight Restoration Kit
3M Auto Restore & Protect Kit

We recommend this kit if you want a reliable, workshop-grade restore that saves you money over replacing lenses.
Pros
- Sanding discs and pads feel durable and work through heavy hazing.
- Clear coat wipes add a protective finish that lasts longer than just polishing.
- Simple steps — we finished both headlights in about 30–40 minutes.
Cons
- Kit supplies are just enough for one pair of lenses; larger jobs need extra discs.
- You may need a drill or steady hand for best results.
- Not a miracle fix for deeply cracked or heavily pitted lenses.
We used the sanding discs and they cut through yellowing faster than gentle polishes. The foam pad attached cleanly to our drill and made sanding easier, though we took care to keep even pressure.
The clear coat wipes gave a noticeable shine and felt like they added real protection. After a few weeks, the lenses still looked brighter and clearer than before.
Follow directions closely and work patiently through the grits. For very old or badly scratched lenses, expect partial improvement rather than perfect like-new clarity.
XiuFa Headlamp Restoration Spray

We would only buy this kit if you want a fast, no-sanding fix and accept mixed results depending on how bad your headlights are.
Pros
- Works quickly on light surface haze.
- No sanding or disassembly needed.
- Easy three-step process for a quick touch-up.
Cons
- Uneven results on heavily oxidized lenses.
- Short-lived protection on some cars.
- Mixed user outcomes and small kit size.
We sprayed this on two cars with mild to moderate yellowing. It removed the top layer of haze fast and the headlights looked noticeably clearer in minutes. Application felt simple and low-effort.
On a badly clouded lens the outcome was less convincing. We had to repeat the process and still saw streaks and spotty clarity. It seems best for maintenance or minor oxidation rather than complete restoration.
The protective coating dries quickly but didn’t last as long as a full polish-and-seal job we did previously. For a quick, cheap refresh without tools, this worked fine. For long-term restoration, plan on follow-up treatments or a more intensive kit.
Sylvania Headlight Restoration Kit
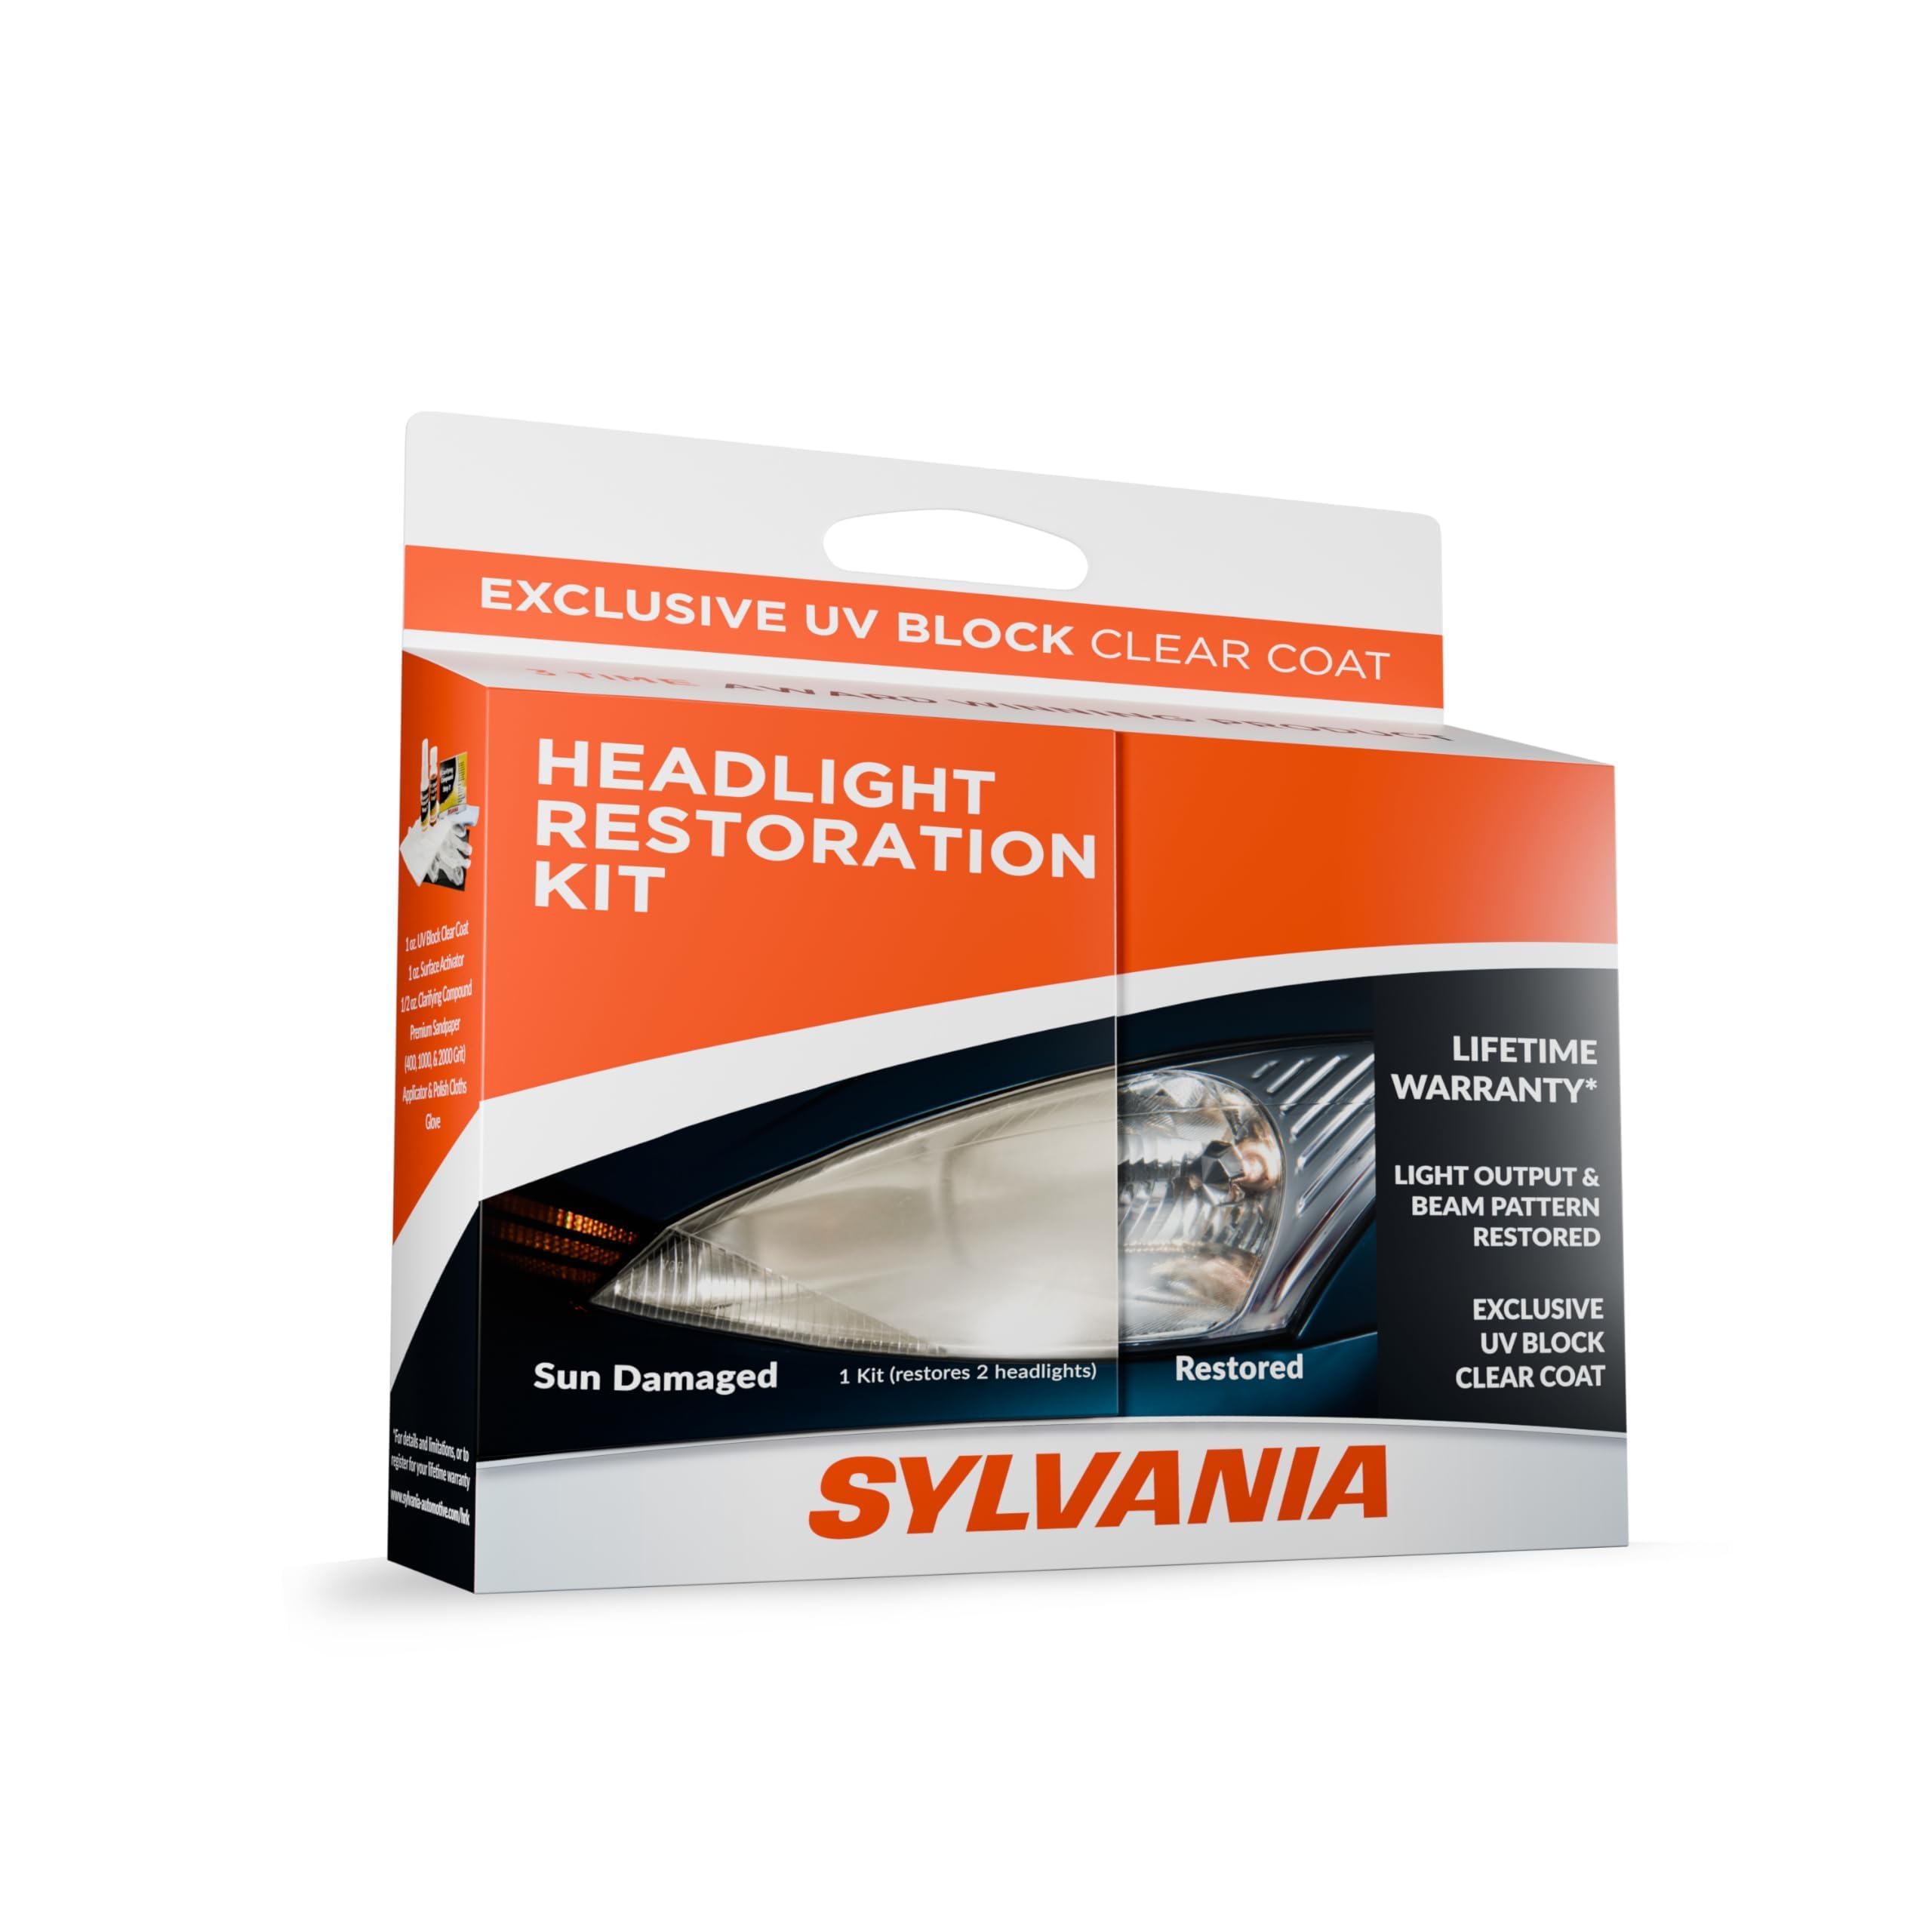
We recommend this kit for drivers who want clear headlights fast because it fixes haze, includes a UV seal, and needs no special tools.
Pros
- Restores clarity quickly and noticeably.
- Comes with UV coating for longer protection.
- Simple step-by-step process for DIY use.
Cons
- Takes elbow grease to sand evenly.
- Clear coat needs careful application to avoid drips.
- Usually sized for one car; may not cover heavy yellowing twice.
We used this kit on an older car with cloudy lenses and saw a clear improvement after the three-step process. The sanding and compound removed the haze and the lenses looked much closer to new.
The UV coating felt reassuring. After letting it cure, the surface looked smooth and the lens reflected light better at night. We did worry about applying too much clear coat, so we worked slowly and in thin layers.
Following the instructions mattered. Masking around the headlight and consistent sanding strokes made the job cleaner. Plan on a bit of time and basic patience, but the results felt worth the effort.
FAVIRZCE Headlight Restore Kit

We recommend this kit if you want a fast, no-sanding fix that clears yellowing and adds a water-repellent shine.
Pros
- Quickly removes haze and yellow tint with a simple spray-and-wipe.
- Leaves a durable UV-resistant, hydrophobic coating that lasts weeks to months.
- Works on both plastic and glass lenses without disassembly.
Cons
- May not fully restore deeply pitted or heavily scratched lenses.
- Requires dry headlights and careful wiping to avoid streaks.
- Small bottle size might not cover many vehicles or repeated uses.
We used the spray on a pair of cloudy lenses and saw a visible change within minutes. The process really was just spray, wipe, and buff. It felt cleaner and safer for night driving after one application.
Application took less than half an hour for both headlights. The microfiber towel included did a good job picking up residue and evening the finish. We noticed the finish had a nice gloss and water beaded off during a light rain.
On tougher spots the product worked but needed more elbow grease and repeat passes. For older, deeply oxidized lights, this felt like a temporary fix rather than a permanent replacement. Still, for quick home use and routine maintenance, it saved us time and money.
Buy it on Amazon: FAVIRZCE Headlight Restore Kit
Meguiar’s Ultimate Headlight Kit

We recommend this kit if you want a simple, mostly tool-free way to clear yellowed headlights and add long-lasting UV protection.
Pros
- Easy to use by hand, no drill needed.
- Sanding plus sealant gives a clear, near-professional finish.
- Sealant claims long UV protection to slow re-yellowing.
Cons
- Some lenses may need more aggressive sanding than the kit supplies.
- Results vary; a few users report clouding returns sooner than promised.
- Kit includes only single-use wipes and limited accessories.
We used this kit on an older car with dull, yellow lenses and found the two-step sandpaper method worked quickly. The 1000- and 3000-grit discs removed the heavy haze, and the easy-grip pad made the sanding feel controlled and steady.
Applying the pre-saturated sealant wipes felt quick and tidy. The finish dried clear and the headlights looked noticeably brighter at night, though a few spots needed extra attention where the plastic was deeply pitted.
We noticed the claimed 18+ months of protection can depend on sun exposure and how well the surface was prepped. For many cars it holds up well, but very damaged lenses may need repeat work or more aggressive sanding for long-term clarity.
Chemical Guys Headlight Restore & Protect
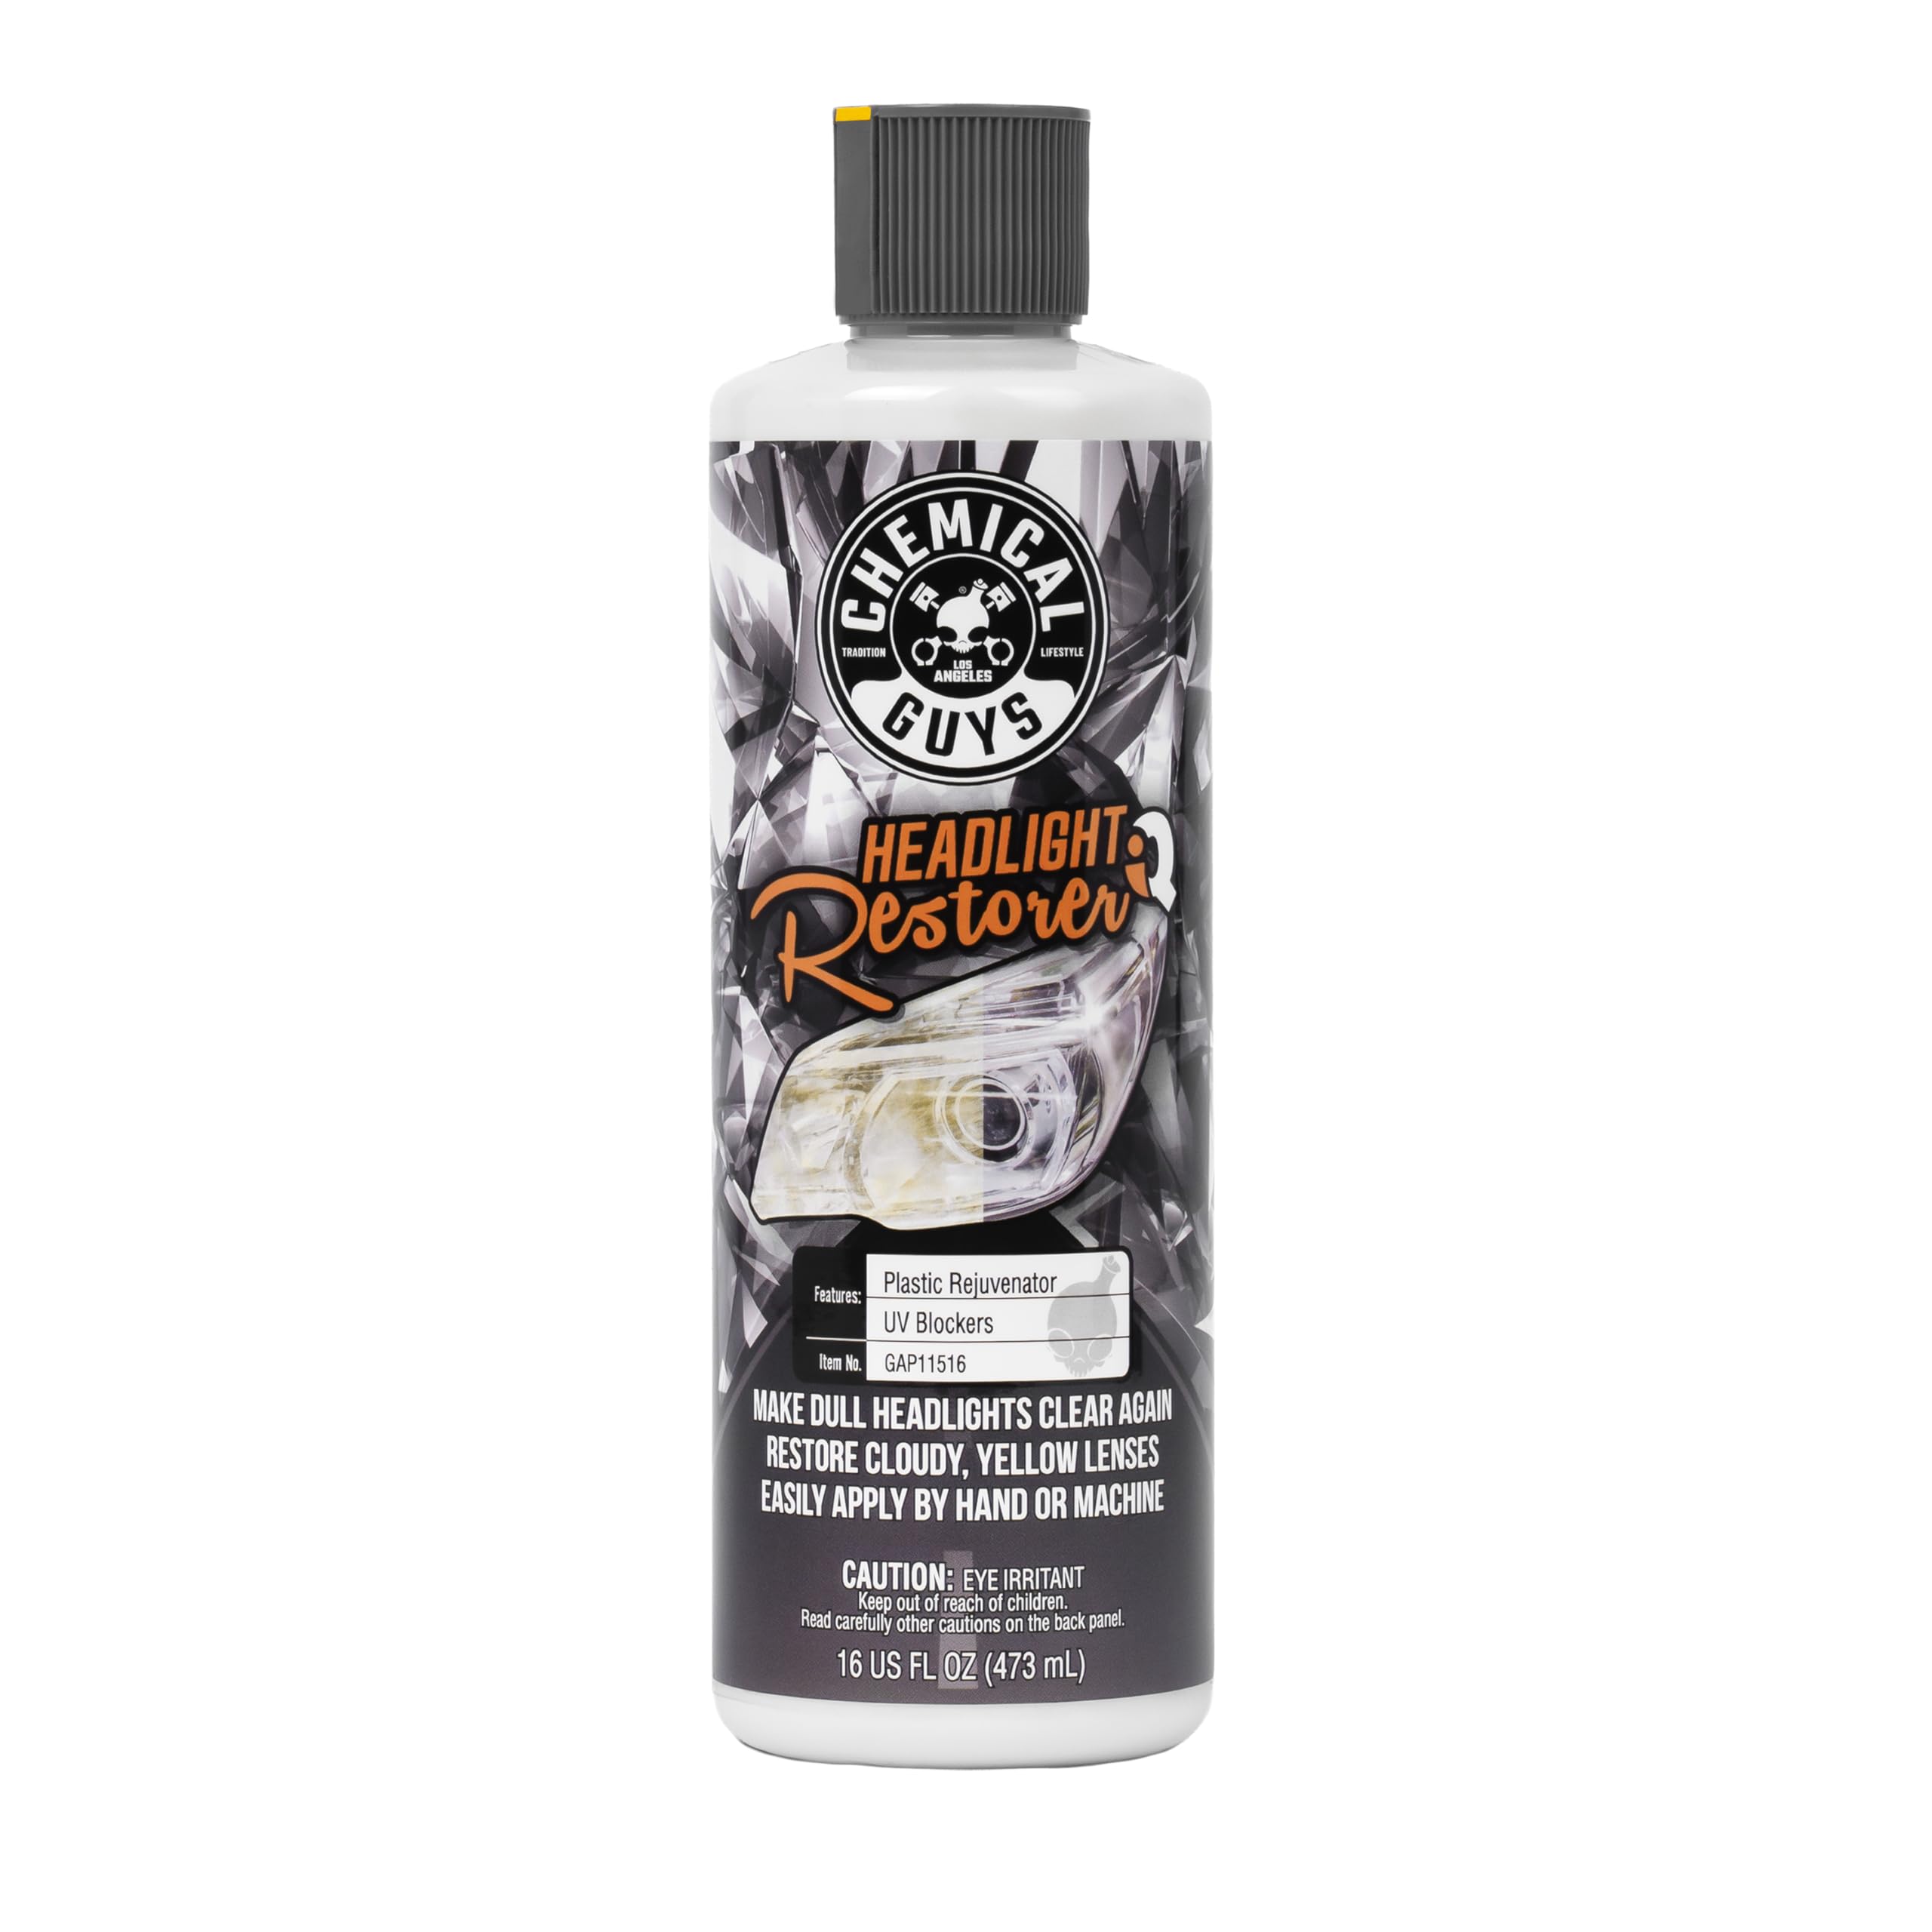
We recommend this if you want a quick, all-in-one cleaner that restores clarity and leaves a protective coating.
Pros
- Restores foggy lenses fast by hand or with a DA polisher.
- Leaves a protective layer that slows re-yellowing.
- Works on headlights, taillights, fog lights, and more.
Cons
- Hand application can struggle on heavy oxidation without extra abrasion.
- Results depend on how much scrubbing or machine polishing you use.
- Small bottle for multiple full restorations on large vehicles.
We used this on our daily driver and liked how easy it felt to apply. The cream spreads smoothly and buffs out to a clear finish quickly, especially when we used a dual-action polisher.
On lightly oxidized lenses the product brought back good clarity in minutes by hand. Heavily yellowed headlights needed more elbow work or sanding first, and then the Chemical Guys formula sealed the surface well.
After a week of driving, the treated lenses still looked better and showed less haze than untreated lights. We appreciated that it’s safe on different plastic lenses, but plan to keep sanding pads handy for the worst cases.
XPERTCHEMY Headlight Kit

We recommend this kit if you want a no-tools, hands-on fix that often clears heavy yellowing and adds long-lasting UV protection.
Pros
- Easy to use by hand for most jobs.
- Ceramic wipes leave a non-sticky, durable finish.
- Includes masks, pads, and gloves to get the job done.
Cons
- Sanding discs feel thin and may wear fast.
- Only two ceramic wipes — you might need more for repeat coats.
- Best results take time and careful work, not a quick spray-and-go.
We used this kit on cloudy, yellowed lenses and found it restored clarity more than simple cleaners did. The oxidation remover wipes worked well to take off surface gunk before any sanding.
Sanding by hand with the included discs took effort. For deep haze or heavy scratches, we had to scrub longer than the instructions suggested. The pads attach easily, but the discs wore down quicker than expected.
Applying the ceramic coating wipes felt different from liquid sealants — the coating bonded and wiped off cleanly without tack. After letting it cure, our headlights looked clearer and resisted re-yellowing for months.
If you want a simple, tool-free kit that actually improves most headlights and gives a real UV barrier, this is worth trying. Pick up the kit on Amazon: XPERTCHEMY Headlight Kit.
Toretark Headlight Restoration Kit

We recommend this kit if you want an easy, no-sanding way to clear cloudy headlights and add a hard ceramic coating that lasts weeks to months.
Pros
- Restores clarity without sanding or power tools.
- Ceramic coating feels durable and resists light wear.
- One kit covers three full vehicle treatments.
Cons
- Coating may only hide deep damage instead of removing it.
- Needs careful, one-direction application to work well.
- Protection claims last up to 60 days per application, not permanent.
We used the Toretark kit on two cars with dull, yellowed lenses and found the process quick and low-effort. The spray-and-wipe steps cut the job time, and we didn’t need any sandpaper or a drill attachment.
After application the lenses looked much clearer and brighter. The ceramic finish gave a hard, almost glassy feel and seemed to repel road grime better than a simple dressing.
On heavily pitted headlights the kit masked damage more than removed it. For severe oxidation, results were cosmetic rather than restorative, but evening out light scatter still improved night visibility.
Applying the protective agent in steady strokes mattered. We learned that going back and forth smeared the coating and reduced shine, so patience paid off for a neater, longer-lasting result.
Overall, the kit saved us time and kept both cars looking newer for months between re-treatments. Buy it if you want a fast, no-tools fix and are okay with periodic reapplication.
Buying Guide
We look for kits that restore clarity without much effort. Check whether the kit uses sanding, polishing, or a chemical cleanser, and pick the method we are comfortable using.
We inspect included tools and supplies. Kits with sandpaper, pads, polish, and a sealant give the best value. A polishing pad and clear coat or UV sealant help results last longer.
We weigh ease of use and safety. If we prefer a quick job, choose a kit with fewer steps and clear instructions. Wear gloves and eye protection; read manufacturer directions carefully.
We compare results and durability. Look for before-and-after photos and user reports about how long the clarity lasts. A UV-resistant seal keeps headlights clearer for more months.
We check compatibility and fit. Some kits work better on plastic lenses than on glass. Make sure the kit suits our vehicle’s headlight material and the level of yellowing or oxidation.
We consider tools and time. Manual kits need elbow grease and may take 30–90 minutes per light. Kits that work with a drill or have polishing machines cut time but require more care.
We verify warranty and support. A product with a money-back guarantee or customer support gives us more confidence. For safety standards and chemical info, consult resources like the EPA or a vehicle maintenance guide (see EPA vehicle care pages and trusted car maintenance sites for details).
Editor’s Choice
We chose the Meguiar’s Heavy Duty Headlight Restoration Kit as our Editor’s Choice. It removes yellowing and hazing fast, and it lasts longer than most DIY options.
We liked the kit because it includes sanding discs, polishing compound, and a UV protectant. The steps are clear and the kit works on deep oxidation as well as light cloudiness.
Key facts:
- Ease of use: Moderate — needs some effort but instructions are simple.
- Results: Bright, clearer headlights that improve night visibility.
- Durability: UV sealant helps slow re-yellowing for months.
We compared it to cheaper kits and found better long-term clarity and fewer repeat treatments. We also considered price; this kit costs more up front but often saves time and money over repeated fixes.
If you want a single pick that balances performance and durability, we recommend this kit. It fits most vehicles and gives consistently strong results when used as directed.
Comparisons & Alternatives
We compare three top kits to help you pick the right one. Each kit varies by price, ease of use, and results.
| Kit | Price range | Ease of use | Best for |
|---|---|---|---|
| Premium Sanding + Polish Kit | $$$ | Moderate | Deep yellowing, heavy scratches |
| All-in-One Polish Spray | $$ | Easy | Light haze, quick fixes |
| Budget Abrasive Pads | $ | Moderate | Small scuffs, tight budgets |
We list one similar-priced alternative so you can choose by need. The All-in-One Polish Spray is similar in price to the Budget Abrasive Pads when on sale.
We recommend the Premium Sanding + Polish Kit when lenses are severely clouded or scratched. Choose the All-in-One Polish Spray when you want a fast, simple fix with minimal tools.
We prefer the Budget Abrasive Pads for DIYers on a tight budget who can spend more elbow grease. Each option can work well if used correctly, but results depend on lens condition and how carefully we follow instructions.
FAQS
What causes headlight clouding?
We see plastic lenses fade from UV light, heat, and road grime. Over time, the clear coating wears away and the lens turns hazy.
How long does restoration last?
Results vary by kit and care. With proper sealing and no heavy exposure, restoration can last 6–24 months.
Can we do restoration ourselves?
Yes. Most kits include sandpaper, polish, and sealant. We recommend following instructions and using safety gear.
Do all kits work the same?
No. Kits differ in abrasives, polish quality, and sealants. We look for kits with a UV protectant for longer protection.
Will restoration fix cracks?
Restoration removes oxidation but won’t repair deep cracks or broken mounts. For structural damage, we suggest lens replacement.
How fast is the process?
Typical jobs take 30–90 minutes per headlight depending on damage. Heavily oxidized lenses need more sanding and time.
Any maintenance tips?
Keep lenses clean and park in shade when possible. Reapply a UV sealant every 6–12 months to maintain clarity.
What about safety?
Clear headlights improve night visibility and reduce glare. We always recommend testing beam alignment after restoration.
Buying guide quick list:
- Choose kits with UV sealant.
- Prefer multi-step abrasive systems.
- Check for included instructions and protective gear.
Conclusion
We prefer kits that balance ease, safety, and real results. A good kit should remove haze, protect the lens, and be simple to use without special tools.
We recommend looking at abrasive type, included sealant, and whether the kit fits your time and skill. Wet sanding works best for deep yellowing, while polishing alone helps light cloudiness.
If you want long-lasting clarity, pick kits with UV protectant and clear instructions. Reapplying protectant yearly keeps headlights bright and safe.
We suggest testing a small area first and following all safety steps. Wear gloves, mask, and tape off paint to avoid damage.
Our top picks covered a range of budgets and effort levels. Choose the kit that matches how much work you want to do and how clear you need your lights to be.