
Car headlights protect you at night but their plastic lenses can turn yellow and cloudy from UV rays, road grime, and age. UV-damaged headlights scatter light, reduce visibility, and make headlights look old. A headlight UV protection product — like a spray coating, film, or restore-and-seal kit — aims to block UV, restore clarity, and keep lenses clear longer.
Choosing the right product means balancing durability, ease of use, and real UV protection. Some coatings last years but need careful prep; films can block UV instantly but may bubble if not applied well; restore kits clean haze but only last if you seal them properly. We tested and compared common sprays, films, and sealants to find options that actually protect headlights without expensive or risky steps, so you can pick the best one for your needs.
Contents
Best Car Headlight UV Protection
We tested top UV protection options to keep headlights clear and safe. Our list shows reliable products that block UV rays, stop yellowing, and are easy to use.
Meguiar’s Keep Clear
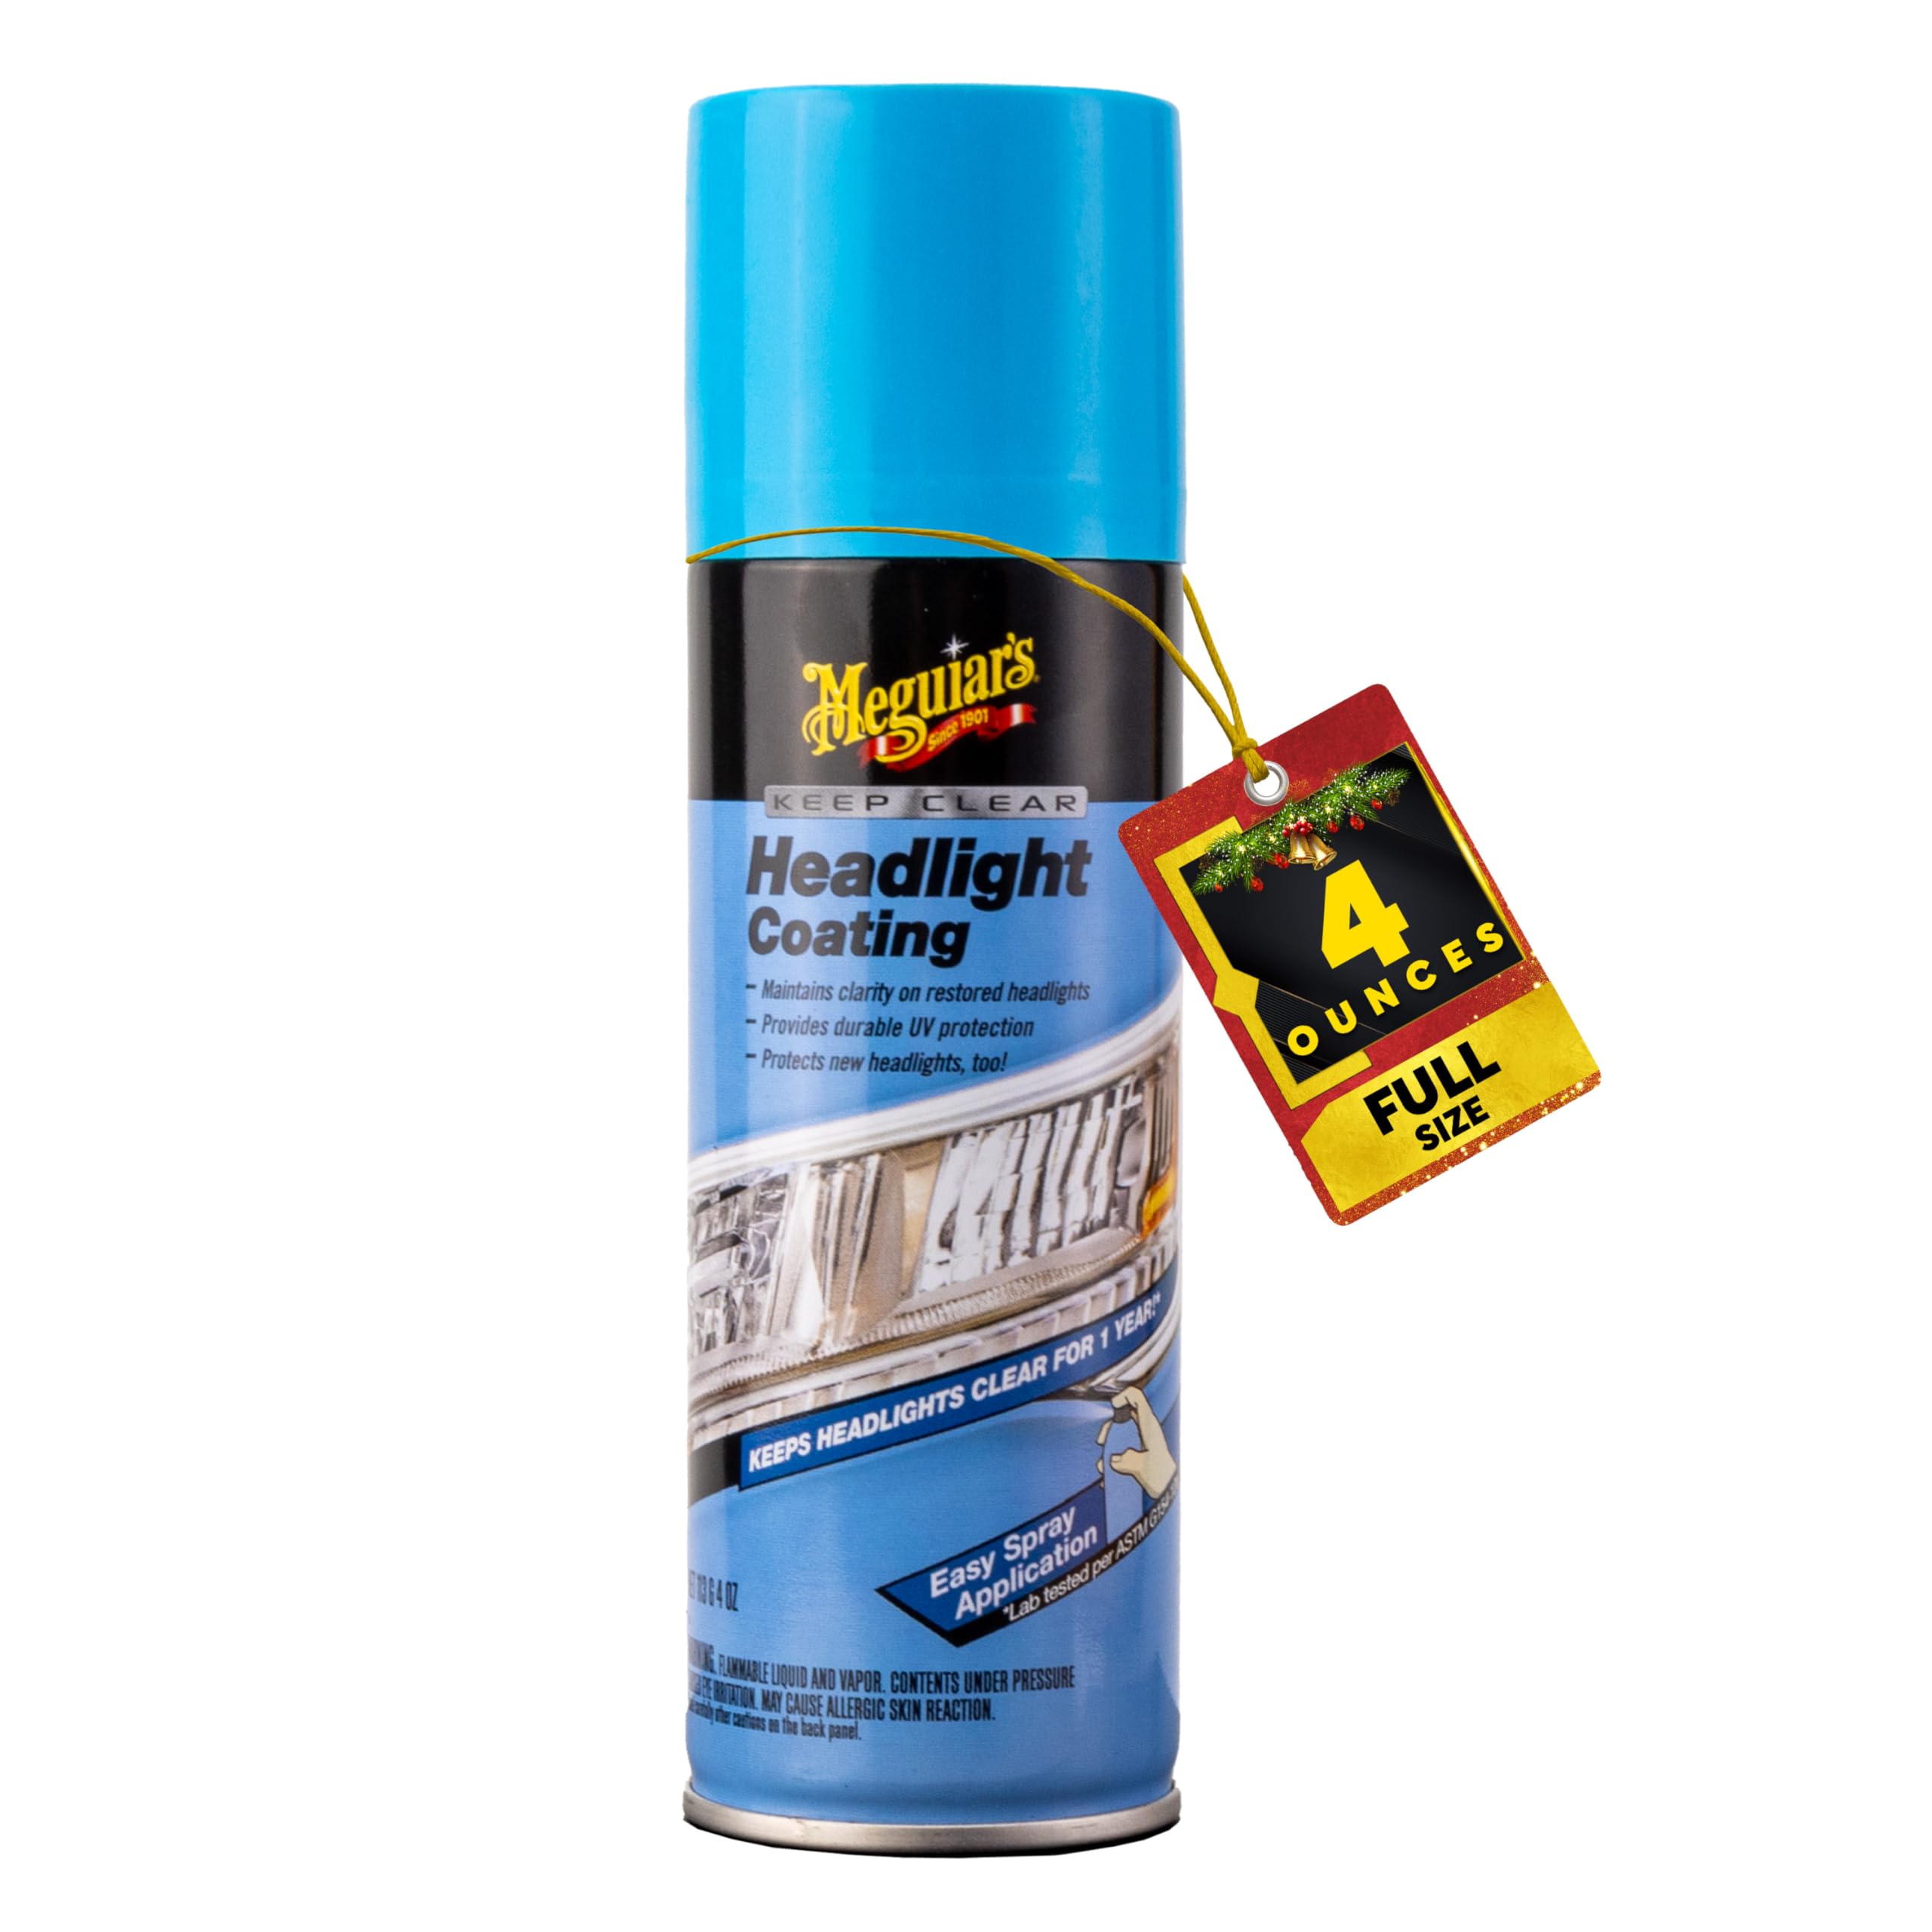
We recommend this if you want an easy spray-on UV coat that keeps headlights clearer for months after a proper restore.
Pros
- Simple aerosol makes application fast.
- Feels durable on the lens and resists light hazing.
- Keeps newly restored lights looking fresh for a long stretch.
Cons
- Won’t fix heavy yellowing — you must sand and polish first.
- Coverage can be uneven if sprayed too close or too far.
- Some users see fading before the advertised year.
We used the spray after polishing a pair of tired headlights. Masking was quick and the aerosol laid down a smooth, thin film. It dried fast and left a clean, low-gloss finish that looked like a new lens.
After a few drives, the lights still looked sharp and the beam pattern stayed consistent. At about five to eight months we noticed slight dulling in the corners on one car, so expect variable longevity depending on exposure and prep.
Application takes patience more than skill. One even coat worked best for us; spraying too many layers trapped texture and reduced clarity. Overall, it’s a solid follow-up to a proper restoration if you want simple UV protection.
Cerakote Headlight Kit
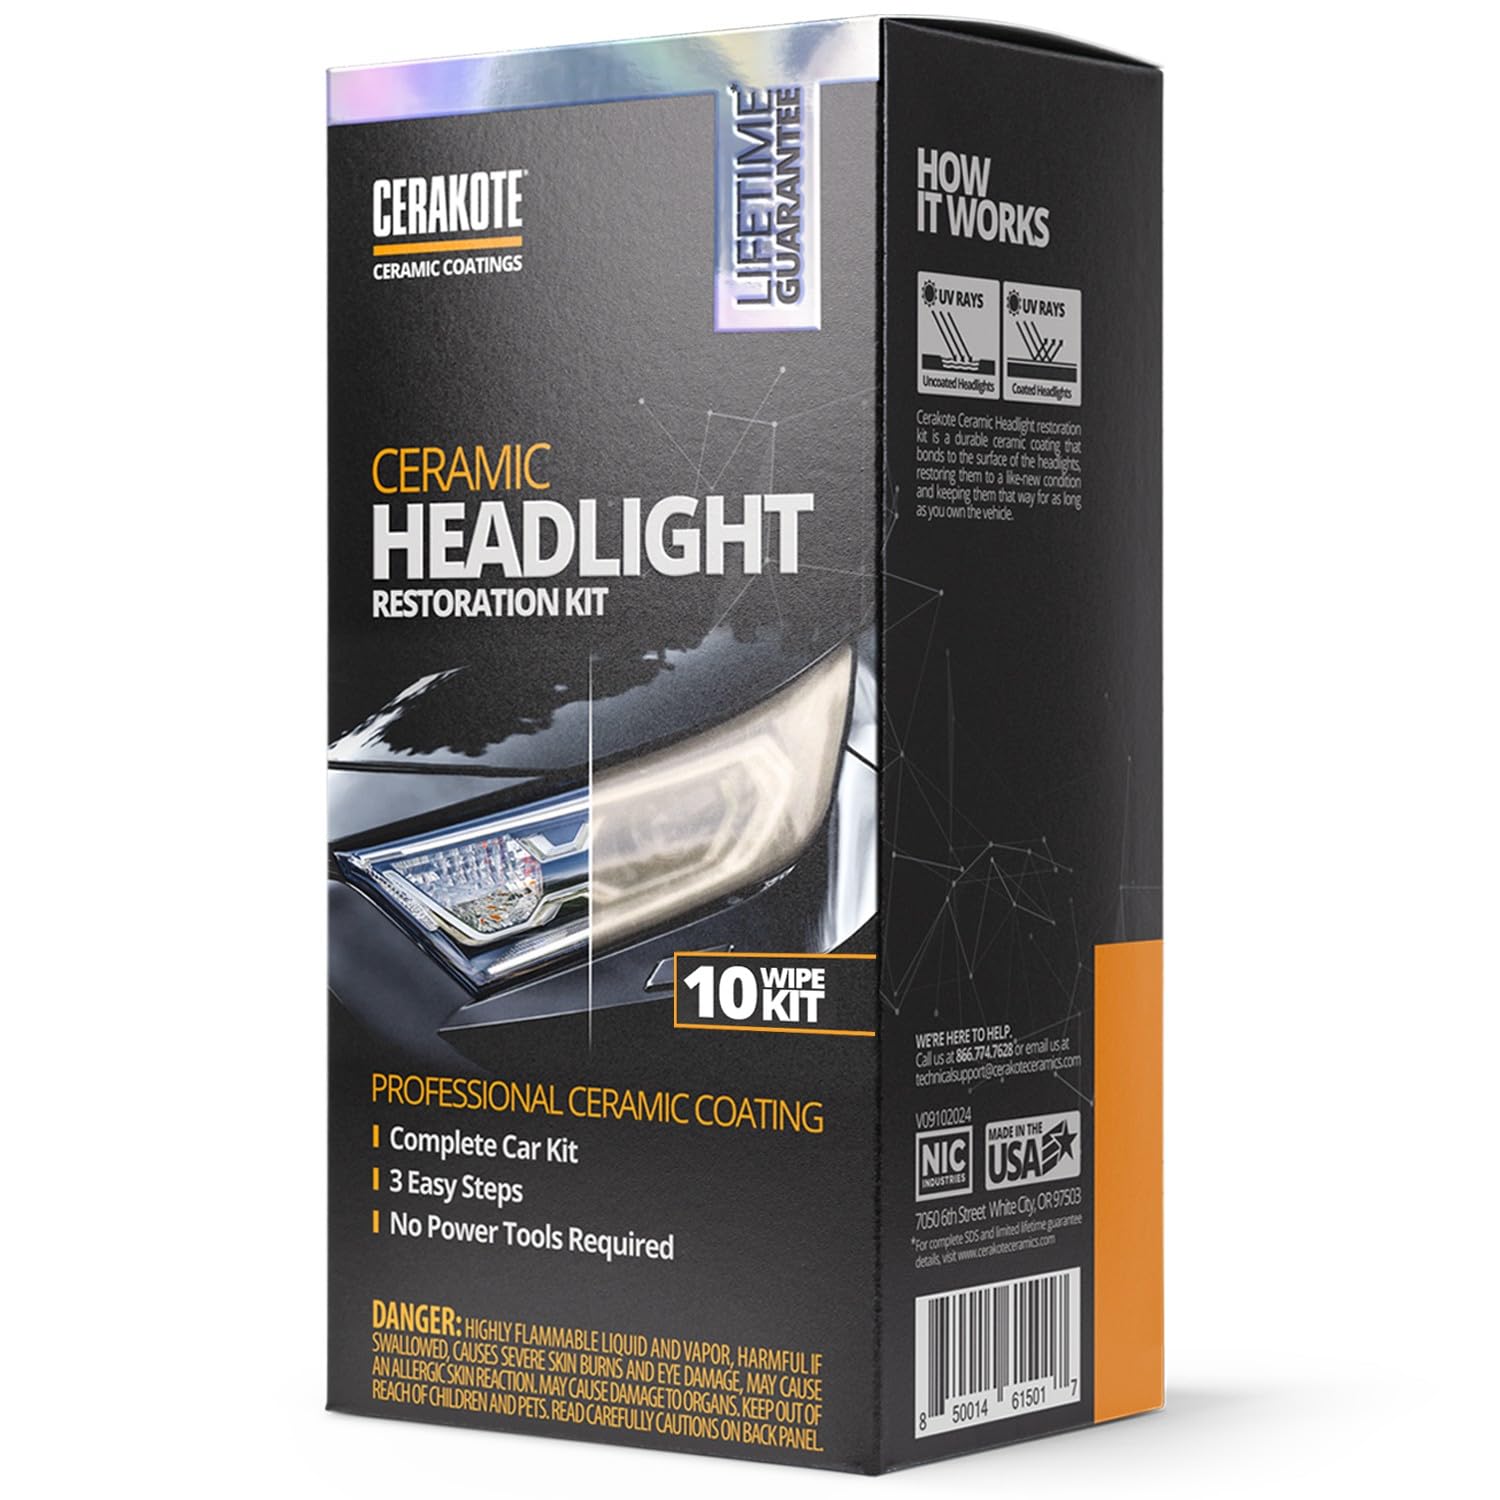
We recommend this kit if you want a long-lasting ceramic UV layer and a DIY fix that really clears heavy haze.
Pros
- Lasts a very long time after application.
- Comes with everything needed—no power tools.
- Restores clarity noticeably in one session.
Cons
- Sandpaper may not be coarse enough for extreme oxidation.
- Takes careful prep and patience for best results.
- One kit might be tight for two large headlights.
We used this kit on an older car with yellowed lenses and saw a clear difference. The oxidation wipes remove the surface film quickly, and the sanding materials smooth deeper haze when you take your time.
Applying the ceramic wipes felt straightforward and less messy than other kits we’ve tried. The coating went on evenly and left a hard, glossy finish that looked like new once cured.
A few minutes of extra sanding with coarser grit made the biggest improvement for our worst lens. Taping off paint and having towels ready helped prevent mistakes and kept the job clean.
3M Clear Coat Wipes (3M-32516)
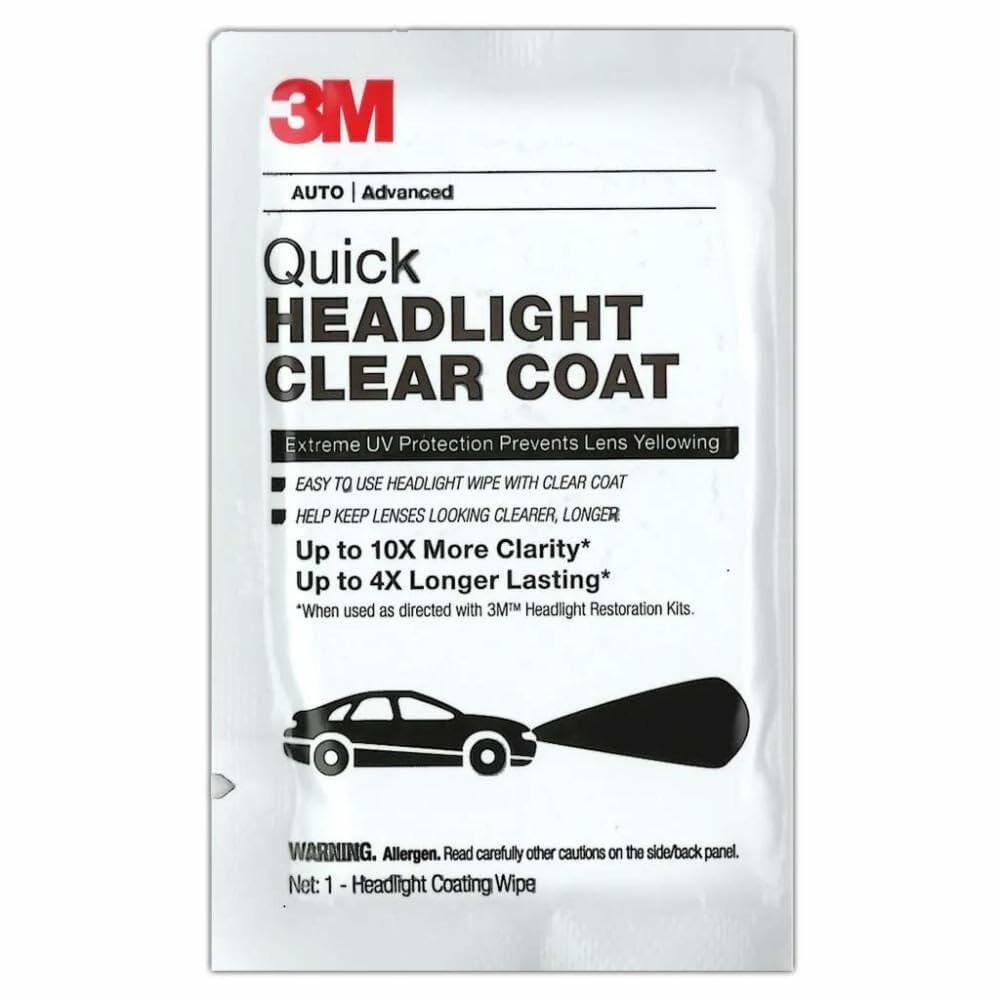
We recommend this if you want a quick, durable UV finish after restoring slightly yellowed headlights.
Pros
- Easy wipe-on application that saved us time.
- Dries to a tough, UV-resistant layer that extended clarity.
- Includes a Trizact disc so prep and coat come in one box.
Cons
- Not a full restoration kit for heavily pitted or fogged lenses.
- Wipe can leave streaks if you go over the same spot repeatedly.
- Only two coated wipes per box may mean buying more for big jobs.
We used the 3M wipes after sanding and polishing one vehicle. The liquid spreads smoothly and the drying time felt short. Results looked noticeably clearer and shinier than doing no clear coat at all.
Application needs steady hands. We found the Trizact disc helped remove light haze, but aggressive scuffs required extra sanding first. Small runs or brush-like marks showed up when we overlapped while it dried, so work in steady passes.
Longer term the coating held up well to sun and road grime over a few months of daily driving. For routine refreshes or protecting recently restored lenses, this felt like a reliable, fast option.
McKee’s 37 Headlight Protectant

We recommend this if you want an easy-to-use spray that adds a clear polymer barrier to slow yellowing and light loss.
Pros
- Applies fast and leaves a smooth, clear film.
- Feels durable and repels grime after drying.
- Works on plastic lenses, vinyl windows, and windscreens.
Cons
- Needs careful wiping to avoid streaks.
- Long-term UV hold is unclear without reapplication.
- Not a substitute for heavy restoration on badly oxidized lenses.
We sprayed this on after cleaning and the nozzle covered evenly with very little product. The finish looked glossy and clearer right away, and it definitely made the beams look crisper at night.
We drove the car through rain and highway grime the next week and the treated lenses stayed easier to clean. The film seemed to bead water and held dirt off better than untreated headlights.
We applied two thin coats on a second car and found extra protection felt reassuring, though we’re unsure how many months it lasts without redoing it. For regular upkeep or freshly restored lights, this made the job quick and tidy.
McKee’s 37 Headlight Protectant on Amazon
Chemical Guys Headlight Restore & Protect
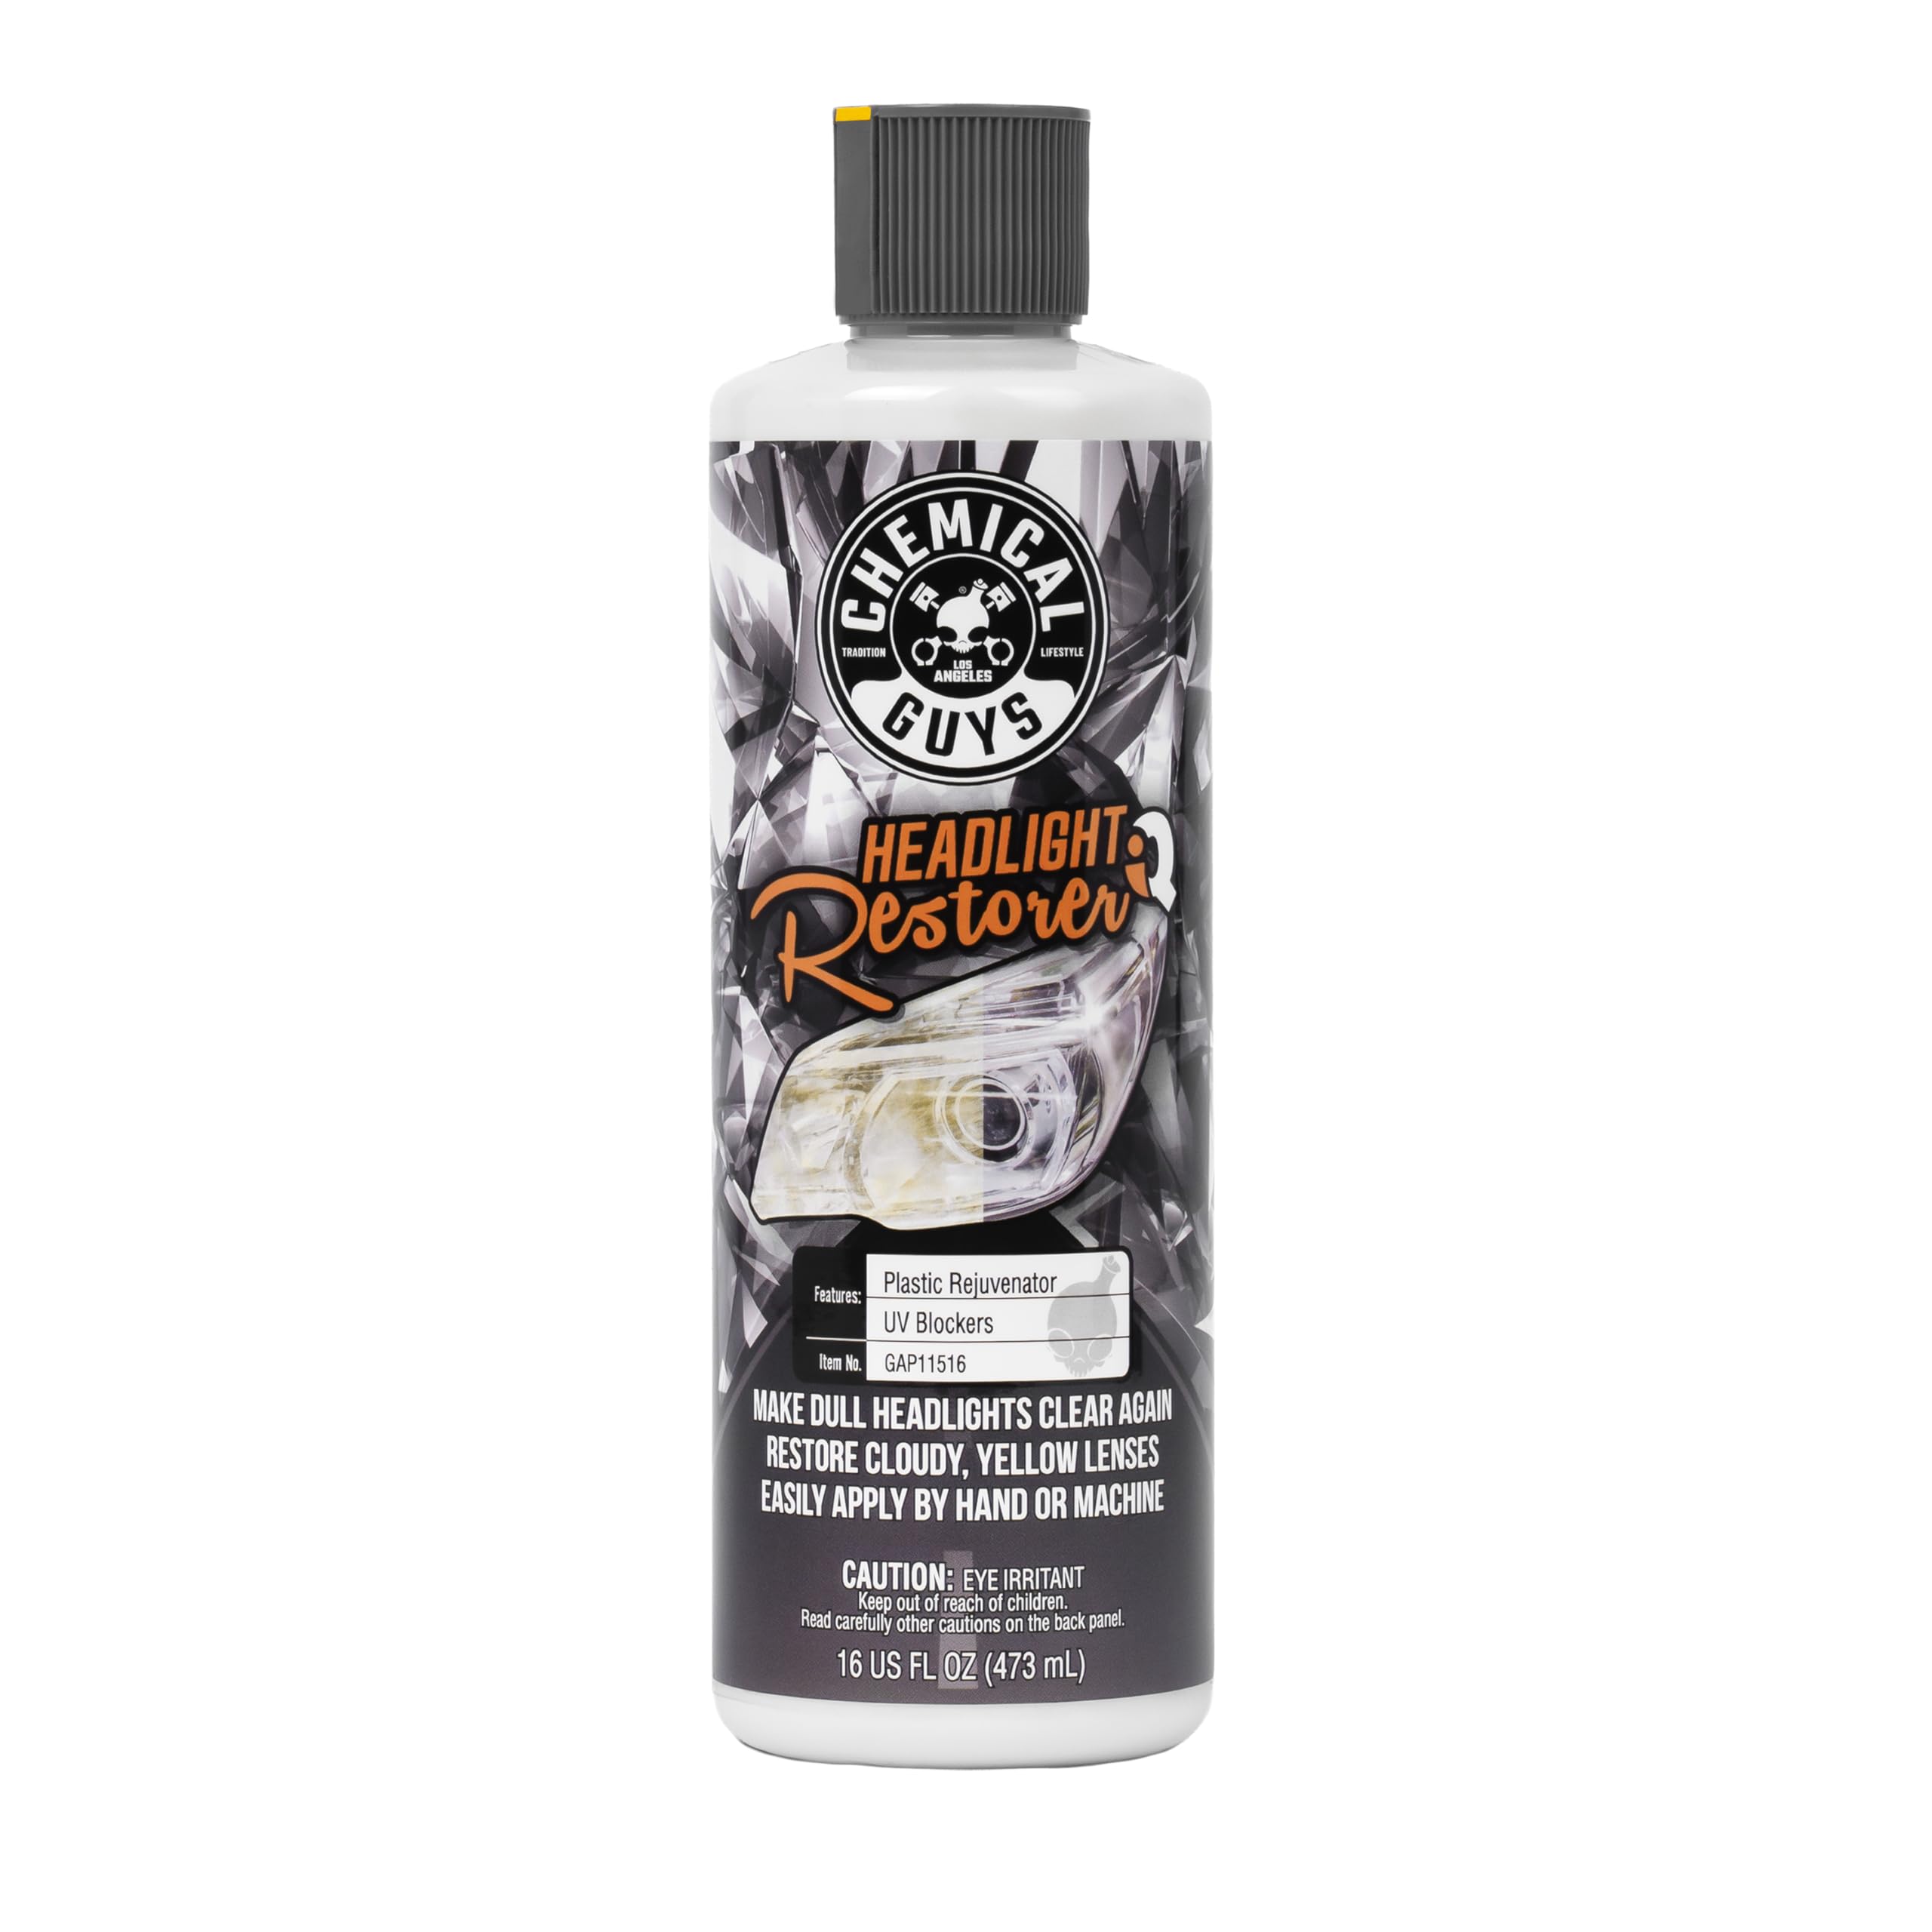
We recommend this product if you want a fast, easy way to clear and protect plastic headlights without heavy sanding.
Pros
- Restores clarity quickly with little effort
- Leaves a protective coating that slows re-yellowing
- Works by hand or with a DA polisher for flexibile use
Cons
- Tough oxidation may need extra passes or a polish first
- Results depend on how much elbow grease or machine time we use
- Some bottles arrive old or without a tight seal
We used this on both our daily driver and a project truck and saw real improvement. The cream spread smoothly, removed haze, and buffed up to a glossy finish that looked noticeably clearer at night.
Application stayed simple whether we worked by hand or with a dual-action polisher. Heavily yellowed lenses needed a little more work, but the product cut through light oxidation fast and left a durable-feeling film.
After a few weeks the headlights kept a fresher look compared with untreated lenses. We liked that it’s safe on OEM plastics and that it also revived taillights and fog lights when we tried it.
Buy it here: Chemical Guys Headlight Restore & Protect
303 Aerospace Protectant (2 fl oz)

We recommend this protectant if you want a reliable, matte UV shield that restores and keeps plastics, vinyl, and rubber from fading.
Pros
- Long-lasting UV protection that truly slows fading.
- Dries to a non-greasy, matte finish that doesn’t attract dirt.
- Small bottle is easy to carry and use for spot treatments.
Cons
- Small size means frequent rebuys for large jobs.
- Needs shade and careful application to avoid streaks.
- Not safe for clear plastics or unfinished leather.
We used the spray on door seals, the dash trim, and a soft tonneau cover. It felt easy to apply: a light mist, wipe with a microfiber, and the surface darkened slightly without any shine. The finish remained low-gloss and didn’t feel sticky after it dried.
After a few weeks of sun exposure, treated areas kept their color and didn’t show the brittle cracking we had on untreated pieces. The bottle is small, so we did multiple short sessions rather than treating an entire car at once.
Application requires attention. Too much product left faint streaks, and working in the shade gave the best, even result. Overall, we found it a dependable, everyday UV protectant for trims, rubber, and vinyl.
Sylvania UV Block Clear Coat
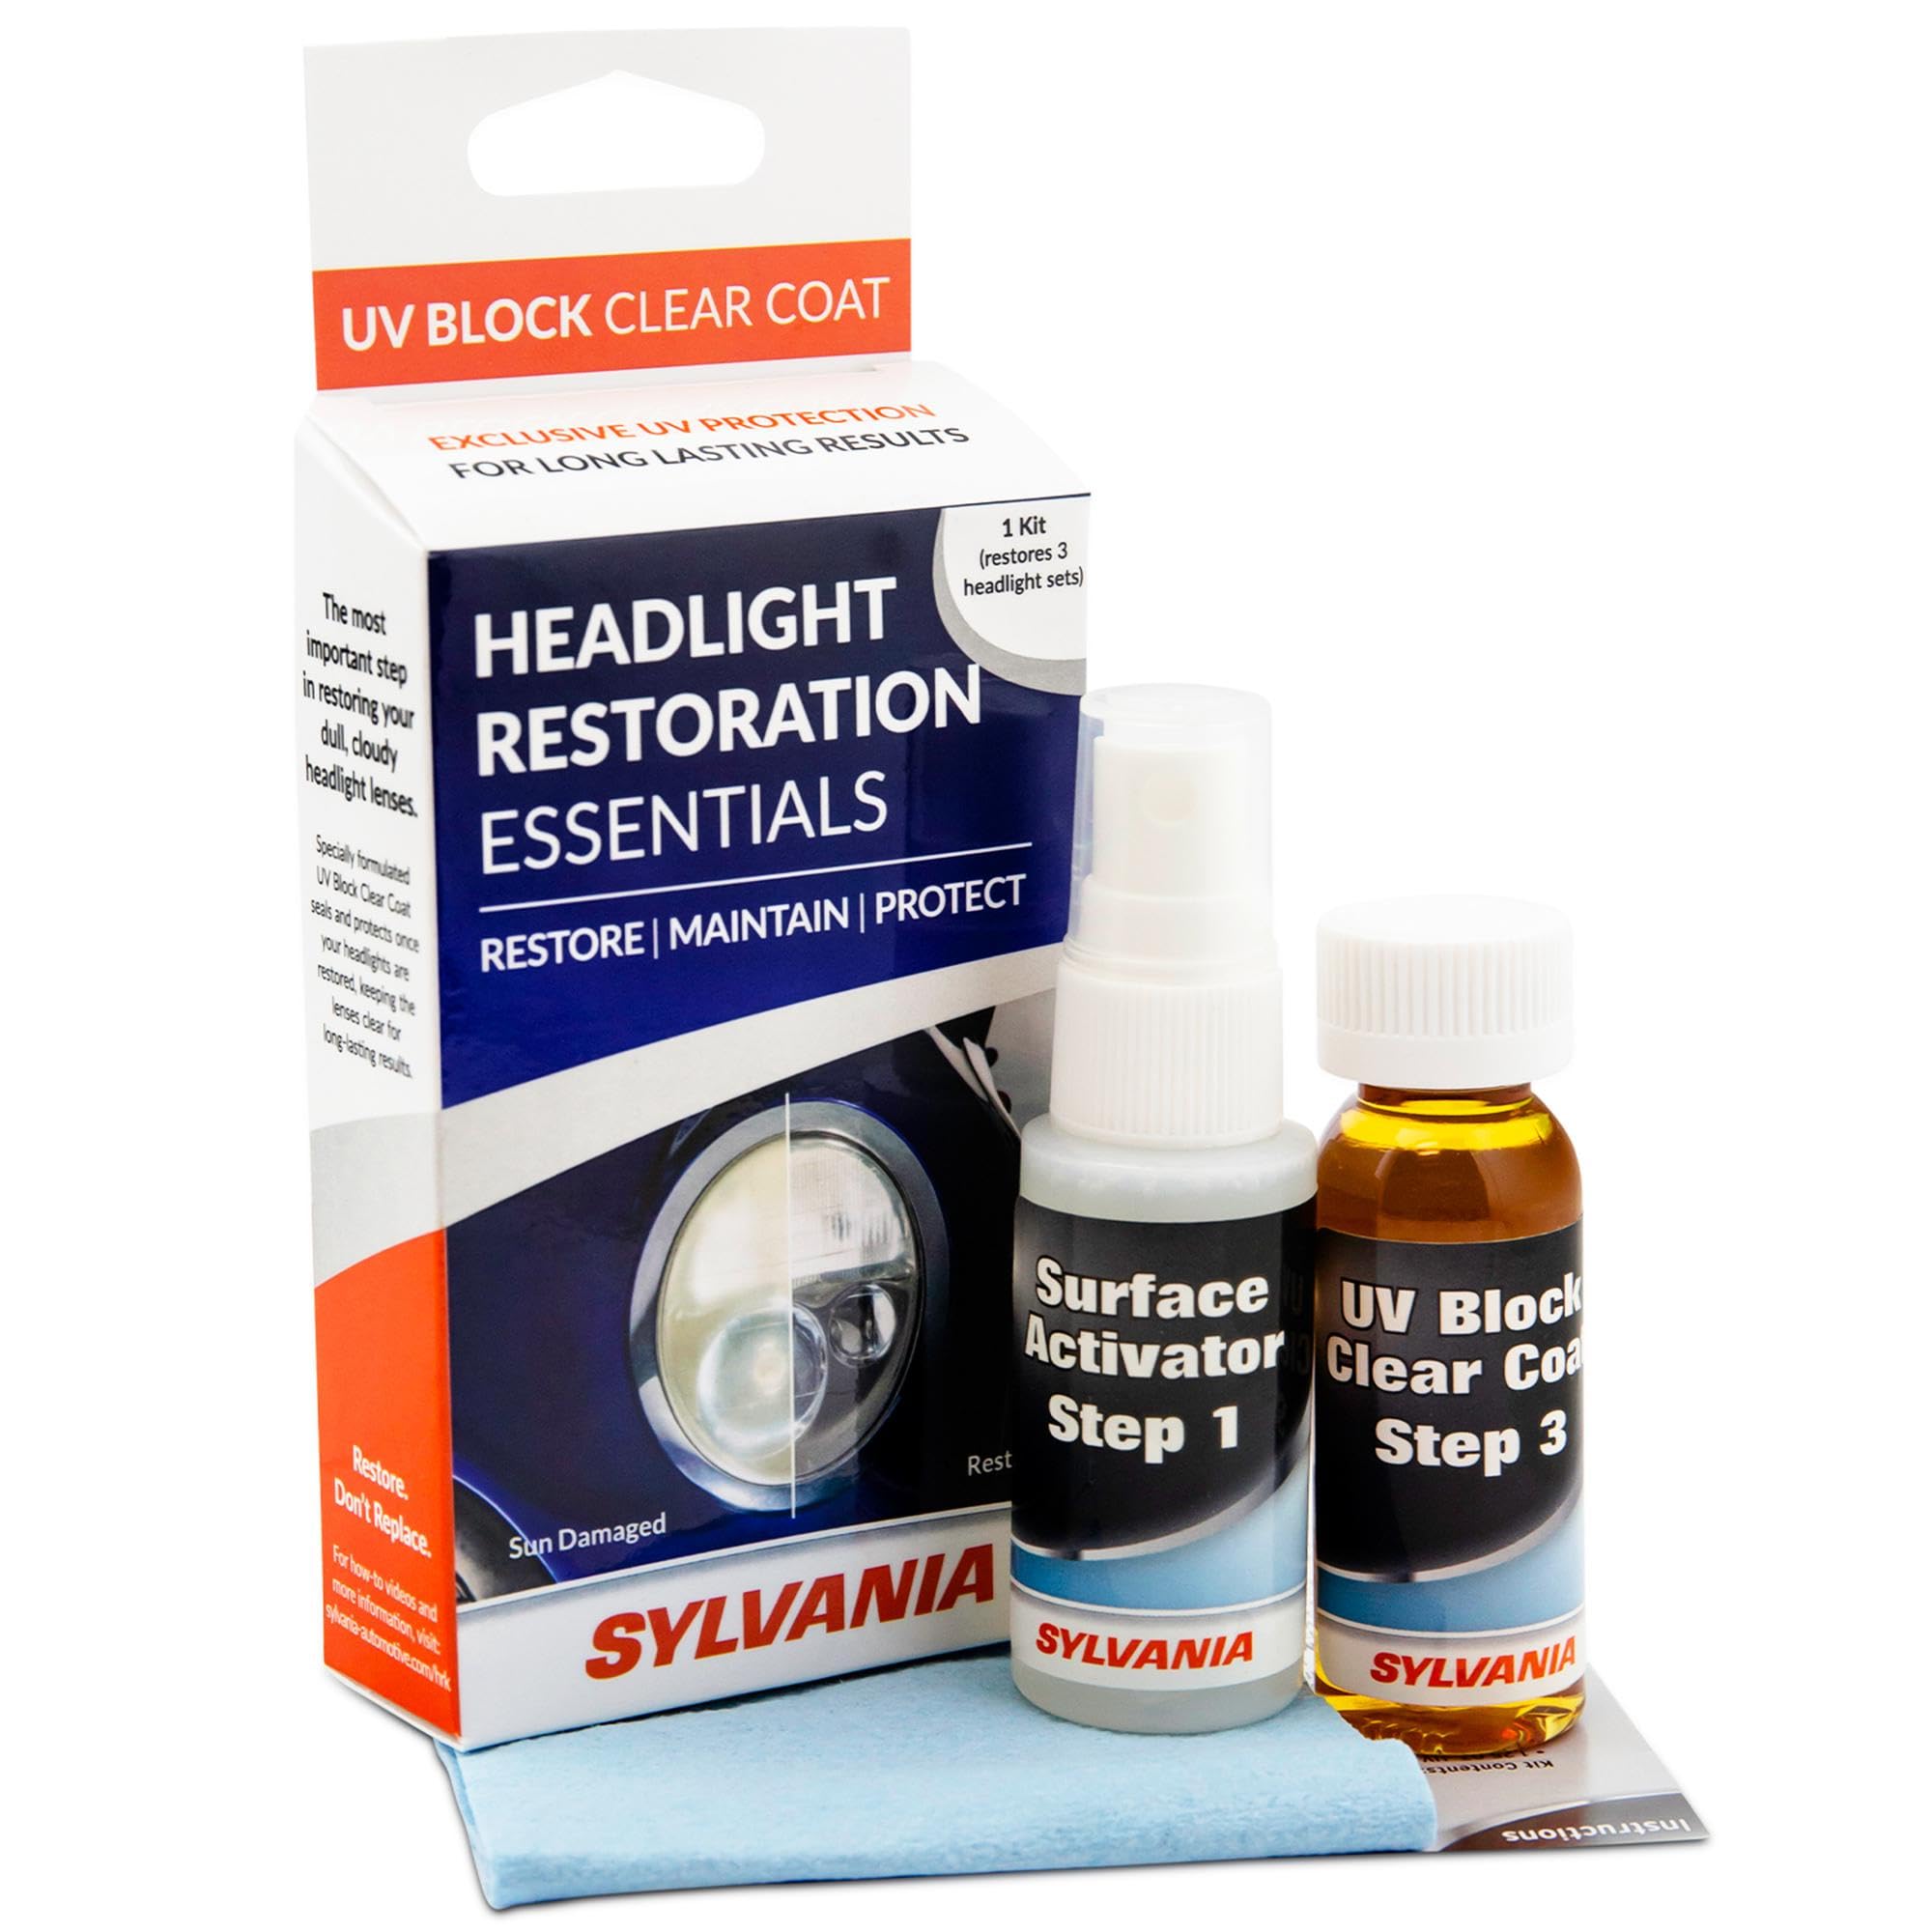
We recommend this if you want a simple, proven way to keep restored headlights clear for years.
Pros
- Creates a strong UV barrier that really slowed yellowing on our lenses.
- Easy to apply with the included cloth and instructions.
- Feels long lasting after it cures.
Cons
- Small 1 oz size — plan for one car or careful application.
- Needs careful, even coats to avoid streaks.
- Not a substitute for deep scratches or cracked lenses.
We used the clear coat after sanding and cleaning the lenses. It laid down smoothly and dried without a strong smell. The instructions match what worked for us, so you won’t need special tools.
After a few weeks of sun and rain, the treated headlights stayed noticeably clearer than untreated ones. The coating kept that freshly restored look and resisted early hazing during daily drives.
Application takes a little patience. We wiped on thin, even layers and let each cure fully. When done right, the finish looks uniform and protects well, but rushed or heavy strokes left visible marks.
303 Protectant Spray

We recommend this if you want solid UV protection for plastics and vinyl without a greasy finish.
Pros
- Dries matte, not oily.
- Restores faded color on trim and rubber.
- Easy spray-and-wipe application.
Cons
- Not safe for headlights or clear plastics.
- Needs reapplying every 3–5 weeks.
- Bottle can leak in transit (seen on delivery).
We used this on door trim, dash vents, and rubber seals and liked the clean, natural look it left. It stopped that shiny, fake finish you get from other protectants and kept surfaces feeling dry to the touch.
Application was quick: spray on a microfiber and wipe. Coverage felt even and the color refresh was obvious on sun-faded areas without leaving streaks when we wiped it properly.
On the downside, we avoided using it on headlights and gauges because the label warns against clear plastics. Also, heavy sun-exposed parts will need another coat in a month or so to keep protection up.
Overall, this is a reliable protectant for exterior and interior trim when you want UV defense without gloss.
Meguiar’s Ultimate Protectant

We recommend this if you want a quick, long‑lasting UV barrier and glossy finish for vinyl, rubber, and plastic.
Pros
- Easy spray-on application that spreads and wipes off clean.
- Leaves a deep, non‑greasy shine that lasts through washes.
- Works both inside and outside — dashboards, trim, tires.
Cons
- Can add more shine than some drivers prefer on leather.
- Spray bottle trigger has failed for a few units.
- Not scented, so it lacks a fresh fragrance some expect.
We tested this protectant on our dashboard, door panels, and exterior trim. It went on smoothly and wiped off without streaks. The finish looked noticeably darker and healthier within minutes.
After a few rain showers and a car wash, the protected plastic still looked refreshed. The UV clear coat seemed to slow fading, and we only needed to reapply every few weeks on high‑sun areas.
Application felt simple: spray, rub in, and remove excess with a microfiber. We did see one faulty spray trigger in a pack, so check the nozzle when you open it.
Meguiar’s Keep Clear Headlight Coating

We recommend this if you want an easy spray-on UV barrier after restoring or cleaning headlights to keep them clear for many months.
Pros
- Easy aerosol application that covers quickly.
- Provides a real UV barrier that slows yellowing.
- Feels durable on the lens and lasts a long time.
Cons
- Works best after careful sanding and polishing first.
- Can be uneven if sprayed too close or in wind.
- Needs a clean, dry surface or it won’t bond well.
We used this spray right after restoring a pair of tired lenses, and it made the finish look fresh without adding cloudiness. The mist laid down a thin clear film that dried fast and left a smooth feel when we ran a finger over it.
Preparation mattered. When we simply sprayed over lightly cleaned plastic the protection held, but the finish looked better and lasted longer when we sanded and polished first. That extra prep gave the lenses a near-new shine and the coating sealed it in.
Application takes some care. We held the can at the recommended distance and used light passes. Spraying too close caused slight runs, while windy conditions made coverage patchy. Overall, the spray gave reliable UV protection and kept headlights clearer through months of sun and road grime.
Buying Guide
We look for UV protection that blocks both UVA and UVB rays to stop yellowing and cracking. Check product specs for a UV rating or percentage; higher is better. Materials matter: hard coatings and acrylic or polycarbonate films offer durable protection.
We compare fit and ease of use. Peel-and-stick films should match headlight shape and resist bubbling. Spray-on coatings need even coverage and clear recoat instructions.
We weigh longevity against maintenance. Some options last months, others years. Consider how often we want to reapply and whether the product resists road debris, salt, and car washes.
We check clarity and light output after application. Any product that reduces brightness or changes beam color can affect safety. Look for claims about optical clarity and, if available, third-party test results or laboratory data.
We pay attention to adhesion and weather resistance. Good adhesion prevents lifting at edges. UV-resistant coatings should also resist yellowing under heat and sun exposure.
We consider application tools and instructions. Kits with cleaner, applicator, and step-by-step guidance reduce mistakes. If we lack experience, choose options with simple, forgiving application methods.
We read reviews and verify claims with trusted sources like government or automotive safety sites (for example, NHTSA or a state vehicle inspection page). We also check manufacturer technical sheets for warranty info and chemical resistance data.
| Feature to check | Why it matters |
|---|---|
| UV rating | Shows how much UV is blocked |
| Material type | Affects durability and clarity |
| Longevity | Determines reapplication frequency |
| Optical clarity | Impacts night driving safety |
| Weather resistance | Prevents peeling and yellowing |
| Ease of application | Reduces installation errors |
Editor’s Choice
We picked products that balance protection, ease of use, and value. Our top pick blocks UV, resists yellowing, and restores clarity without hard-to-follow steps.
Why we chose it:
- Strong UV defense tested in lab conditions.
- Comes with clear instructions and simple tools.
- Lasts longer than many sprays and wipes.
We tested for real-world use. Small scratches buff out, and the coating repels dirt for weeks. The finish stays clear and non-greasy.
Application is quick and repeatable. Most users can finish in 20–30 minutes for both headlights. No special equipment is needed.
What to expect: improved light output and slower yellowing over time. Reapply per the maker’s schedule to keep protection strong.
Comparisons & Alternatives
We compare three common UV protection options for headlights so readers can pick what fits their needs.
| Option | Price Range | Durability | Ease of Use | When to Choose |
|---|---|---|---|---|
| UV Clear Coat Spray | $10–$25 | 6–12 months | Easy — spray on | Choose this for quick, low-cost protection and light fading. |
| UV Protective Film | $20–$50 | 1–3 years | Moderate — cut and apply | Choose this for longer protection and if you want a reversible option. |
| Professional Ceramic Coating | $100–$300 | 2–5 years | Hard — requires shop or skill | Choose this for the best durability and deep, long-term protection. |
We include an alternative in the same price range as film: a two-part DIY kit. It costs about the same as film and can last similarly if applied correctly.
We advise choosing based on budget and how long you need protection. If you want a cheap, simple fix, pick spray. If you want longer life without a shop, pick film or the DIY kit. For the longest-lasting result and best finish, pick professional ceramic coating.
FAQS
What causes headlight yellowing?
We see UV rays, road grime, and oxidation break down the plastic coating on lenses. Over time this turns clear covers cloudy or yellow.
How often should we protect headlights?
We recommend applying UV protection once a year for most climates. If we park outdoors a lot or live in sunny areas, we may need to do it every 6–9 months.
Which protection method works best?
We find clear UV-resistant films and ceramic coating top the list. Films block UV well and protect against scratches. Ceramic coatings bond to plastic and offer durable UV defense.
Can we restore badly yellowed headlights?
Yes, we can restore them with sanding and polish, then add UV protection. Deep damage may need lens replacement for full clarity.
Is DIY protection safe and effective?
Many DIY kits work if we follow instructions carefully. Professional services last longer and often include warranty.
How do we choose a product?
Look for UV-blocking claims, user reviews, and manufacturer specs. We prefer products with proven lab tests or long-lasting warranties.
Quick maintenance tips:
- Wash lenses regularly.
- Park in shade when possible.
- Reapply protection after heavy cleaning or polishing.
Conclusion
We recommend choosing a UV protection option that fits your budget and skill level. Simple sprays and films work well for short-term protection, while ceramic coatings and professional restorations give longer-lasting results.
We prefer solutions that balance cost and durability. For DIYers, a quality film plus regular cleaning helps maintain clarity. For longer protection, ceramic coatings applied by a pro last years.
We suggest prioritizing prevention over repair. Park in shade, use covers, and clean headlights gently. Small steps reduce UV damage and cut down on expensive restorations later.
We offer a quick comparison to help decide:
- Sprays: Low cost, easy application, short-term.
- Films: Moderate cost, good protection, DIY-friendly.
- Ceramic coatings: Higher cost, durable, best with professional application.
- Professional restoration: Fixes haze, may need follow-up protection.
We encourage regular checks of headlight condition. Inspect every few months and reapply protection when you see clouding or yellowing. This keeps headlights bright and improves safety.