
Cloudy or yellowed headlights make cars look older and reduce night visibility. Headlight cleaning solutions and kits restore lens clarity by removing oxidation, grime, and UV-damaged plastic without requiring full replacement. We focus on easy-to-use products—rubbing compounds, polishing kits with pads, and single-step restorers—that work with common tools like drills or by hand.
The main thing to watch when choosing a headlight cleaner is how much material it removes and whether it adds UV protection. Some kits strip away only surface haze and include a protective sealant, while others rely on abrasive compounds that need a good polish and a follow-up coating to prevent quick re-yellowing. We tested a range of kits and methods to find options that clear lenses effectively, are safe for common plastics, and keep headlights clearer longer.
Contents
Best Headlight Cleaning Kits
Below is our full list of the best products to clean car headlights. We tested kits that remove haze, restore clarity, and protect lenses so you can pick the right option for your needs.
Cerakote Headlight Restoration Kit
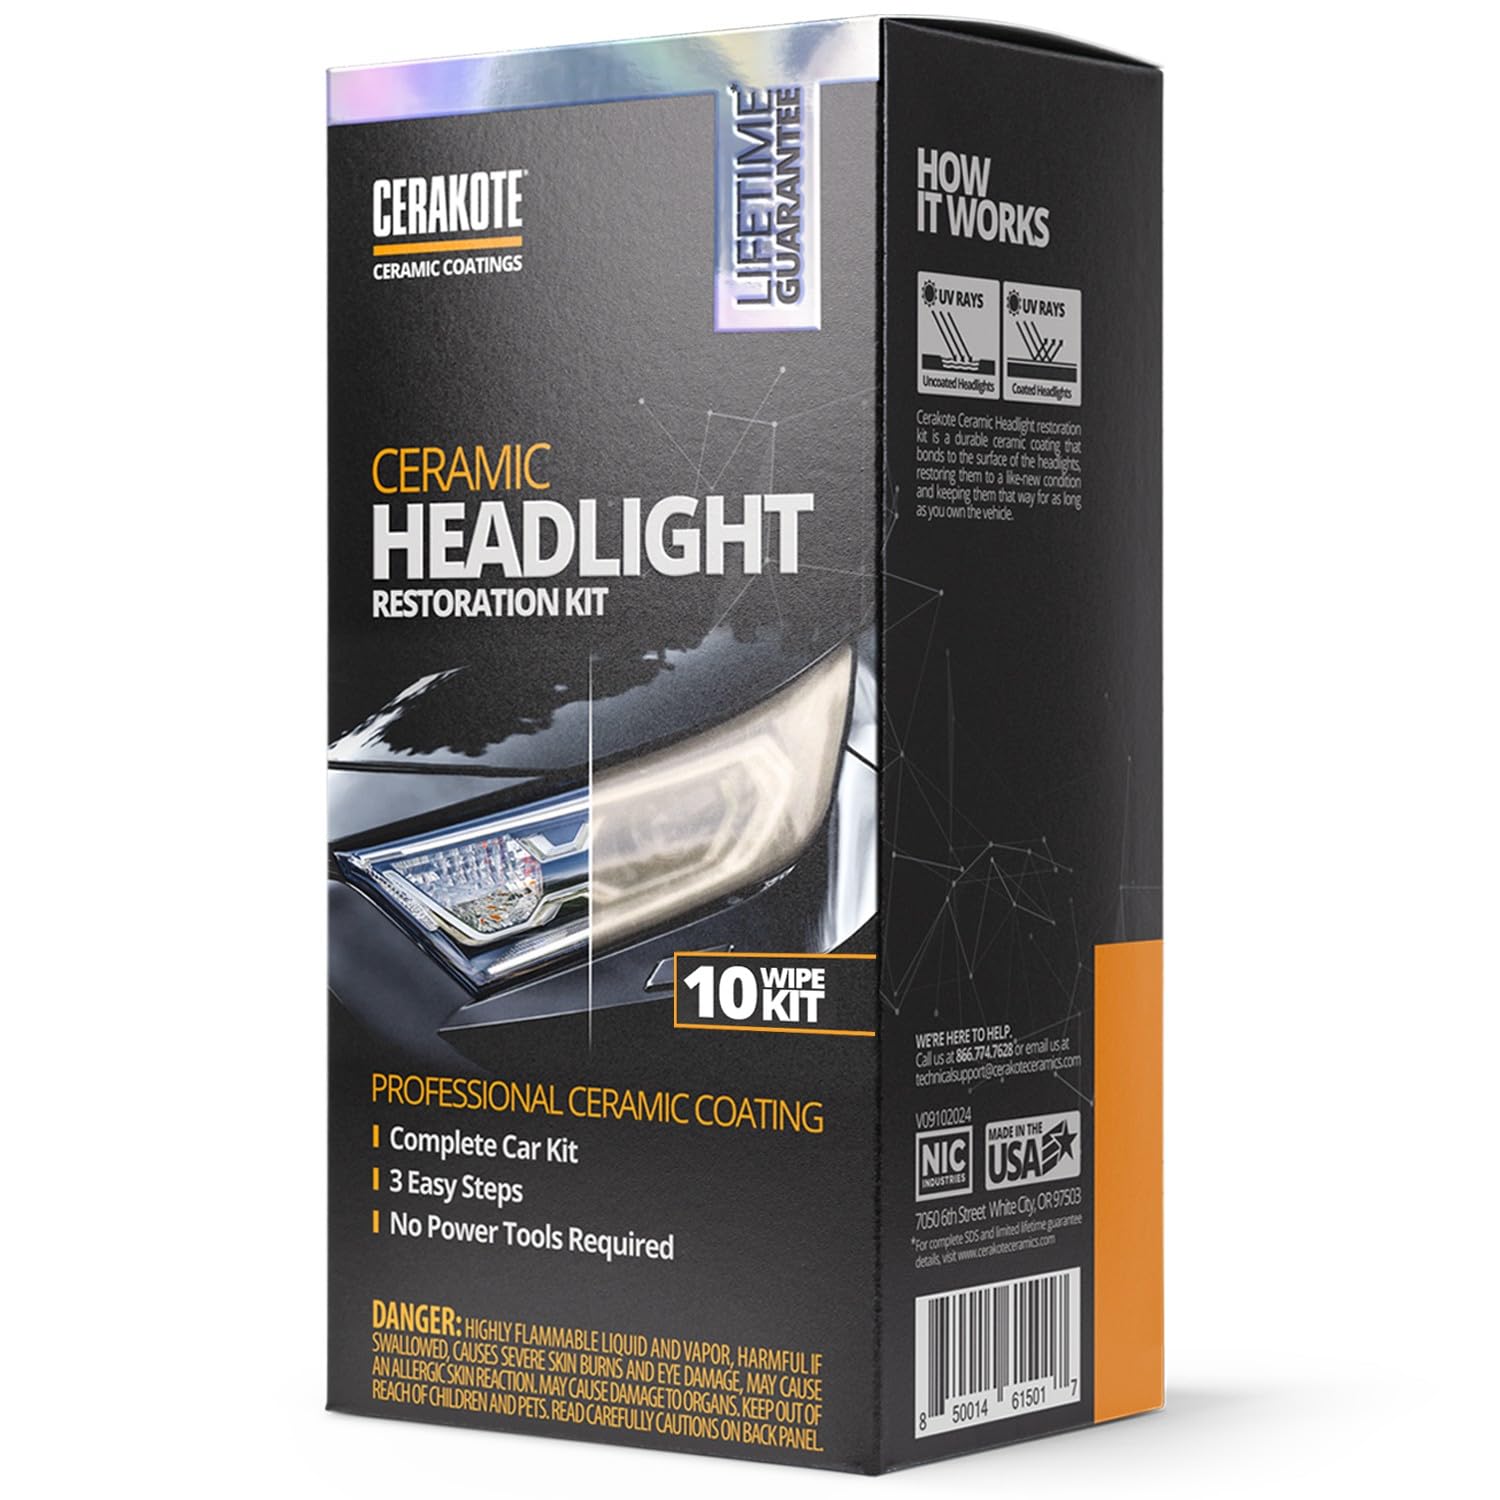
We recommend this kit if you want long-lasting UV protection and clear headlights without using power tools.
Pros
- Lasts a very long time thanks to ceramic bonding
- Simple three-step process that we finished in about 30 minutes
- No drills or special tools needed, so risk to paint is low
Cons
- Sanding can take extra effort on badly pitted lenses
- Kit may not include every grit you need for heavy oxidation
- You must follow curing time or results may vary
We used the wipes and sanding pieces on two cars and saw a clear difference. The oxidation wipes cut most of the haze, and the ceramic step left a hard, glossy finish that felt durable.
On a badly yellowed lens we had to switch to a coarser sandpaper from our garage to remove deep damage. That added time, but the end result still looked far better than before.
The ceramic coating felt solid after curing and gave visible UV protection. Overall, this kit worked well for routine restorations and felt safer than power-tool methods.
3M Ultra Headlight Restoration Kit

We recommend this kit when you want a reliable DIY fix that brings cloudy plastic headlights back to clear without replacing the lens.
Pros
- Restores clarity using step-by-step sanding and polish.
- Includes most items we needed: sanding discs, tape, and protectant.
- Works with a drill to speed the job.
Cons
- Takes time and patience for best results.
- Drill sanding can scuff paint if you’re not careful.
- Protective coating may need reapplying after a year or two.
We used the kit on two older cars and liked how the sanding stages showed clear progress. The discs cut through yellow haze and the final polish left the lenses noticeably clearer.
Applying the tape saved the trim and paint from accidental sanding. We found the drill attachment made the work faster than hand sanding, but we had to keep the pad steady to avoid uneven spots.
The included clear coat felt solid at first, yet one car needed a touch-up after a year. Overall, this kit gave near-professional results at a fraction of the cost of lens replacement.
Chemical Guys Headlight Restore & Protect
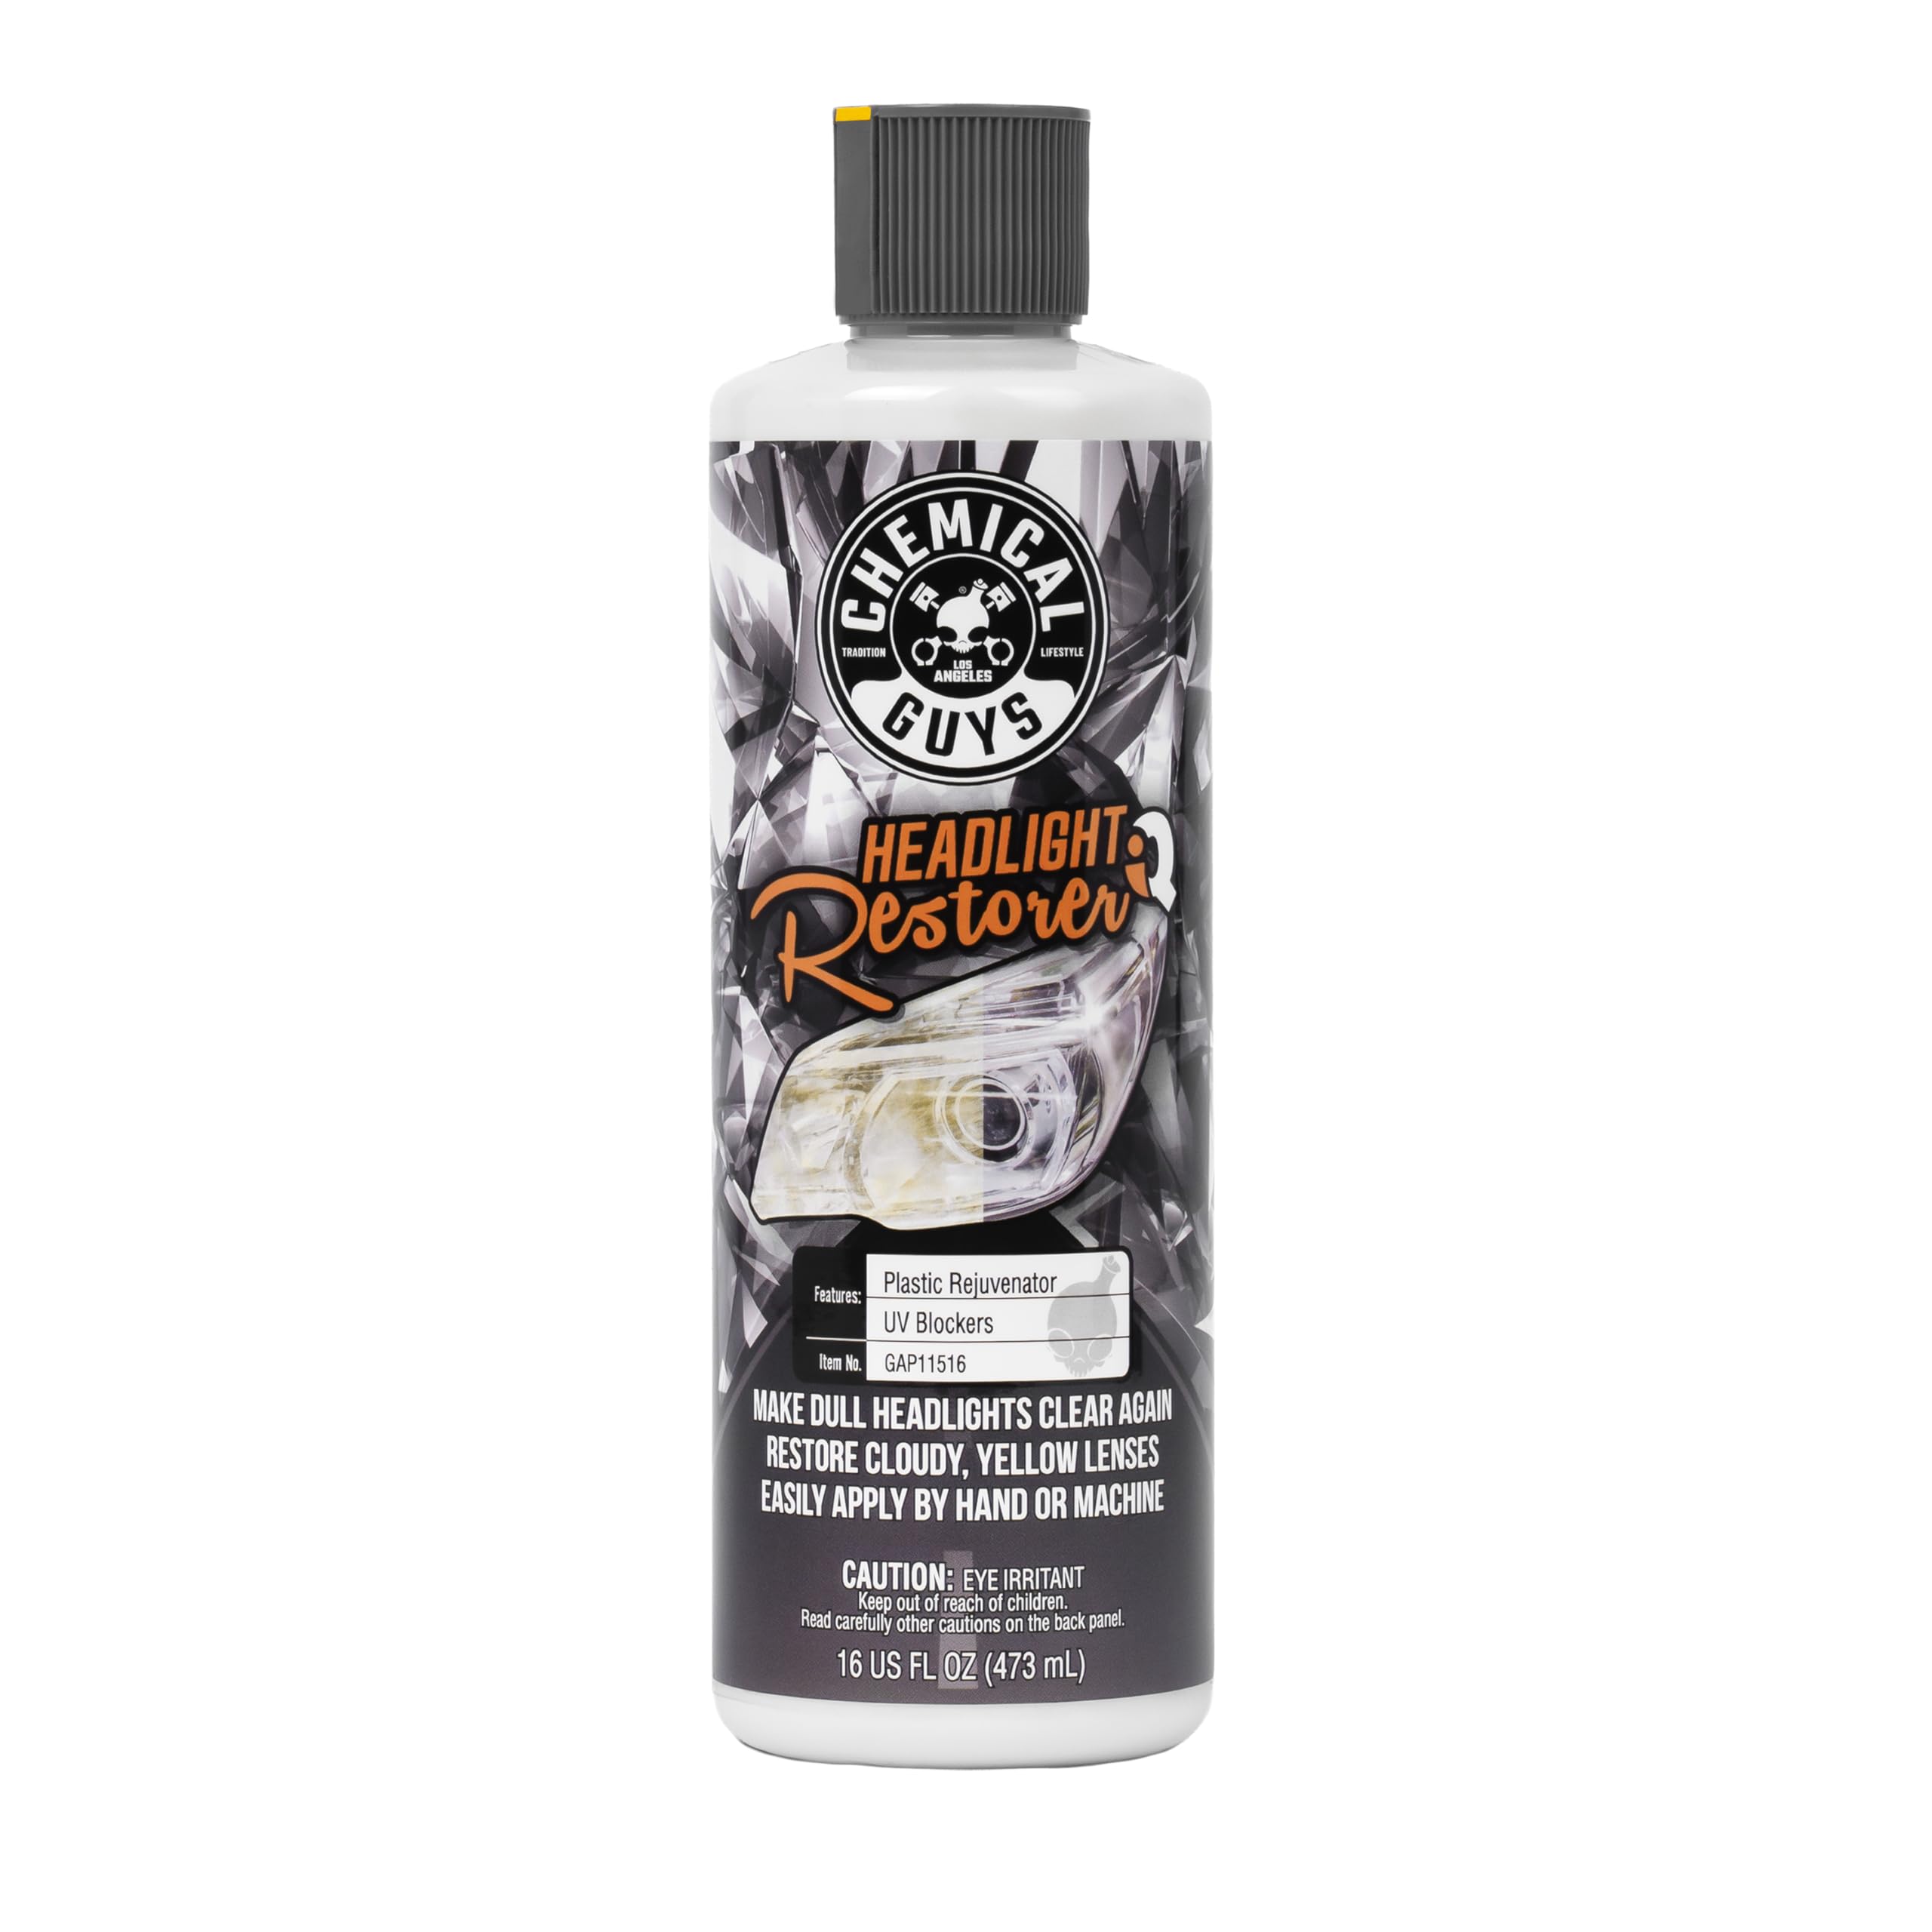
We recommend this if you want a quick, no-sanding fix that cleans and adds protection to faded plastic headlights.
Pros
- Restores clarity fast with minimal effort
- Leaves a durable protective layer to slow future yellowing
- Works by hand or with a dual-action polisher
Cons
- Tougher oxidation may need extra passes or a polishing pad
- Bottle design can be messy if squeezed hard
- Not a permanent fix—reapplication may be needed after many months
We used this on a pair of older headlights and saw a clear difference in one pass. The cream spreads easily and buffs out to a glossy finish. It removed light haze and small surface marks without sanding.
Applying by hand takes a little elbow grease, but a DA polisher with a foam pad speeds the job and gives a more even result. The protective coating felt solid after buffing and seemed to resist fingerprints and road grime.
One time we worked a heavily oxidized lens and needed two treatments to get the best clarity, so expect varied results by condition. Overall, it saved us time versus multi-step sanding kits and kept the plastic looking renewed for months.
Rain‑X Headlight Restorer

We recommend this for light haze or yellowing because it cleans well with simple steps and a little elbow grease.
Pros
- Restores clarity on mildly hazy lenses.
- Easy to use with just a damp cloth and rinse.
- Affordable and widely available.
Cons
- Not enough for heavily oxidized headlights.
- Works best with scrubbing effort and time.
- Results may fade after several months.
We used this on a weekend afternoon and found it straightforward. The cream spreads easily with a damp cloth and rinses off without leaving streaks. It brightened lenses that had mild yellowing.
On tougher, heavily oxidized lenses we had to sand first and then use the product to polish. That extra prep makes the job take longer, but the final clarity improved noticeably when combined with sanding.
We noticed results diminish after a few months under harsh sun, so expect to reapply seasonally on older plastic lenses. Overall, it’s a low-cost way to regain visibility if your headlights only have light haze.
FAVIRZCE Headlight Restore Kit

We recommend this kit for quick, low-effort headlight clarity because it sprays on, wipes off, and leaves a durable water-repellent finish.
Pros
- Fast results with a single spray-and-wipe step
- Leaves a hydrophobic, UV-resistant coating
- Works on plastic and glass lenses without sanding
Cons
- May struggle on heavily pitted or layered damage
- Small kit size if you need to do multiple vehicles
- Needs dry, clean surface and steady wiping technique
We sprayed the fluid and wiped a set of yellowed lenses in under 15 minutes. The cloudy haze dissolved quickly and the microfiber towel removed the residue without much elbow grease.
The ceramic-like finish felt noticeably slick and stayed beaded through a light rain the next day. Nighttime glare improved and the beam pattern looked sharper than before.
We did notice a few deep scratches that the spray didn’t fix, so those needed more aggressive repair. For everyday yellowing and light oxidation, this was an easy, effective fix that saved us time over sanding methods.
3M Auto Restore & Protect Kit

We recommend this kit if you want a reliable, DIY way to clear cloudy plastic headlights without replacing the lenses.
Pros
- Easy to follow; the step-by-step kit worked for us in about 30–40 minutes.
- Uses sanding discs that actually remove yellowing instead of just masking it.
- Includes clear coat wipes to help the finish last longer.
Cons
- Disc supply is limited — might not cover very large or badly damaged lenses.
- Takes elbow grease and some patience for even results.
- Results fade over time if you skip a proper seal or recoat later.
We used the kit on a mid-2000s car with faded lenses. The sanding discs stripped the yellow haze right off and the foam pad fit our drill easily. Work felt controlled and steady; follow the grit order and keep the surface wet.
After polishing, the clear coat wipes brought a noticeable shine and smoother feel. The finish looked much clearer at night, and low-beam spread improved. It wasn’t perfect on deep scratches, but it made the headlights safe and usable again.
For tough cases, plan to buy extra discs or follow up with a separate protective coating later. Overall, the kit saved us time and money compared with lens replacement and gave predictable, repeatable results for most plastic lenses.
Sylvania Headlight Restoration Kit
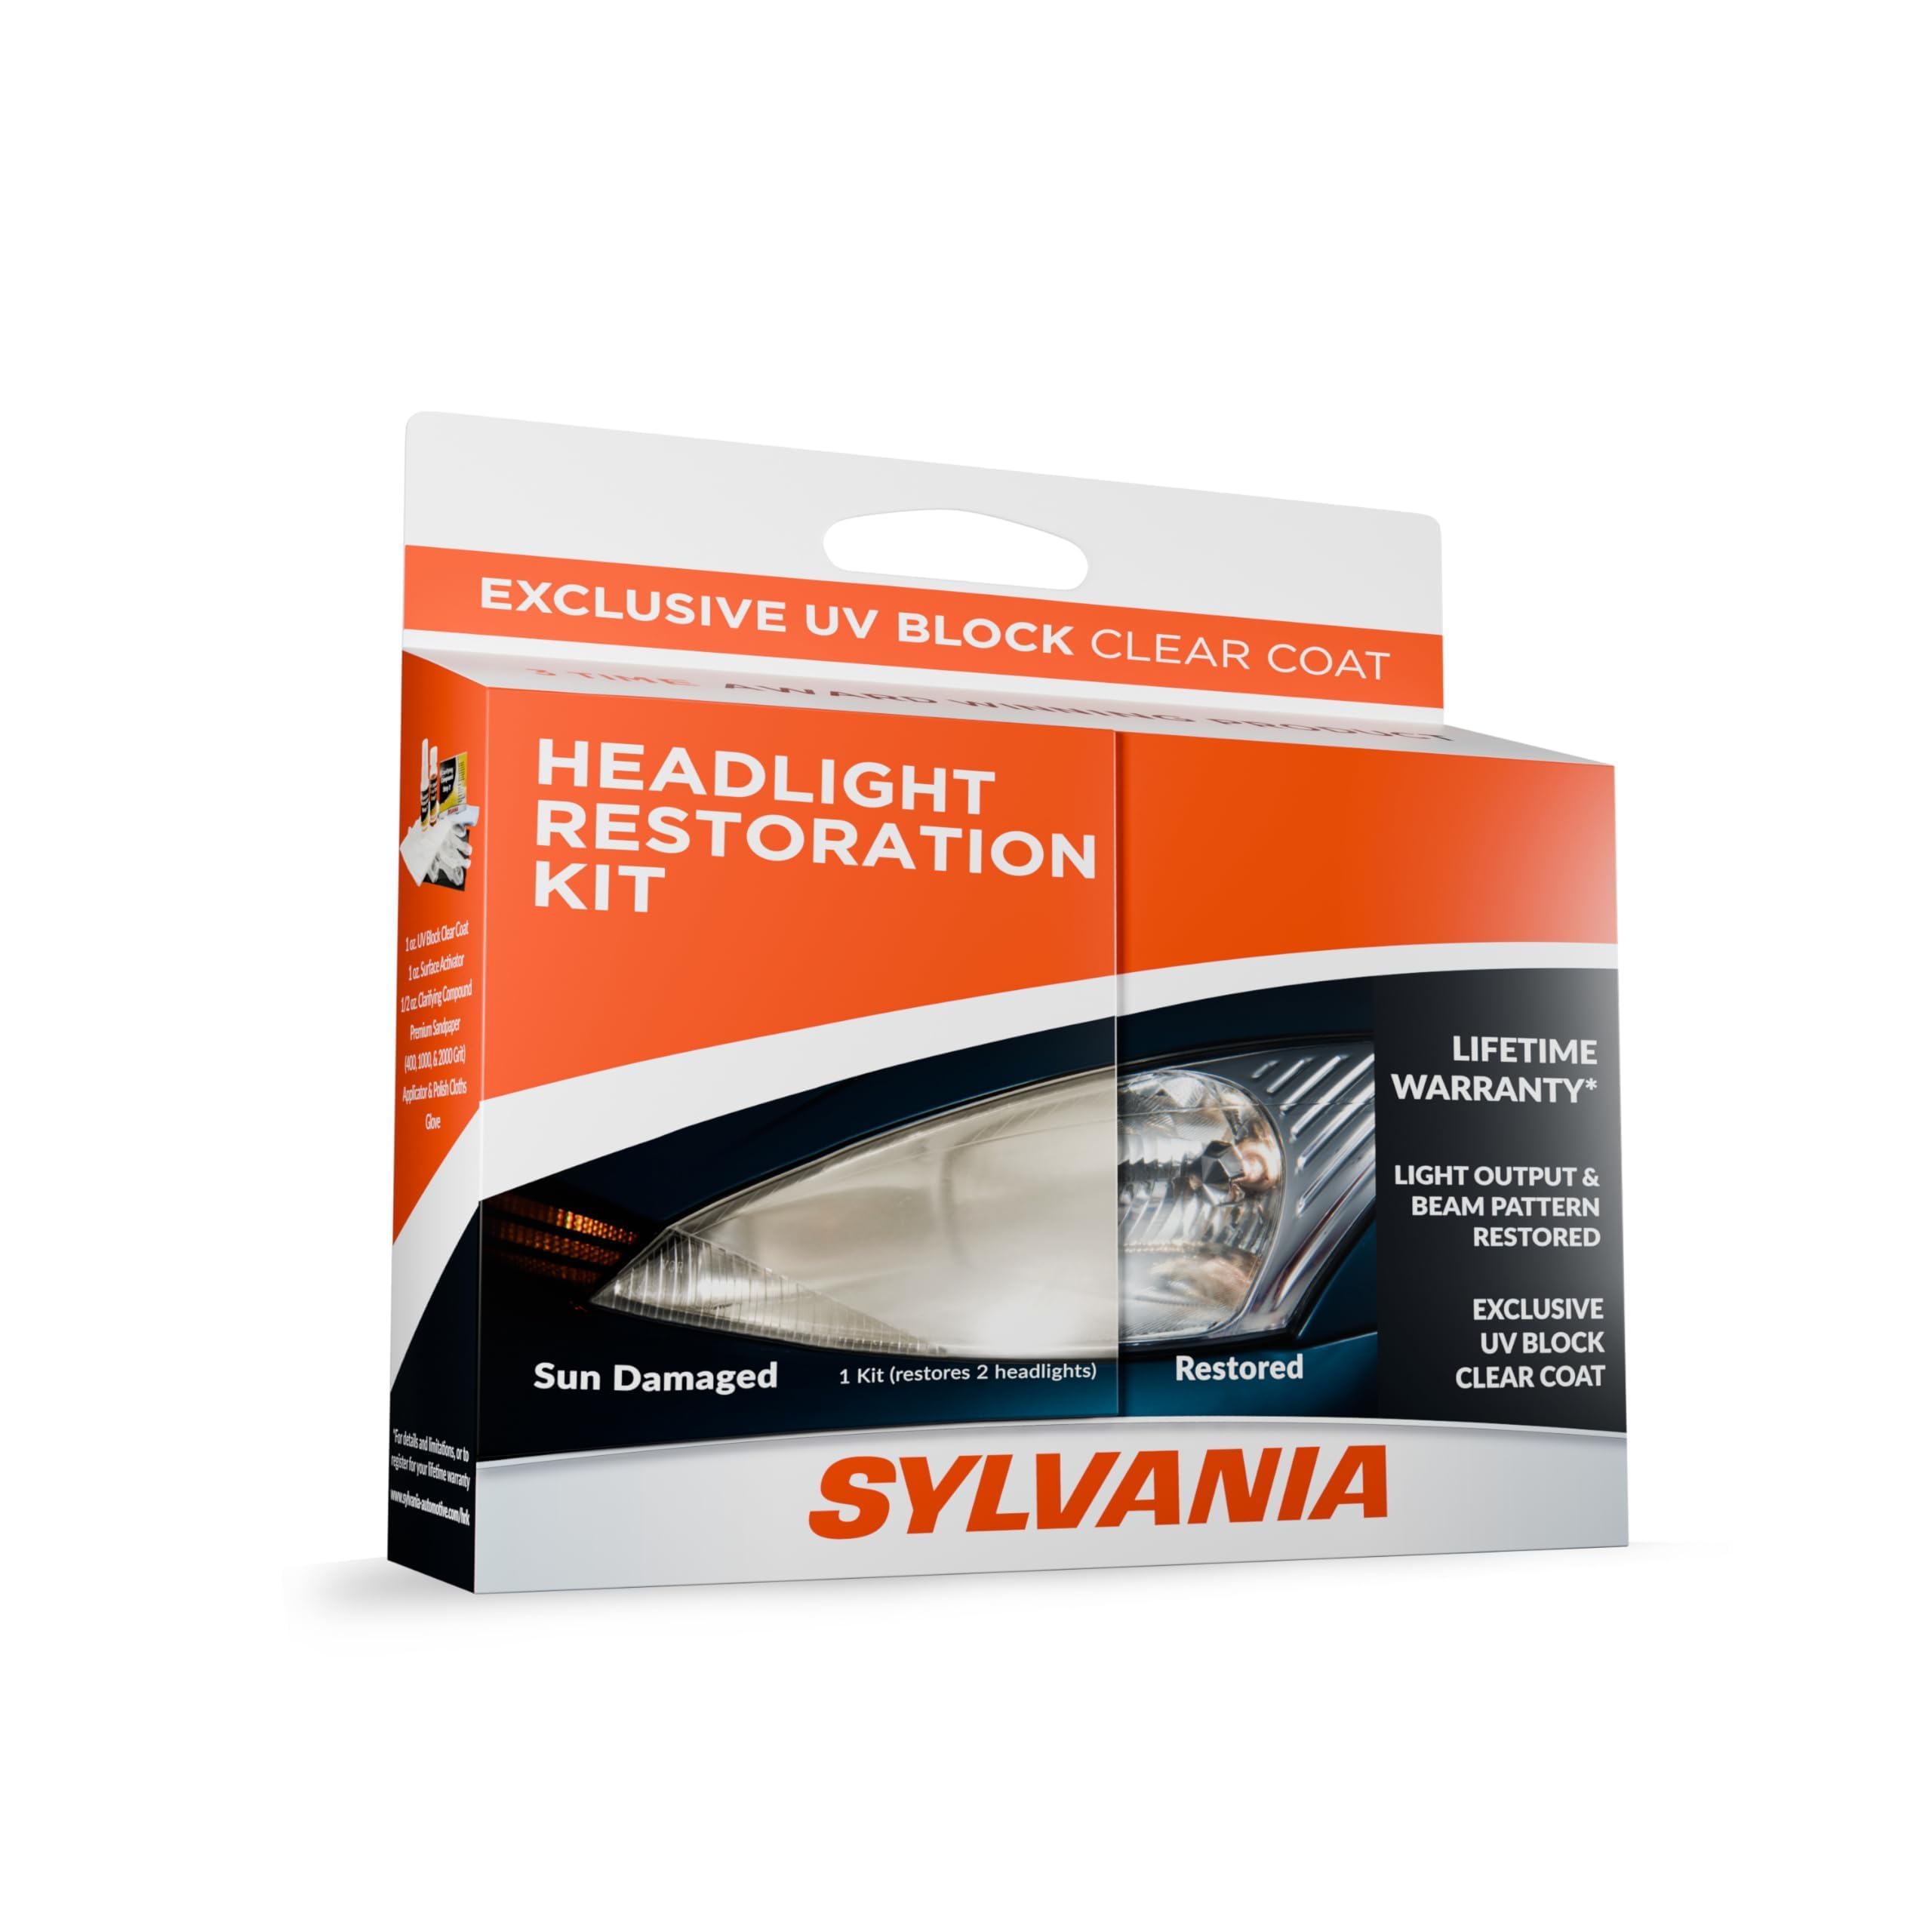
We recommend this kit when you want a solid DIY fix that clears haze and adds UV protection.
Pros
- Easy, all-in-one kit with clear steps.
- Restores clarity noticeably after one use.
- UV coating helps keep headlights clearer longer.
Cons
- Takes elbow grease and time to sand and polish.
- Clear coat needs careful, light application.
- May not cover very deep pitting or cracks.
We used this kit on older, yellowed lenses and saw a clear improvement in minutes of work. The sanding stages remove grime and the compound polishes the plastic to a much better finish.
Applying the UV coating felt a bit tricky at first. A light, even pass worked best for us; too much made a slightly streaky finish. Follow the instructions and go slow for the cleanest results.
This kit saved us a trip to a shop and cut the cost a lot. For routine haze and yellowing, it’s a reliable choice that gives night visibility a real boost.
Formula 1 Headlight Restorer (8 oz.)

We recommend this if you want a quick, one-step polish that clears light haze without sanding or power tools.
Pros
- Fast and simple to use.
- Restores clarity on mildly yellowed or foggy lenses.
- Works on other clear plastics too.
Cons
- Not a miracle on heavily oxidized headlights.
- May need a second application for best results.
- Requires elbow grease for stubborn haze.
We used this bottle on two older cars and liked how easy it felt in hand. The citrus scent is mild and the liquid spreads smoothly without leaving streaks.
Applying with a clean microfiber and circular moves removed a lot of cloudiness in under five minutes. On one lens the result looked almost new; on a badly yellowed lens it improved visibility but did not fully remove deep oxidation.
This is a good option when you want a low-cost, low-effort fix and don’t want to tape, sand, or rent tools. For heavily degraded headlights, plan on more applications or a sanding kit.
Meguiar’s Keep Clear Headlight Coating
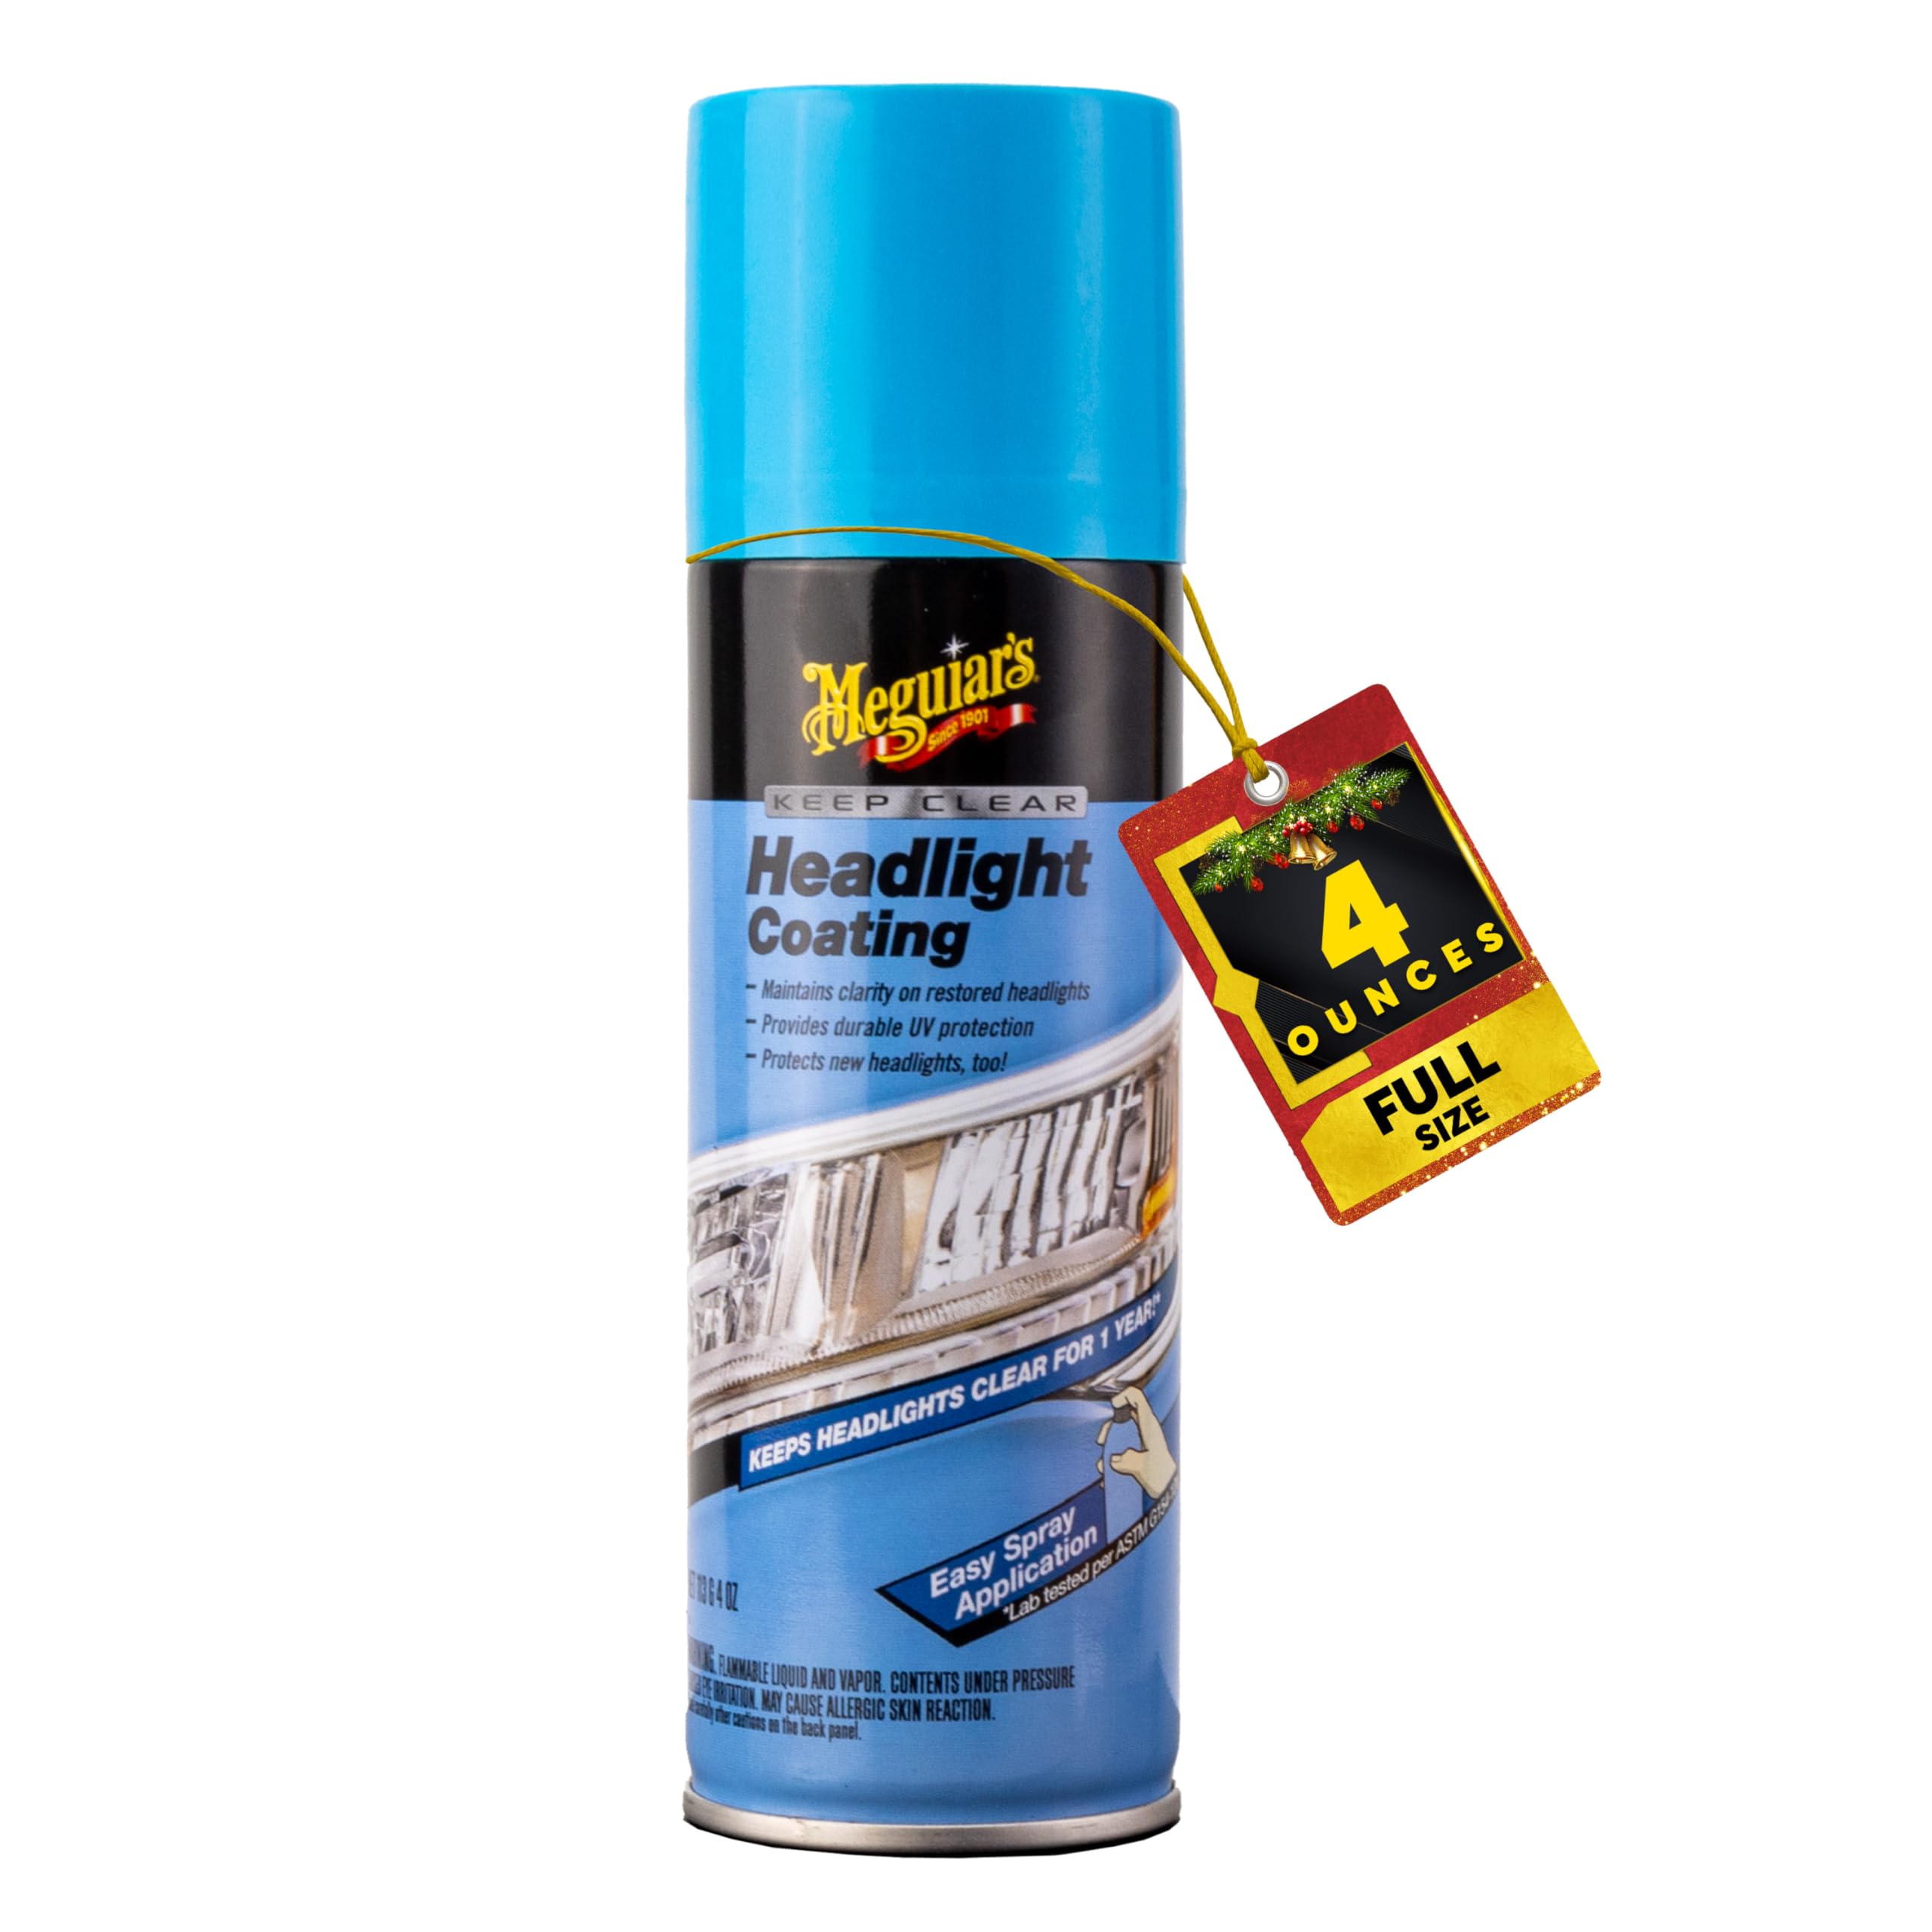
We recommend this if you want an easy spray that adds UV protection and keeps headlights clear for months.
Pros
- Applies fast with the aerosol and dries quickly.
- Gives a visible improvement in clarity right away.
- Feels durable — protection lasted through rain and sun in our tests.
Cons
- Spray can is small for large or very faded lenses.
- Surface prep matters a lot; it won’t fix heavy pitting.
- Overspray can be messy on trim if you’re not careful.
We used the spray on two cars with lightly hazed lenses. The coating went on smooth and the headlights looked noticeably clearer within minutes. It really cut down on the cloudy look without complicated steps.
Prep took about the same time as other kits: clean, sand slightly if needed, then spray. When we skipped sanding on one car, the result looked better but not perfect, so don’t expect miracles on badly oxidized lenses.
After a few weeks of driving, the finish held up to road grime and sun. Reapplication may be needed after several months on heavily used cars, but for routine maintenance this keeps headlights looking new and improves night visibility.
XPERTCHEMY Headlight Kit

We recommend this kit if you want a solid DIY restoration that removes heavy yellowing and adds long-lasting UV protection.
Pros
- Restores cloudy lenses well by hand.
- Includes ceramic coating that lasts up to 18 months.
- No power tools needed, so it’s safer for beginners.
Cons
- Sanding discs feel thin and may wear fast.
- Only two ceramic wipes — you might need more for big lenses.
- Results depend on careful, patient work.
We used the kit on two older cars with hazy lenses. The oxidation wipes cut through grime fast and the sanding step smoothed out stubborn haze when done slowly.
The ceramic wipes really cure down and don’t leave a tacky film like some sprays do. After the final wipe, headlights looked clearer and the light output improved on night drives.
expect to spend time per headlight; rushing the sanding or skipping wipes reduces the effect. Overall, this kit gives professional-style results without drills, but bring extra sand discs and an extra coating if you have large or badly pitted lenses.
Buying Guide
We look for products that match the condition of our headlights and our skill level. For lightly hazed lenses, a simple polish or cleaner works. For yellowed or deeply scratched lenses, choose a restoration kit with sanding pads and a UV sealant.
We check key features before buying. Abrasive levels matter — coarse for heavy damage, fine for polishing. UV protection is vital to prevent fast re-yellowing. Included tools (pads, applicators, microfiber cloths) save time and money. We prefer kits that list grit sizes and curing times.
We consider ease of use and safety. Battery or drill attachments speed work but need care. Look for clear instructions and safety items like gloves and eye protection. We also read reviews and manufacturer details to confirm compatibility with our headlight material.
We compare value, not just price. A low-cost cleaner might work once, while a complete kit with sealant lasts longer. Factor in how often we’ll need to repeat the process and whether the product protects against sun damage.
We research best practices and standards. For technique and safety tips, we consult resources like the National Highway Traffic Safety Administration and trusted maintenance guides at repair school websites (for example, DIY repair walkthroughs at official educational pages). Use those sources to confirm proper sanding grits, application times, and recommended sealants.
Editor’s Choice
We pick a simple kit and a step-by-step method as our top choice. It balances cost, safety, and visible results without special tools.
Our recommended kit includes sanding pads (400–3000 grit), a plastic-safe polish, and a UV sealant. We use the sanding pads to remove heavy oxidation, the polish to restore clarity, and the UV sealant to slow re-yellowing.
Follow this three-step approach:
- Wet-sand starting with low grit, then move to finer grits.
- Polish with a plastic polish and a soft cloth or foam pad.
- Apply a UV-protective sealant and let it cure.
We prefer kits that list grit numbers and include a sealant. Kits with only polishing cloths often give short-lived results. A sealant adds lasting protection and reduces how often you redo the headlights.
Pros: clear improvement and longer-lasting protection.
Cons: takes time and needs careful sanding to avoid scratches.
We recommend wearing gloves and eye protection, and masking paint nearby. If you prefer less work, a reliable headlight restoration kit that skips sanding still improves light output but may not last as long.
Comparisons & Alternatives
We compare three common methods: a kit with polish, toothpaste, and wet sanding. Each fits different needs and budgets.
| Method | Cost | Time | Ease | Durability |
|---|---|---|---|---|
| Headlight restoration kit (polish + sealant) | $15–$40 | 30–60 min | Easy | 6–12 months |
| Toothpaste (household paste) | <$5 | 15–30 min | Very easy | 1–3 months |
| Wet sanding + polish | $10–$30 | 60–120 min | Moderate (skill needed) | 12+ months |
We list one similar-price alternative to kits: a DIY polish from auto stores. It costs about the same and often includes UV sealant sold separately.
We choose a kit when we want an easy all-in-one solution with consistent results. We choose the DIY polish plus separate sealant when we want slightly better long-term protection and are willing to apply two products.
Toothpaste works well for quick, short-term improvement or for small spots. Wet sanding is best when headlights are badly yellowed or scratched and we want longer-lasting clarity.
FAQS
How often should we clean headlights?
We recommend cleaning headlights every 3–6 months. If we drive in harsh weather or on gravel roads, we should check them monthly.
Can we use toothpaste to clean headlights?
Yes. Plain, non-gel toothpaste works as a mild abrasive to remove light haze. We should rinse and seal the lens afterward with a UV protectant.
Is sanding necessary for yellowed lenses?
Often yes. For heavy oxidation, wet sanding with fine grits followed by polishing gives the best results. We must be careful to keep the surface wet and finish with a polish.
Will cleaning restore factory clarity perfectly?
Not always. Cleaning and polishing improve visibility and appearance but may not return lenses to brand-new condition. Replacement may be needed for deep damage.
Can we use power tools safely?
We can use a drill or polisher if we control speed and pressure. Low speed and soft pads reduce the risk of damage.
What products do we recommend?
We prefer a kit with sandpaper, polish, and UV sealant. Automotive-specific cleaners and protectants give longer results than household remedies.
How long does the result last?
With UV sealant, results can last 6–24 months. Without protection, oxidation can return in a few months.
Is it safe to clean headlights at home?
Yes, if we follow instructions and protect the paint and seals. We should mask surrounding areas and work in shade for best results.
Conclusion
We learned simple steps that restore headlight clarity without special tools. A few household items or a basic headlight kit can make a big difference in light output and safety.
We recommend starting with the least abrasive method first. Clean the lens, try toothpaste or baking soda, and only use sanding when the plastic is heavily oxidized.
We suggest protecting headlights after cleaning. Apply a UV sealant or wax to slow re-yellowing and keep lenses clearer longer.
We remind you to check local laws and vehicle manuals. Some restoration methods affect warranty or meet road-legal light standards differently.
We encourage regular checks every few months. Quick touch-ups prevent heavy buildup and keep our headlights working well.