
Save money and get great sound. This guide shows what affects car stereo installation cost, step-by-step DIY options, and when to hire a pro. Read short tips to cut costs and avoid common mistakes.
Contents
- 1 Key Takeaways
- 2 Introduction: What you will learn
- 3 How to estimate your car stereo installation cost
- 4 Typical price ranges
- 5 Step-by-step: DIY car stereo installation
- 6 Installing a subwoofer and amplifier
- 7 Choosing professional installation
- 8 Ways to save on car stereo installation cost
- 9 Common mistakes and how to avoid them
- 10 Troubleshooting: Fix common issues
- 11 Real cost example scenarios
- 12 Final checks before you drive
- 13 Conclusion: Make a smart plan and save
- 14 Author
Key Takeaways
- Point 1: Car stereo installation cost varies by vehicle, stereo type, and labor rates. Know the variables before you buy.
- Point 2: Basic head unit swaps are cheap. Full system installs with amps and speakers cost more.
- Point 3: DIY can save money but needs time and tools. Simple installs are great first projects.
- Point 4: Professional shops add warranty and clean wiring. Factor labor into the car stereo installation cost.
- Point 5: Buy the right parts. Use harnesses and dash kits to cut time and errors.
- Point 6: Plan for extras like adapters, antennas, sound deadening, and tuning when estimating cost.
Introduction: What you will learn
This guide explains how to estimate and control car stereo installation cost. You will learn the price ranges. You will learn what parts and labor affect cost. You will learn DIY steps and pro tips. You will also find troubleshooting help and ways to save.
How to estimate your car stereo installation cost
Start by listing parts you need. Then add labor or DIY time. Include small items like harnesses and adapters. These change the final car stereo installation cost a lot.
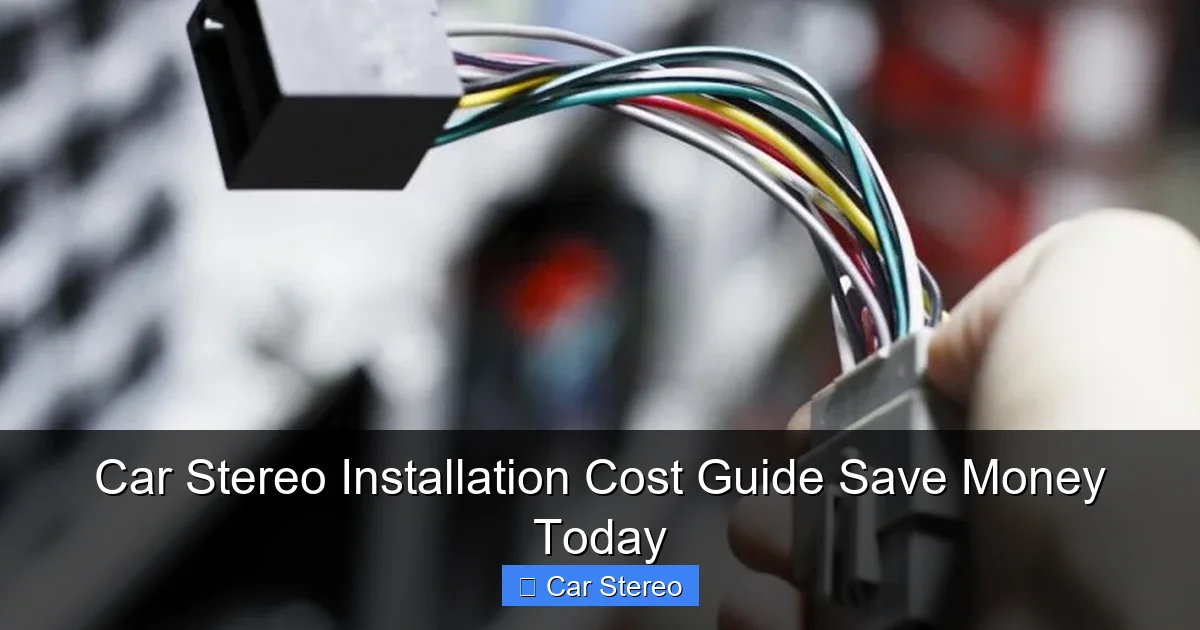
Visual guide about Car Stereo Installation Cost Guide Save Money Today
Image source: howstereo.com
Step 1: Choose the type of stereo
Decide on a basic head unit, a touchscreen, or a full audio system. A basic single-DIN head unit costs less. A premium touchscreen with Apple CarPlay or Android Auto costs more. If you want amps and subs, expect higher costs.
Step 2: Check your vehicle
Some cars need dash kits or custom wiring. Luxury cars often need special adapters. Older cars may need antenna adapters. These needs add to the car stereo installation cost.
Step 3: Decide DIY vs professional
DIY saves money on labor. But it takes time and the right tools. Pros charge by the hour or per job. Shop quotes help you compare. Factor warranties and clean install work into the cost comparison.
Typical price ranges
Here are simple ranges to use as a baseline. These ranges include parts only unless noted.
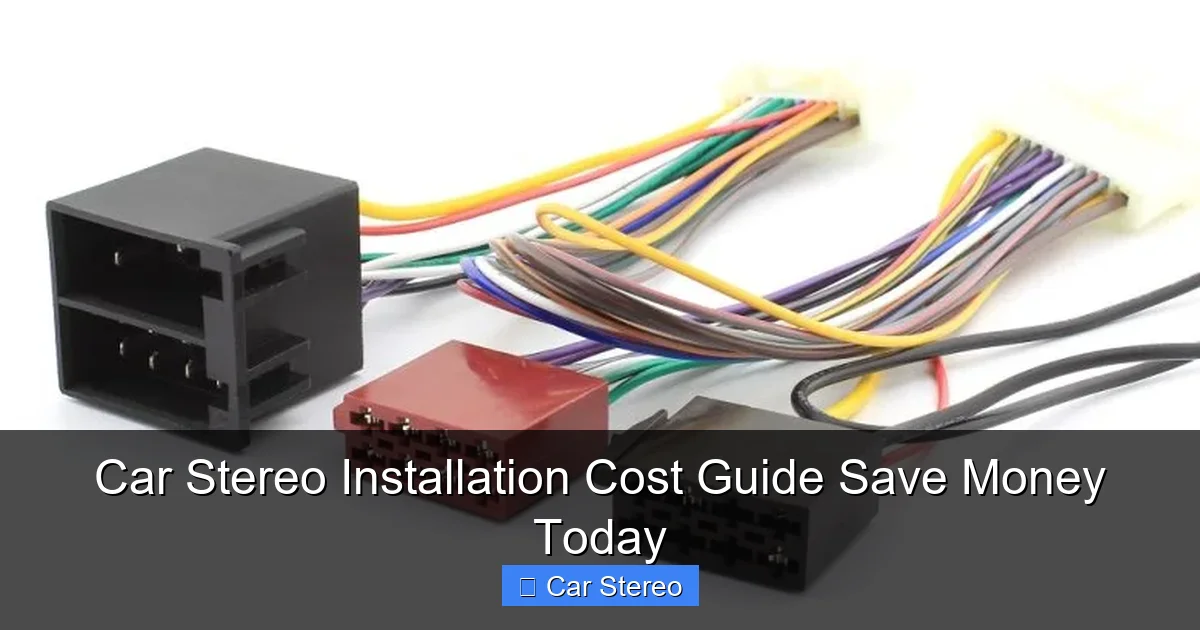
Visual guide about Car Stereo Installation Cost Guide Save Money Today
Image source: howstereo.com
- Basic head unit: $50–$200
- Touchscreen unit: $200–$800
- Speakers (set): $50–$400
- Amplifier: $100–$800
- Subwoofer: $100–$600
- Wiring kits and adapters: $20–$150
- Sound deadening: $50–$300
Labor costs vary. Expect $50–$150 per hour at a shop. A simple head unit swap may be 1 hour. A full system can take 3–8 hours. Remember to add shop fees and tax to your estimated car stereo installation cost.
Step-by-step: DIY car stereo installation
This section walks you through a common install. It covers a head unit install with speaker upgrades. Use it to reduce your car stereo installation cost.
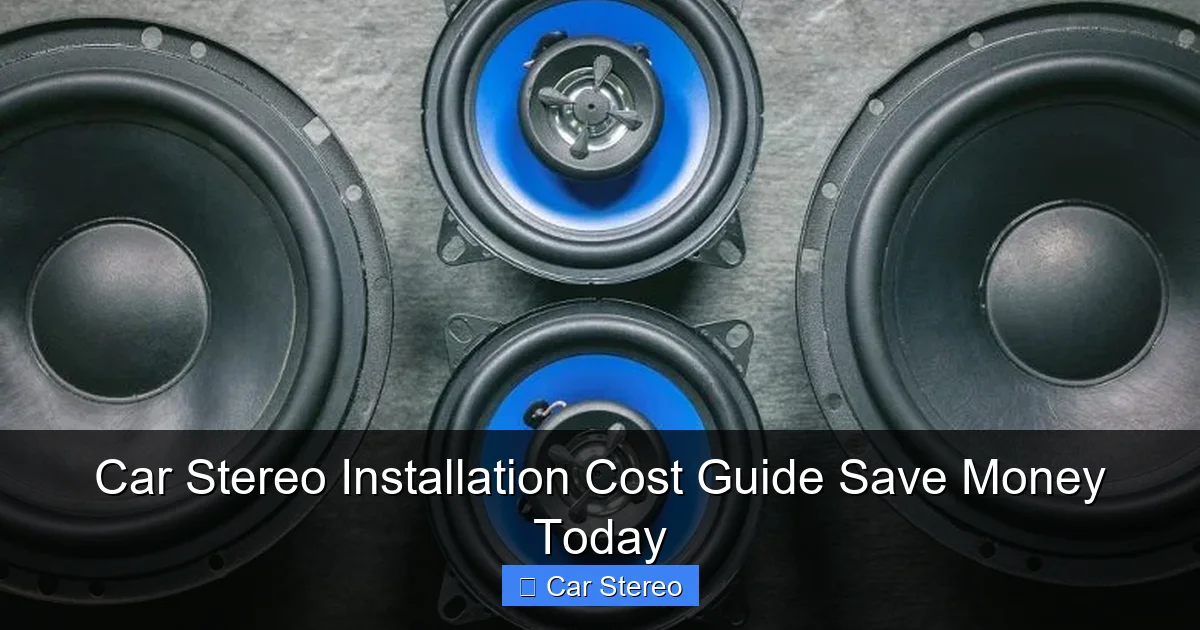
Visual guide about Car Stereo Installation Cost Guide Save Money Today
Image source: howstereo.com
Tools and parts you will need
- Screwdrivers (flat and Phillips)
- Socket set
- Wire strippers and crimpers
- Multimeter
- Panel removal tools
- Wiring harness adapter
- Dash kit (if needed)
- New head unit and speakers
Step 1: Prepare and disconnect battery
Park on level ground. Put the key out of the ignition. Disconnect the negative battery terminal. This prevents shorts and protects electronics. Do not skip this step. It reduces risk and potential extra cost if something goes wrong.
Step 2: Remove the old unit and panels
Use panel tools to pry trim gently. Remove screws. Pull out the old head unit. Take photos as you go. Photos help with reassembly. Keep screws in labeled bags.
Step 3: Match wiring with a harness
Use a vehicle-specific wiring harness adapter. Match color codes on the adapter to the head unit harness. Crimp or solder connections. Secure with heat shrink or quality connectors. Good wiring saves time and future repair costs.
Step 4: Test before final mounting
Reconnect the negative battery terminal temporarily. Turn on the car and test the stereo. Check power, sound, and any steering wheel controls. If it works, disconnect and finish mounting. Testing early reduces wasted time and lowers your effective car stereo installation cost by avoiding rework.
Step 5: Install speakers and amp (if applicable)
Remove old speakers. Install new ones with correct polarity. If you add an amp, route power wire from the battery with a proper fuse. Use grommets when passing wires through metal. Secure all wires with zip ties.
Step 6: Finalize install and tidy up
Mount the head unit and snap trim back. Reconnect the battery. Test the entire system. Set gains and crossovers if you have an amp. Clean up and enjoy better sound.
Installing a subwoofer and amplifier
Adding a sub and amp raises the car stereo installation cost. Plan wiring and space. Choose an amp with power that matches the sub. Use a fused power wire routed safely. Ground close to the amp for best performance.
Sub and amp wiring basics
- Use the right gauge power wire (e.g., 4 AWG for 1000W systems).
- Install an inline fuse at the battery within 18 inches of the terminal.
- Keep power and RCA signal cables separated to avoid noise.
Choosing professional installation
Pros are good when you want complex installs. They offer clean wiring and tuning. They also provide warranties. These benefits increase the total car stereo installation cost but can save headaches.
When to hire a pro
- Custom amps, subs, and enclosures.
- Factory integration or complex CAN bus vehicles.
- When you lack time or tools.
How to shop for an installer
- Get multiple quotes.
- Ask about warranty and follow-up support.
- Read reviews and ask for references.
- Confirm full price, including parts, labor, and extras.
Ways to save on car stereo installation cost
There are smart ways to cut the cost. Some save money upfront. Others save long term. Use a mix to get low cost and good sound.
Buy parts during sales
Watch for holiday sales. Buy during big discount periods. Use coupons and cash-back portals. Shop reputable online stores for lower prices.
Do simple tasks yourself
Do the disassembly and reassembly yourself. Leave complex wiring to pros. This lowers labor charges and the overall car stereo installation cost.
Reuse factory speakers if they are good
Upgrading the head unit alone often boosts sound. If factory speakers are okay, skip replacement. This cuts parts cost.
Bundle parts and labor
Some shops offer package deals. A head unit plus speaker bundle may be cheaper than buying separately. Ask shops about bundled pricing to lower the car stereo installation cost.
Common mistakes and how to avoid them
Avoid the top errors people make. These mistakes raise the effective car stereo installation cost and cause frustration.
- Skipping a harness adapter. This can damage the wiring.
- Not using a fuse near the battery. This risks fire and large losses.
- Forgetting to test before reassembly. This causes extra labor time.
- Poor grounding for amps. This causes noise or poor performance.
Troubleshooting: Fix common issues
Problems happen. Here are quick fixes that save money and time.
No power to the unit
Check the battery connection. Test the 12V and ground with a multimeter. Check fuses in the car and the inline fuse near the battery. Many power issues are simple fuses.
No sound or only faint sound
Check speaker wires for correct connections. Test speakers individually. Make sure the head unit output is correct. Inspect speaker polarity wires. Reversed polarity cuts sound quality.
Static or noise in audio
Keep RCA cables away from power wires. Improve ground connections. Use noise filters if needed. Check the alternator for electrical noise if the problem only occurs while the engine runs.
Steering wheel controls not working
Use a steering wheel control interface module. Program the module as the instructions say. Many installs fail because people skip compatibility modules.
Real cost example scenarios
Here are real-world examples. They show how car stereo installation cost changes by project type.
Scenario A: Basic head unit swap (DIY)
- Head unit: $150
- Wiring harness and dash kit: $40
- Total parts: $190
- Labor: $0 (DIY)
- Estimated total: $190
Scenario B: Touchscreen + speaker upgrade (shop)
- Touchscreen unit: $400
- Speakers: $200
- Wiring and parts: $80
- Labor (3 hours at $75/hr): $225
- Estimated total: $905
Scenario C: Full system with amp, sub, and deadening (shop)
- Head unit: $600
- Speakers: $350
- Amp and sub: $800
- Sound deadening: $200
- Wiring and parts: $150
- Labor (6 hours at $90/hr): $540
- Estimated total: $2,640
As you see, the car stereo installation cost moves up fast with added gear and labor.
Final checks before you drive
Do a last test. Tune levels in the head unit and amp. Make sure trim and panels are secure. Clean up tools and leftover parts. Keep receipts and warranty info.
Conclusion: Make a smart plan and save
Estimating the car stereo installation cost is easy when you break it down. List parts. Check labor. Decide DIY or shop. Use harnesses to save time. Shop sales and bundle to lower the price. Test often. A good plan saves money and gives better sound.
🎥 Related Video: Don’t Waste Money! Beginner’s Guide to Car Audio Upgrades
📺 Breakers Stereo & Performance
Tired of Your Factory Car Audio? START HERE!** Welcome to Breakers Stereo & Performance! If you’re new to car audio …