
Car Stereo Overheating Troubleshooting and Solutions shows simple steps to find why your stereo gets hot. You’ll learn how to spot causes, test parts, and fix or prevent overheating safely.
Contents
- 1 Key Takeaways
- 2 Introduction
- 3 Why Car Stereo Overheating Happens
- 4 Tools and Items You’ll Need
- 5 Step 1: Recognize the Symptoms
- 6 Step 2: Safety First
- 7 Step 3: Check Power and Wiring
- 8 Step 4: Check Head Unit Installation and Ventilation
- 9 Step 5: Inspect the Amplifier and Speaker Load
- 10 Step 6: Inspect Internal Components
- 11 Step 7: Fix Common Causes
- 12 Step 8: Test After Repairs
- 13 Troubleshooting: Common Scenarios and Fixes
- 14 Practical Tips and Examples
- 15 When to Seek Professional Help
- 16 Preventive Maintenance
- 17 Case Study: Fixing a Hot Head Unit
- 18 Summary Checklist
- 19 Conclusion
- 20 Author
Key Takeaways
- Point 1: Overheating has clear signs like shutdowns, distortion, or burning smells. Check these first.
- Point 2: Power and wiring faults often cause heat. Tighten grounds and inspect fuses and wires.
- Point 3: Poor ventilation and improper mounting raise temperature. Give units room and use proper hardware.
- Point 4: Amplifier issues are common. Test amps separately and set gains correctly.
- Point 5: Use simple tools: multimeter, flashlight, cable ties, and thermal tape to diagnose and fix most problems.
- Point 6: Preventive maintenance avoids repeat problems. Clean, check, and plan airflow every few months.
Introduction
This guide helps you fix car stereo overheating. You will learn how to spot the signs. You will learn step-by-step checks. You will learn fixes you can do at home. You will also learn when to get a pro. The phrase car stereo overheating is used often. That helps you know what to look for.
Why Car Stereo Overheating Happens
Car stereo overheating happens for a few clear reasons. The stereo may draw too much power. Wiring may be loose or wrong. Ventilation can be poor. The amplifier may be set too high. Any of these make the unit run hot. You need to find the cause before you fix it. This reduces risk of damage or fire.
Visual guide about Car Stereo Overheating Troubleshooting and Solutions
Image source: troubleshootinglab.com
Tools and Items You’ll Need
- Multimeter
- Flashlight
- Screwdrivers (Phillips and flat)
- Wire strippers and crimpers
- Replacement fuses and fuse holder
- Electrical tape or heat shrink
- Zip ties and mounting hardware
- Thermal paste or thermal pads (if needed)
- Small fan (for testing ventilation)
Step 1: Recognize the Symptoms
Start by noting what is wrong. This helps narrow down the cause. Use simple tests first.
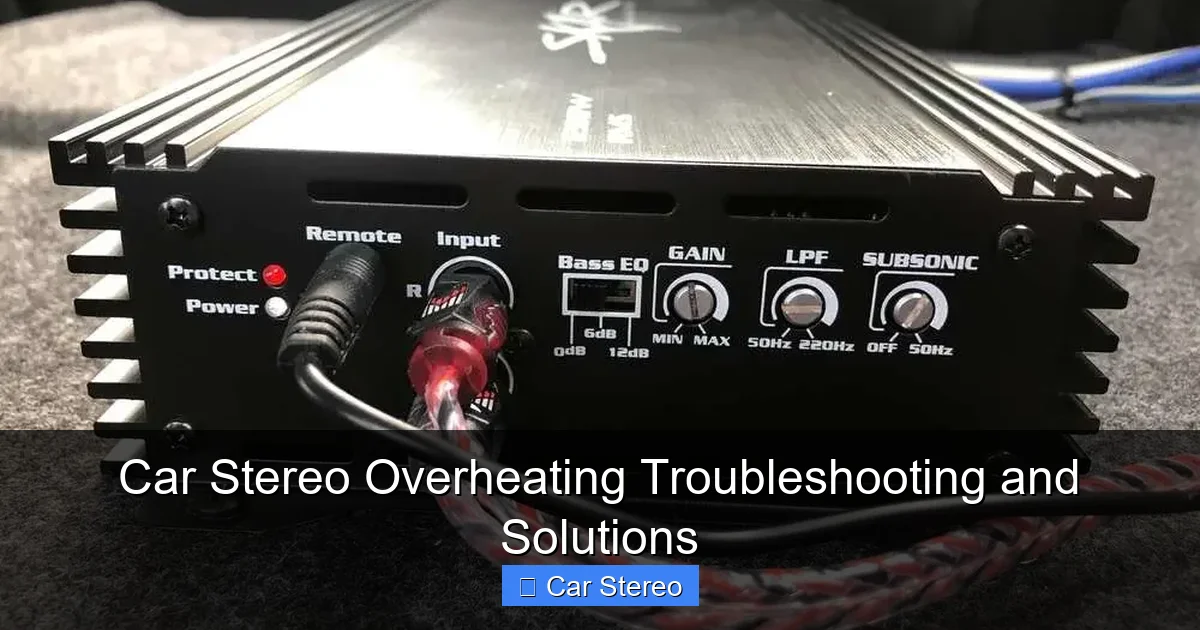
Visual guide about Car Stereo Overheating Troubleshooting and Solutions
Image source: autostereoguide.com
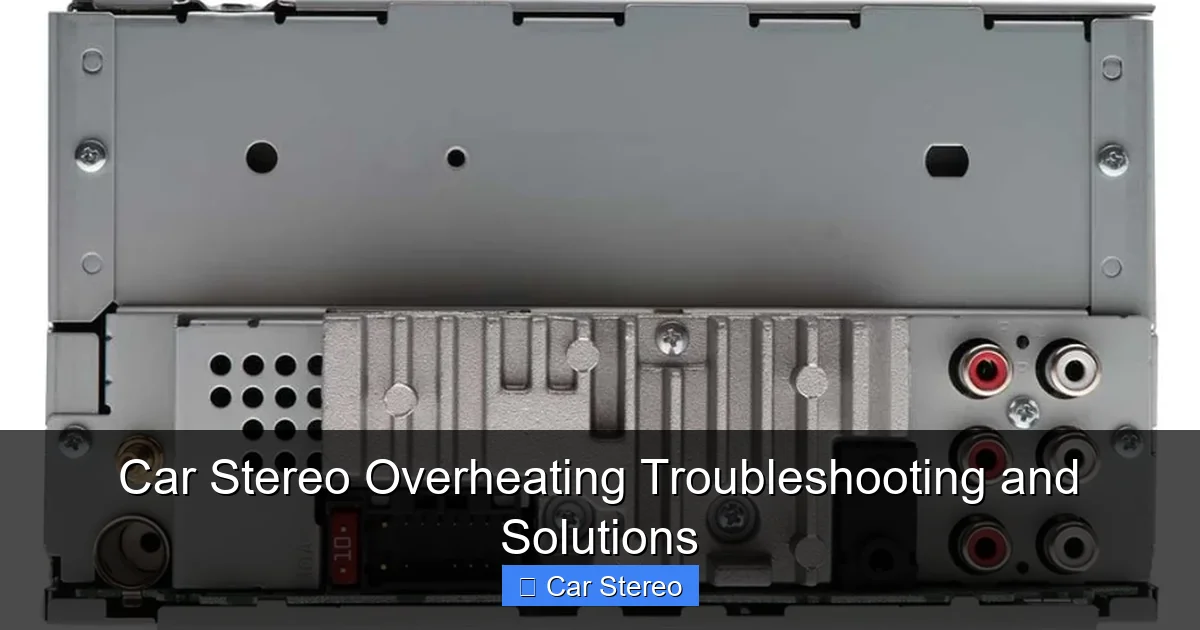
Visual guide about Car Stereo Overheating Troubleshooting and Solutions
Image source: incartec.blob.core.windows.net
Look for heat and smell
Touch the head unit case briefly. If it is very hot, that is a sign. Smell for burning plastic or melted insulation. That smell needs immediate action.
Check for shutdowns and resets
Does the unit shut off by itself? Does it reset during music or while driving? These are common signs of car stereo overheating or power issues.
Listen for distortion
Is the sound distorted when loud? Does distortion clear when you lower volume? Distortion can mean an amp or speaker is overloaded. Overdrive makes heat rise.
Step 2: Safety First
Safety is the top priority. Disconnect the negative battery terminal before you work on wiring. Use gloves to avoid cuts. Work in a well-lit area.
Disconnect battery
Turn off the car. Open the hood. Use a wrench to remove the negative cable. Tape the cable away so it does not touch the terminal.
Wait and cool down
If the unit was hot, wait 10-15 minutes to cool it. Hot parts can burn you. Do not touch hot wiring or melted plastic.
Step 3: Check Power and Wiring
Power issues cause many cases of car stereo overheating. Start here.
Inspect the main power wire
Follow the power wire from the head unit to the fuse. Look for chafing, cuts, or poor crimps. Replace damaged wires. Use the right gauge wire for your stereo and amp.
Verify fuse and fuse holder
Check the inline fuse on the power wire. A blown or undersized fuse can cause abnormal behavior. Use a fresh fuse of the recommended rating. Inspect the fuse holder. Corrosion or loose contact can cause heat.
Test battery voltage and ground
Use a multimeter to check battery voltage at the head unit power wire. You should see about 12–14 V with engine off and 13–14.8 V with engine running. Check the ground connection. A poor ground causes extra resistance and heat. Tighten or move ground to a clean metal surface. Use a short, direct wire for ground.
Step 4: Check Head Unit Installation and Ventilation
Poor airflow is a simple but common cause of car stereo overheating. Make sure the unit can breathe.
Confirm mounting depth and clearance
Look at the unit opening. The stereo needs space behind and above. Some dashboards trap heat. If your stereo is flush and tight, it may overheat. Use a mounting sleeve that allows airflow. Add a spacer if needed.
Remove trim and test airflow
Temporarily remove trim and run the stereo. See if the unit cools faster with trim off. You can use a small fan to help test airflow. If fan helps, add vents or move the unit.
Check for blocked vents
Many amps and head units have vents on the sides or top. Remove dust and debris. Use compressed air to clear vents. Keep vent areas free from wires and panels.
Step 5: Inspect the Amplifier and Speaker Load
Amplifiers make most of the heat in a system. A miswired amp or bad speakers can force it to work too hard.
Confirm amp gain and settings
High gain leads to clipping. Clipping makes the amp run hot. Set gain according to the head unit output and speaker sensitivity. Use a sound meter or test track at moderate volume.
Check speaker impedance
Make sure speakers match the amp’s load rating. Wiring several speakers together can lower impedance. Low impedance draws more current and creates heat. Use correct wiring schemes.
Test amp with head unit disconnected
Disconnect speaker wires at the amp and play a test tone. If the amp still overheats, the amp itself may be faulty. If overheating stops, the speaker load is likely the problem.
Step 6: Inspect Internal Components
Sometimes the problem is inside the head unit or amp. Open only if you are comfortable. Otherwise, take it to a pro.
Look for bulging capacitors
Capacitors can bulge or leak when they fail. This causes heat and instability. Replace bulging caps with the same rating and quality.
Check solder joints and connectors
Cold solder joints or loose connectors add resistance. This creates hot spots. Reflow or re-solder joints if needed. Replace broken connectors.
Clean internal dust
Dust traps heat. Use compressed air to blow dust out. Avoid spinning fans too fast with compressed air. Use short bursts only.
Step 7: Fix Common Causes
Here are common fixes you can do at home. These fix most car stereo overheating cases.
Replace damaged wiring and fuses
Cut out frayed wires. Use new wire of the correct gauge. Crimp and solder joints for a secure connection. Replace any suspect fuse with the exact rating.
Improve grounding
Install a short, thick ground wire. Sand the mounting point to bare metal. Use a bolt with a locking washer. A good ground often fixes heat and noise problems.
Lower amplifier gain and limit EQ
Turn down gain settings. Use low bass boost. High bass increases power draw and heat. Moderate your EQ settings to reduce load on the amp.
Add ventilation or a cooling fan
Install vents in the dash or trunk if the amp or head unit sits in a tight space. A small 12V fan can help. Use a thermal switch to turn the fan on only when hot.
Step 8: Test After Repairs
After you make fixes, test the system carefully. Watch for heat and strange behavior.
Run a controlled test
Play music at moderate volume for 10–20 minutes. Check the case temperature. Monitor for shutdowns or distortion. If things stay cool, you fixed it.
Check under load
Test with higher volume briefly. Watch for temperature spikes. If the unit overheats again, stop and re-check wiring and amp settings.
Troubleshooting: Common Scenarios and Fixes
This section lists common scenarios. Each item points to likely fixes. This helps when symptoms are vague.
- Case: Stereo shuts down on bass hits: Likely amp clipping or low impedance. Lower gain, check speaker wiring, and raise fuse if wiring supports it.
- Case: Stereo hot but plays fine: Poor ventilation or tight dash. Add vents, spacing, or a cooling fan.
- Case: Burning smell: Stop immediately. Disconnect battery and inspect wiring for melted insulation. Replace damaged parts before testing.
- Case: Intermittent power loss: Loose battery or ground connection. Tighten terminals and clean corrosion.
- Case: Amp overheats after long drive: Heat soak from trunk or dash. Relocate amp or add active cooling. Check amplifier cooling settings if present.
Practical Tips and Examples
Here are short, useful tips you can apply now.
- Use 12-gauge wire for most amps up to 500W. Thicker wire reduces heat and voltage drop.
- Keep the head unit away from direct sunlight. Sun heats the dash quickly and worsens car stereo overheating.
- When installing in a cargo area, place the amp on carpeted mounting or rubber isolation pads. Direct metal contact can trap heat.
- If your unit is old, consider a modern replacement with better thermal design. New units run cooler and use less power.
- Label wires when you disconnect them. This reduces mistakes on reassembly and avoids poor connections that cause heat.
When to Seek Professional Help
Some problems need specialist tools or experience. Get professional help if any of these apply:
- You find burnt wiring or melted connectors.
- Internal components are damaged (burnt PCB, bulging capacitors).
- You don’t have tools to test impedance and load safely.
- The unit is still under warranty. Opening it may void coverage.
A good shop can test the head unit and amp on a bench. They can also replace parts safely. Professional work avoids long-term damage.
Preventive Maintenance
Preventive steps stop the problem before it starts. Do these every 6–12 months.
- Check wiring and grounds.
- Clean vents and remove dust.
- Check amp gains and speaker wiring.
- Test for loose fuses and corroded terminals.
- Keep software updated on smart head units if updates exist.
Case Study: Fixing a Hot Head Unit
Example: A friend had repeated shutdowns. The head unit was very hot. We found a loose ground. The ground wire touched painted metal. We re-grounded to bare metal and replaced a corroded fuse. The stereo ran cool after that. The friend also added a small fan behind the dash.
Summary Checklist
- Signs: heat, smell, shutdowns, distortion.
- Safety: disconnect battery and cool down.
- Power: check wires, fuses, voltage, ground.
- Ventilation: clear vents, add space, use fan.
- Amplifier: set gains, check impedance, test separately.
- Internal: inspect capacitors, solder joints, and dust.
- Test: run controlled tests and monitor heat.
Conclusion
Car stereo overheating is a common problem. Most causes are simple to find and fix. Start with power and wiring checks. Improve ventilation and check the amp. Use basic tools and simple fixes. If the issue is inside the unit or dangerous, see a professional. With the right steps, you can stop overheating and protect your stereo.
🎥 Related Video: Fix crashing – freezing – with Android car stereo head unit – improve cooling – heat issues
📺 Jase777jase
How to fix overheating with Chinese Android head units and generally improve cooling. My Android head unit suffered …