
The Fascinating History of Car Stereos Through Time walks you through the rise of car audio. You’ll learn how car stereos evolved, how to identify key eras, and how to restore or upgrade vintage systems for modern use.
Contents
- 1 Key Takeaways
- 2 Introduction
- 3 Step 1: Understand the Early Roots
- 4 Step 2: Learn About the Transistor Revolution
- 5 Step 3: Follow the Tape Era — 8-Track and Cassette
- 6 Step 4: Compact Discs and the Digital Shift
- 7 Step 5: The Rise of Digital and the Modern Era
- 8 Step 6: Build a Timeline and Catalog Your Finds
- 9 Step 7: Identify, Test, and Evaluate Vintage Units
- 10 Step 8: Restore and Preserve
- 11 Step 9: Upgrade Without Losing Character
- 12 Step 10: Display, Sell, or Install
- 13 Practical Tips and Examples
- 14 Troubleshooting Common Issues
- 15 Preservation and Documentation
- 16 Conclusion
- 17 Author
Key Takeaways
- Point 1: The history of car stereos spans from simple AM radios to modern Bluetooth systems.
- Point 2: Key eras include tube radios, transistor sets, 8-track and cassette, CD players, and digital audio.
- Point 3: Identifying era-specific features helps date and value vintage car stereos.
- Point 4: Restoring classic units requires care with electronics, wiring, and original parts.
- Point 5: Modern upgrades let you keep vintage looks while adding Bluetooth and better sound.
- Point 6: Troubleshooting common issues saves time and protects your stereo from damage.
Introduction
This how-to guide explores the history of car stereos. You will learn how car audio began. You will trace major changes. You will learn how to identify models. You will get step-by-step restoration and upgrade tips. You will find troubleshooting help. The tone is friendly. The steps are clear. The language is simple.
The history of car stereos is rich. It is full of invention and style. It tells a story about tech and culture. Each era has its look and sound. Knowing that history makes restoring or collecting fun.
Step 1: Understand the Early Roots
Start with the basics. Learn why car audio started. Early cars used simple radios. These were often adapted from home units. The first car radios were large. They used vacuum tubes. They needed big power supplies. They changed how people experienced travel.
Visual guide about The Fascinating History of Car Stereos Through Time
Image source: thecarbuzz.com
Identify first-generation features
Look for big knobs. Look for bakelite or metal casings. Tube vents are common. The face may have simple AM dials. These are signs from the earliest period in the history of car stereos.
Why these early units matter
They show how engineers solved power and space issues. They reveal styling trends. They are collectible today. Many collectors prize working examples.
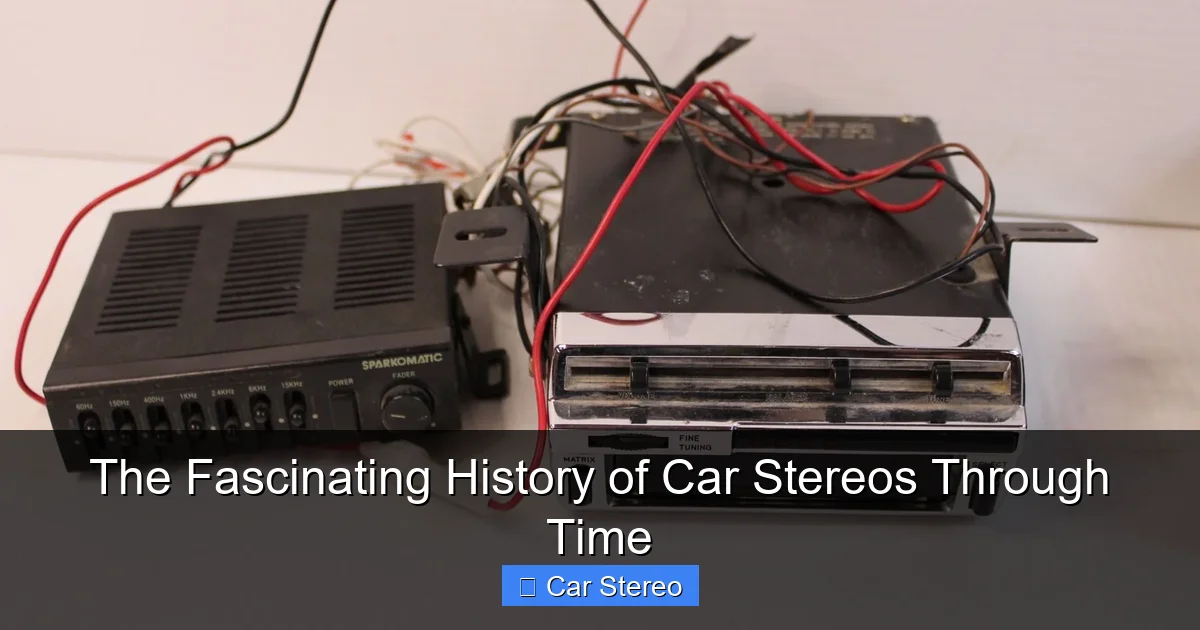
Step 2: Learn About the Transistor Revolution
Transistors changed everything. They made radios smaller and more reliable. They reduced power needs. They arrived in the 1950s and 1960s. This marks a key chapter in the history of car stereos.
Visual guide about The Fascinating History of Car Stereos Through Time
Image source: classiccarstereos.com
Spotting transistor-era stereos
Smaller size. Slimmer faceplates. AM and FM dials. Sometimes push buttons for presets. Chrome trim was popular. These clues help you date a stereo to the transistor era.
Practical tip
If you see an insulated power connector or a smaller chassis, you likely have a transistor unit. These are easier to restore than tube radios. Parts are still common.
Step 3: Follow the Tape Era — 8-Track and Cassette
The tape era is a big part of the history of car stereos. 8-track arrived in the 1960s. It gave drivers a new way to play music. Cassettes followed. They were smaller and more versatile. The 1970s and 1980s were tape decades.
Visual guide about The Fascinating History of Car Stereos Through Time
Image source: dygtyjqp7pi0m.cloudfront.net
How to date a tape unit
Look for 8-track slots for older units. Cassettes use a rectangular slot with guide rollers. Look for “Dolby” branding on cassette decks. That marks a higher-fidelity unit from the late 1970s or 1980s.
Restoration notes
Belts, pinch rollers, and capstans wear out. You can replace these parts. Use the right tools. Cleaning heads and decks improves sound. Keep the original faceplate if possible.
Step 4: Compact Discs and the Digital Shift
CD players arrived in cars in the late 1980s and 1990s. This changed the history of car stereos again. Sound quality improved. Skipping and reliability were concerns at first. Manufacturers worked to reduce skip problems.
Identifying CD-era units
Look for CD trays or single-disc slots. Some units have multi-disc changers in the trunk. If a unit shows an “anti-skip” logo, it is a later CD deck.
Repair and upgrade advice
Lens cleaning can fix many CD issues. Laser alignment is delicate work. If you keep an original head unit, consider adding a modern input for phones. This approach keeps the look while improving function.
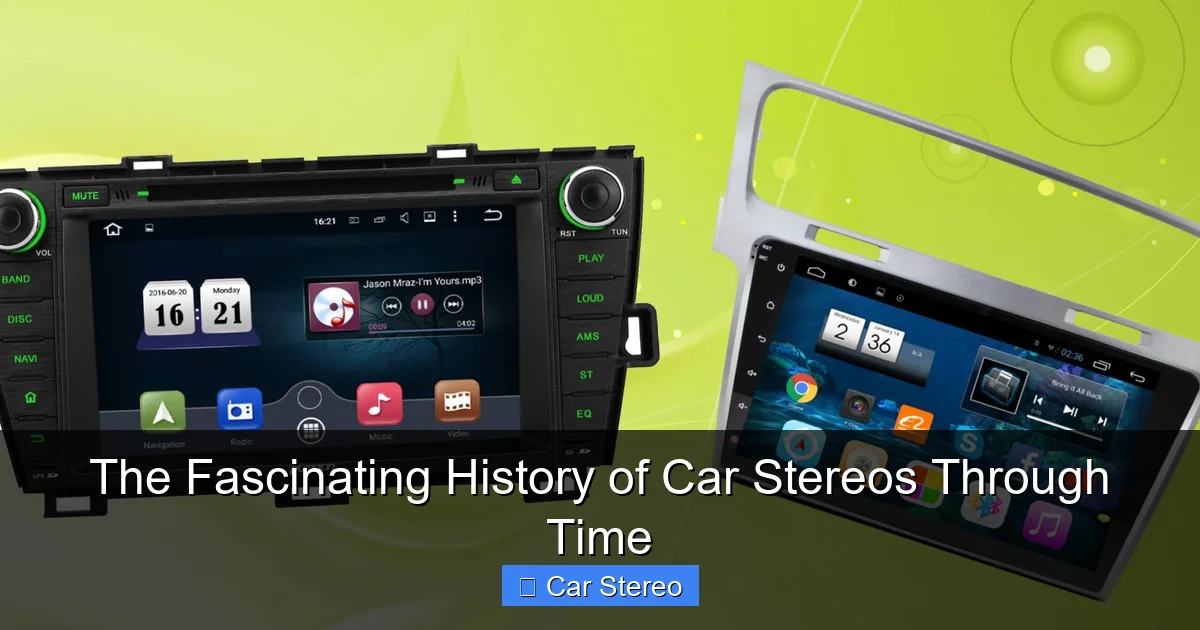
Step 5: The Rise of Digital and the Modern Era
The 2000s ushered in USB, iPod, and Bluetooth. The history of car stereos now includes software. Streaming changed listening habits. Head units became computers. Touchscreens and digital displays arrived.
How to blend old and new
Use adapters that fit vintage dash openings. Many kits add Bluetooth while keeping the classic face. OEM-style replacements mimic old designs. They add modern features like hands-free calling.
Example
You can fit a Bluetooth module behind a 1970s faceplate. The original knobs still work. The sound comes from new amplifiers. You enjoy vintage looks with modern convenience.
Step 6: Build a Timeline and Catalog Your Finds
Make a simple timeline. Add major milestones. Note years when new tech arrived. Include company names and model examples. This step helps you place any unit in the larger history of car stereos.
How to catalog
Take photos. Record model numbers. Note serial numbers. Write down condition and accessories. Store this info in a spreadsheet. You will thank yourself later.
Practical tip
Include the car make and model when the unit is OEM. That adds value. Collectors care about original installations.
Step 7: Identify, Test, and Evaluate Vintage Units
Work methodically. Check power, speaker outputs, and controls. Use a bench supply for tube and transistor units. Test slowly. Look for smoke and odd noises. This is crucial when handling old gear in the history of car stereos.
Testing checklist
- Inspect for corrosion and burnt parts.
- Check fuses and wiring harnesses.
- Test power on low voltage first.
- Listen for hum, static, or distortion.
Example test
Power a transistor unit with a 12V bench supply. Set current limit low. If the current spikes, power off and inspect. This prevents damage to fragile components.
Step 8: Restore and Preserve
Restoration is hands-on. It is also rewarding. Clean knobs and faceplates. Replace cracked lenses. Re-cap old electrolytic capacitors. Resolder tired joints. These steps bring units back to life and honor the history of car stereos.
Safety first
Discharge capacitors before you work. Use insulated tools. Keep a fire extinguisher nearby. Work in a dry area. Safety protects you and the gear.
Parts and supplies
- Replacement caps and resistors
- New belts for tape decks
- Contact cleaner for pots and switches
- Cloth and mild cleaners for faceplates
Step 9: Upgrade Without Losing Character
Many people want modern convenience. They still want vintage looks. You can have both. Use discreet Bluetooth modules. Fit auxiliary inputs behind the dash. Replace internals with modern boards while keeping the shell.
Step-by-step upgrade
1. Remove the head unit. 2. Measure the space. 3. Choose an adapter or module. 4. Wire ground and power. 5. Test audio via line outputs. 6. Reassemble and enjoy.
Tip
Label wires as you remove them. That saves headaches when you reassemble. Use shrink tubing for durable connections.
Step 10: Display, Sell, or Install
Decide what to do with restored stereos. Display them on a shelf. Sell them to collectors. Reinstall them in a classic car. Each choice connects to the history of car stereos.
Selling tips
- Provide photos of the unit working.
- List restoration steps you performed.
- Include any original parts you kept.
- Offer a short warranty if possible.
Practical Tips and Examples
Keep a clean workspace. Use anti-static mats for digital units. Label screws and small parts. Work with a friend if the unit is heavy. Use repair forums for hard-to-find parts. Join a local car audio club. These small choices speed your project and protect the stereo’s place in the history of car stereos.
Example project: A 1974 AM/FM cassette unit. Clean the faceplate. Replace belts. Clean the heads. Add a hidden Bluetooth receiver. Result: original look. Modern playback. Happy owner.
Troubleshooting Common Issues
Old stereos often show common problems. Here is how to diagnose and fix them. These fixes connect directly to stories in the history of car stereos.
No power
Check fuses first. Inspect the power connector. Clean corrosion on terminals. If you find a broken trace, repair it with wire jumpers.
No sound or weak sound
Check speaker connections. Test with a known-good speaker. Inspect output transistors or tubes. Replace failing components as needed.
Tape deck won’t take tapes
Belts or gears may be broken. Replace belts. Clean the pinch roller. Check the door sensor switch. Lubricate gears with proper lubricant.
CD player won’t read discs
Clean the laser lens. Use a proper cleaning kit. If cleaning fails, replacement laser modules might be needed. Check for warped discs or obstructions.
Distortion or hum
Ground loops can cause hum. Insulate grounds and use star-grounding. Replace old capacitors that cause hum. Check speaker wiring for shorted wires.
Preservation and Documentation
Keep records of your work. Store original parts safely. Document your steps with photos. Archive repair receipts and part numbers. This practice respects the history of car stereos. It increases value for collectors.
How to store a unit
- Wrap in anti-static material for electronics.
- Store in a dry, cool place.
- Keep knobs and small parts in labeled bags.
- Avoid stacking heavy items on top.
Conclusion
The history of car stereos is a fascinating mix of tech and culture. Each era tells a story. You can learn, collect, restore, and enjoy these stories. Follow the steps in this guide to explore that history. Start with identification. Move to testing and restoration. Add modern upgrades while keeping vintage charm. Preserve your work with documentation. Share what you learn. The journey connects you to music, design, and innovation.
Now you know how to read the signs on a vintage faceplate. You know how to test, restore, and upgrade units. You can add modern features without losing classic style. You can troubleshoot common problems. Enjoy the work. Enjoy the music. Celebrate the long and rich history of car stereos.
🎥 Related Video: What Is The History Of Car Radios? – The Collectibles Guide
📺 The Collectibles Guide
What Is The History Of Car Radios? In this informative video, we’ll take you through the intriguing history of car radios. Discover …