
How to connect OBD2 scanner is simple. This guide shows easy, safe steps to plug in a scanner, pair Bluetooth adapters, read codes, and clear faults. Follow these quick tips to get live data and basic repairs fast.
Contents
- 1 Key Takeaways
- 2 Introduction
- 3 What you will need
- 4 Safety tips before you connect
- 5 Step 1: Locate the OBD2 port
- 6 Step 2: Power and ignition position
- 7 Step 3: Plug in a wired OBD2 scanner
- 8 Step 4: Pair a Bluetooth or Wi‑Fi OBD2 adapter
- 9 Step 5: Choose and set up an OBD2 app
- 10 Step 6: Read and record trouble codes
- 11 Step 7: Check live data and freeze frame
- 12 Step 8: Clear codes safely
- 13 Practical tips and examples
- 14 Troubleshooting common issues
- 15 Advanced checks
- 16 Maintenance and storage of your scanner
- 17 When to see a professional
- 18 Quick checklist: How to connect OBD2 scanner in minutes
- 19 Conclusion
Key Takeaways
- Point 1: Locate the OBD2 port first to start safely and quickly.
- Point 2: Turn the key to ON but don’t start the engine for most reads.
- Point 3: Use the right mode for wired or Bluetooth scanners and match apps correctly.
- Point 4: Read and record trouble codes before clearing them.
- Point 5: Use live data and freeze frame to diagnose issues faster.
- Point 6: Check power, app settings, and VIN read if the scanner won’t connect.
Introduction
This guide teaches how to connect OBD2 scanner to your car in minutes. You will learn to find the port, plug in a scanner, pair a Bluetooth adapter, use apps, read codes, and clear faults. The steps are simple. They are safe. You do not need special tools.
What you will need
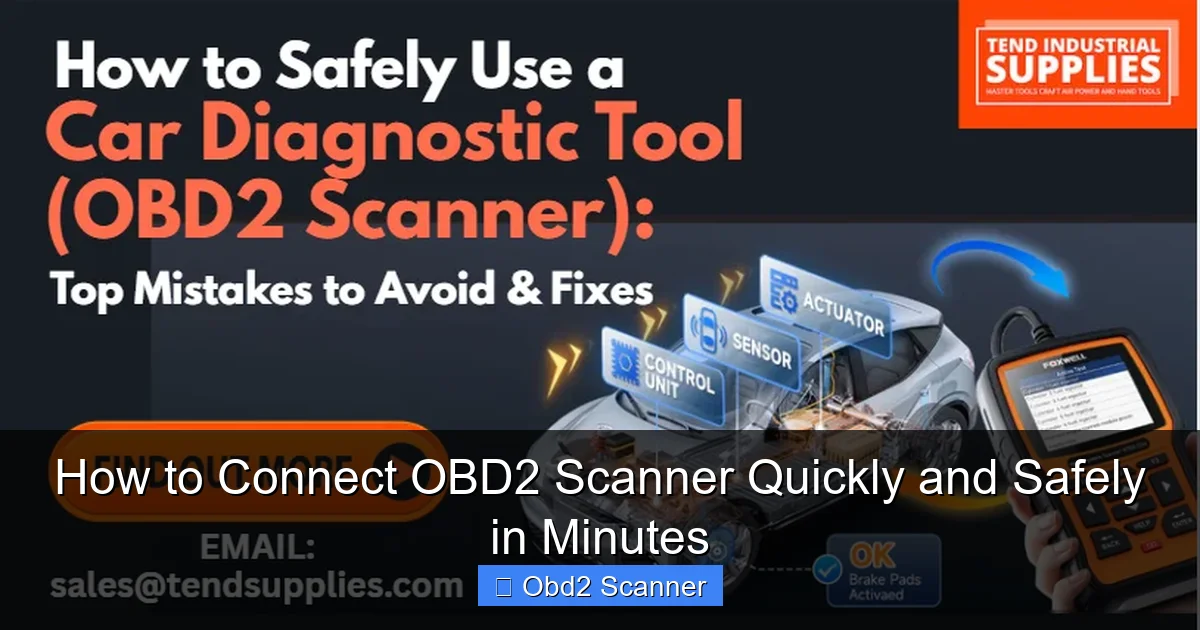
Before you start learning how to connect OBD2 scanner, gather these items.
Visual guide about How to Connect OBD2 Scanner Quickly and Safely in Minutes
Image source: tendsupplies.com
- OBD2 scanner (handheld) or OBD2 adapter (Bluetooth/Wi‑Fi)
- Smartphone, tablet, or laptop if using an adapter
- Vehicle owner’s manual (optional)
- Pen and paper to note codes
- Good light source
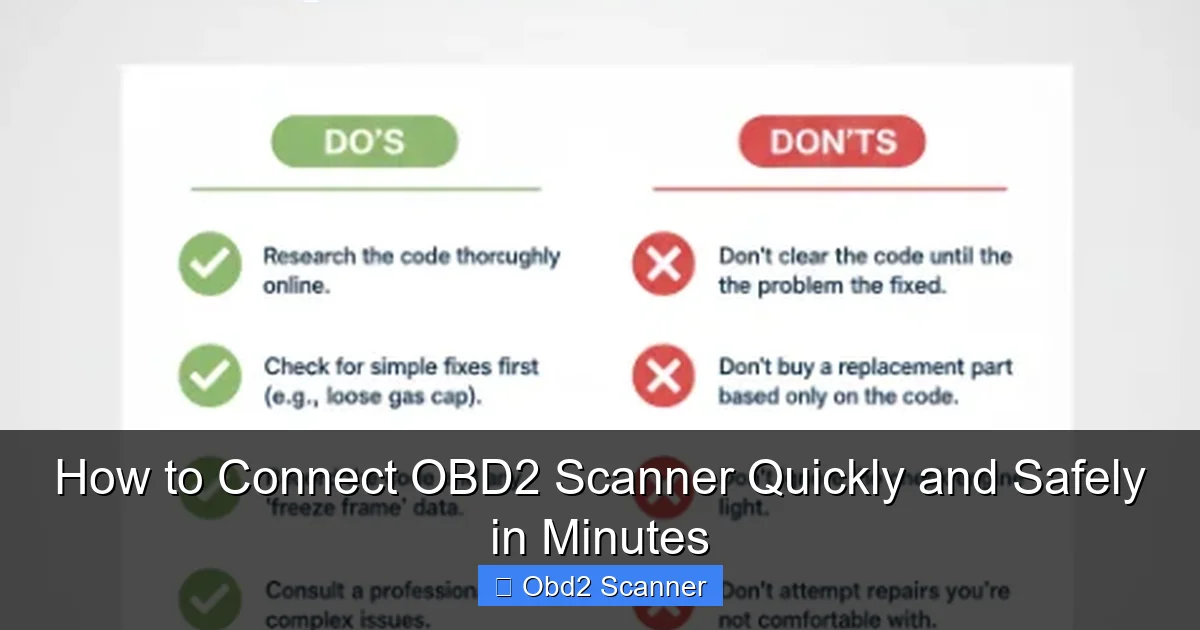
Safety tips before you connect
Always follow basic safety when you learn how to connect OBD2 scanner. Park the car on a flat surface. Turn off the engine unless live data is needed. Set the parking brake. Keep loose clothing and jewelry away from moving parts. Avoid working in extreme heat.
Visual guide about How to Connect OBD2 Scanner Quickly and Safely in Minutes
Image source: cdn11.bigcommerce.com
Step 1: Locate the OBD2 port
Finding the port is the first part of learning how to connect OBD2 scanner. Most cars have the port under the dash on the driver side. It looks like a 16-pin trapezoid connector.
Visual guide about How to Connect OBD2 Scanner Quickly and Safely in Minutes
Image source: i5.walmartimages.com
Common port locations
- Under steering column
- Near fuse box on driver side
- Center console area
- Under glove box in some models
Tip
If you can’t find it, check the owner’s manual or search online for your car model and “OBD2 port.”
Step 2: Power and ignition position
Next, learn how to connect OBD2 scanner by setting the ignition correctly. Many scanners need the car in key ON mode but not running. This powers the ECU and sensors. For some live data, you may need to start the engine.
Ignition positions
- OFF: No power. Scanner won’t read.
- ON: Dashboard lights on, ECU powered — best for code reads.
- START: Engine running — needed for certain live tests.
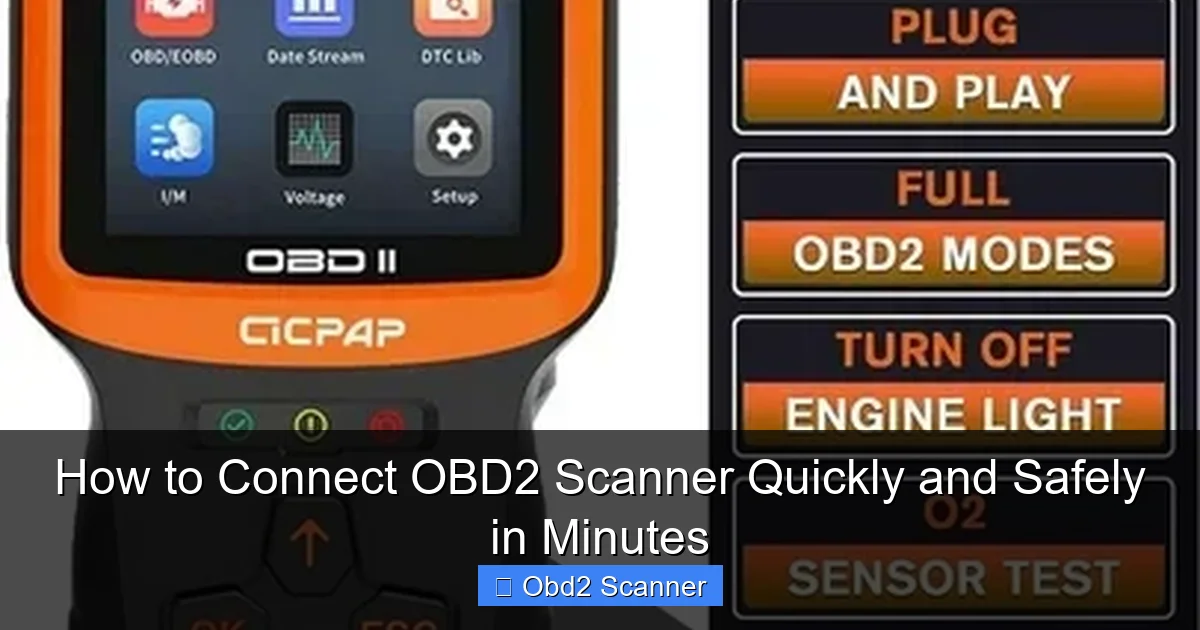
Step 3: Plug in a wired OBD2 scanner
For a wired scanner, this step shows how to connect OBD2 scanner quickly and safely.
How to plug in
- Locate the OBD2 port.
- Align the trapezoid plug with the port shape.
- Firmly push the plug into the port until it seats.
- Turn the key to ON position.
Using the scanner
Follow the scanner menus. Select “Read Codes” or “Scan.” Note codes shown. Many scanners list both generic (P0xxx) and manufacturer codes. Write them down.
Step 4: Pair a Bluetooth or Wi‑Fi OBD2 adapter
For wireless adapters, this section covers how to connect OBD2 scanner adapters to phones and tablets.
Prepare the adapter
- Plug the adapter into the OBD2 port.
- Turn the ignition to ON.
- Wait a few seconds for adapter lights.
Pair with phone
- Open Bluetooth settings on the phone.
- Find the adapter name (e.g., OBDII or ELM327).
- Select it and enter a PIN if needed (often 1234 or 0000).
- Open your OBD2 app and choose the adapter type.
These steps show you how to connect OBD2 scanner adapters quickly. Make sure the app and adapter are set to the same connection type (Bluetooth or Wi‑Fi).
Step 5: Choose and set up an OBD2 app
Apps make wireless scanning possible. Popular apps include Torque, Car Scanner, OBD Auto Doctor, and manufacturer apps. Choose one that fits your device and goals.
App setup
- Install the app from the app store.
- Grant location and Bluetooth permissions if requested.
- Select connection type (Bluetooth or Wi‑Fi) in the app.
- Pair the app with your adapter in the app settings.
Once paired, the app will read vehicle info and codes. This explains how to connect OBD2 scanner to your device with ease.
Step 6: Read and record trouble codes
When your tool is connected, follow these steps to read codes. Reading codes is a key part of learning how to connect OBD2 scanner.
Read codes process
- Open the app or scanner menu.
- Select “Read Codes” or “DTCs.”
- Wait for the scanner to query the ECU.
- Record each code and description.
Codes usually look like P0301 or P0420. Some apps translate codes to plain text. Still, copy codes before clearing them. You may need them for diagnosis or repair shops.
Step 7: Check live data and freeze frame
Live data shows sensor values while the engine runs. Freeze frame is a snapshot when a fault occurred. Both help diagnose issues after you learn how to connect OBD2 scanner.
Viewing live data
- Go to “Live Data” in the app or scanner.
- Select sensors like RPM, coolant temp, O2, MAP.
- Watch values while idling and during a short drive.
Using freeze frame
Find the freeze frame section to see conditions when a fault set. Use this to understand context like speed and engine load at the time of fault.
Step 8: Clear codes safely
Clearing codes resets the check engine light. Do this only after you record and, if possible, fix the issue. Clearing codes is part of how to connect OBD2 scanner and maintain your car.
How to clear
- Select “Clear Codes” or “Erase DTCs.”
- Confirm that you want to erase codes.
- Drive the car for a few cycles to see if the code returns.
Clearing codes does not fix the problem. If the code returns, further diagnosis is needed.
Practical tips and examples
Here are clear tips to make your process smoother when you learn how to connect OBD2 scanner.
- Tip 1: Take pictures of codes and live data screens for records.
- Tip 2: Use the VIN read function to ensure the app matches your vehicle.
- Tip 3: Test on a warm engine for stable sensor readings.
- Tip 4: If a Bluetooth adapter is slow, try a wired scanner first.
- Tip 5: For intermittent faults, use freeze frame and long drives to trigger codes.
Example: If you see P0301 (cylinder 1 misfire), check spark plug, coil, and fuel injector on that cylinder. Use live data to see misfire counts and fuel trims.
Troubleshooting common issues
Many users ask how to connect OBD2 scanner when things go wrong. Here are quick fixes.
No power to the scanner
- Check ignition is in ON position.
- Try a different car to test the scanner or adapter.
- Look for blown fuses near the OBD2 port.
Scanner says “No communication”
- Ensure correct vehicle year and protocol support.
- Try restarting the app or scanner and replug the adapter.
- Use a different app to rule out software issues.
Bluetooth pairing fails
- Turn Bluetooth off and on again.
- Forget the device and pair again using the PIN.
- Move phone closer to adapter and avoid interference.
App shows blank PIDs or wrong data
- Change adapter protocol (some apps let you select ELM327 version).
- Update the app or adapter firmware if available.
- Try a different app for compatibility.
Code clears but check light returns
This means the issue is still present. Record codes and seek a repair. Use live data to pinpoint the failing component.
Advanced checks
After you master how to connect OBD2 scanner, try advanced features.
- Freeze frame analysis for intermittent faults.
- Oxygen sensor and fuel trim graphs for emissions issues.
- Component tests like EVAP purge or fuel pump using some scanners.
- Mode 6 data if your scanner supports it for advanced diagnostics.
Note: Some advanced tests need professional tools or technician skills.
Maintenance and storage of your scanner
Keep your scanner in a dry place. Avoid storing it in extreme heat inside a car. Clean the plug contacts with a dry cloth. Update the software or firmware when updates are available. Charge rechargeable scanners as recommended.
When to see a professional
If codes point to complex issues like transmission faults, internal engine damage, or airbag/SRS faults, see a mechanic. Also seek help if you cannot replicate a problem or if multiple unrelated codes appear.
Quick checklist: How to connect OBD2 scanner in minutes
- Find OBD2 port.
- Set ignition to ON.
- Plug in scanner or adapter.
- Pair Bluetooth/Wi‑Fi if needed.
- Open app or scanner menu and read codes.
- Record codes and live data.
- Clear codes only after recording and addressing faults.
Conclusion
Now you know how to connect OBD2 scanner quickly and safely. The steps are simple: find the port, power the car, plug in or pair, read codes, and use live data. Keep notes and photos. If you get stuck, try a wired tool or a different app. For tough faults, get a professional diagnosis. With practice, you will run scans in minutes and make smarter repair choices.