
Learn how to install car trash can quickly and easily with this friendly, step-by-step guide. You’ll get clear steps, tips, and troubleshooting so your trash can stays secure and keeps odors out.
Contents
- 1 Key Takeaways
- 2 Introduction: What you will learn
- 3 Step 1: Choose the right trash can
- 4 Step 2: Gather tools and supplies
- 5 Step 3: Pick the mounting method
- 6 Step 4: Prepare the area
- 7 Step 5: Attach using straps
- 8 Step 6: Hang from a headrest
- 9 Step 7: Mount with Velcro or adhesive
- 10 Step 8: Use hooks or car-specific mounts
- 11 Step 9: Line the trash can
- 12 Step 10: Final safety checks
- 13 Practical tips and real examples
- 14 Troubleshooting: Common issues and fixes
- 15 Maintenance and cleaning
- 16 Example installations
- 17 Conclusion: Final checks and benefits
- 18 Author
Key Takeaways
- Point 1: Choose the right size and type of trash can for your vehicle before you start.
- Point 2: Use straps, hooks, or Velcro for secure mounting that fits most car models.
- Point 3: Line the trash can with leakproof bags and empty often to avoid odors.
- Point 4: Place the trash can in a safe, reachable spot that does not block pedals or airbags.
- Point 5: Test stability after installation and make quick adjustments if the can shifts.
- Point 6: Regular cleaning and odor control keep the car fresh and hygiene-friendly.
Introduction: What you will learn
This guide shows you how to install car trash can in a simple way. You will learn how to pick the best model. You will learn how to mount it safely. You will learn quick tips for leaks and odors. Follow these steps and your car will stay clean.
Step 1: Choose the right trash can
First, decide which style fits your needs. Think about capacity and shape. Think about where it will sit in the car. The right choice helps with stability.
Visual guide about how to install car trash can Step by Step Guide easily
Image source: i.pinimg.com
Types to consider
Soft fabric bins are light and foldable. Hard plastic cans hold shape and are easy to clean. Hanging bags clip to headrests. Choose what suits your daily drive.
Size and placement
Measure the space before you buy. A slim can fits between seats. A bigger one may go behind the front seats. Pick a size that does not block movement.
Step 2: Gather tools and supplies
Have the right tools ready. You may need straps, Velcro, hooks, or zip ties. A cleaning spray and absorbent pads help with spills. Get leakproof trash bags too.
Visual guide about how to install car trash can Step by Step Guide easily
Image source: keilsgarage.com
Essential items
Grab a screwdriver, scissors, and a tape measure. Keep a microfiber cloth nearby. These simple items make the job smooth and quick.
Optional extras
Anti-slip mats help with base stability. Scented liners help with odor. A small car vacuum helps with crumbs around the can.
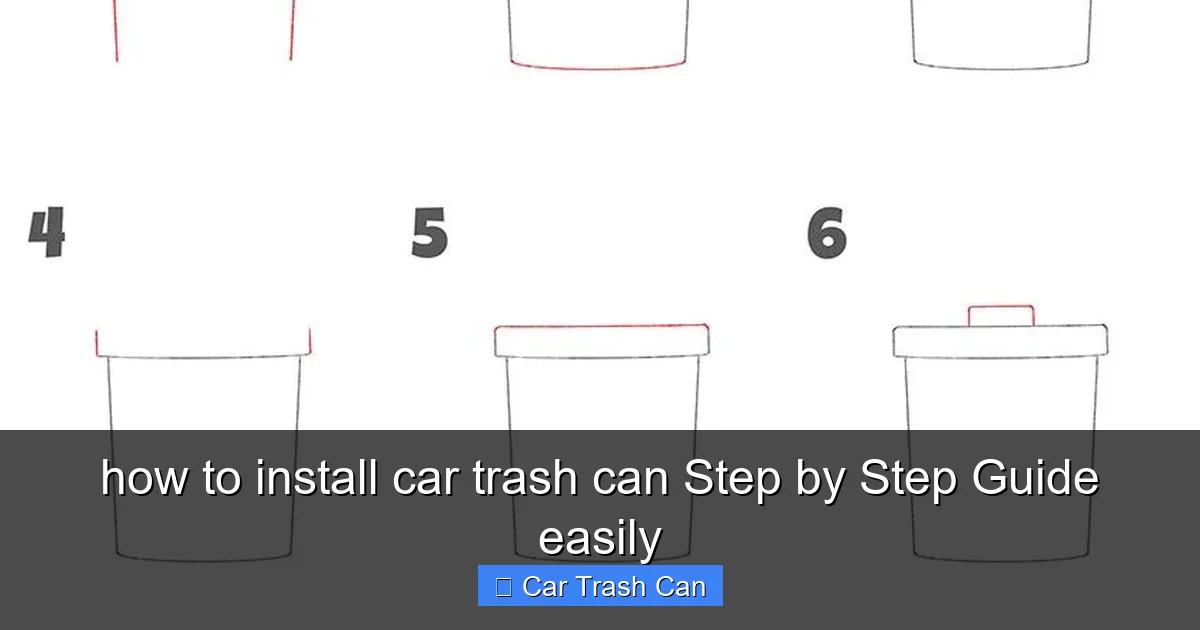
Step 3: Pick the mounting method
Decide how you want to mount the trash can. You can hang it from a headrest. You can strap it to the center console. You can use Velcro for the floor. Pick one that fits your car.
Visual guide about how to install car trash can Step by Step Guide easily
Image source: i.pinimg.com
Headrest hang method
Hanging works well for soft or bag-style cans. It keeps the can off the floor. It is easy to reach from the front seats.
Console or seatback strap
Straps wrap around the console or seat. They are strong and adjust well. This method works for both soft and hard cans.
Floor mount with Velcro
Velcro works best on flat carpeted floors. Stick one side to the can base. Stick the other side to the car floor. Press firmly to secure.
Step 4: Prepare the area
Clean the spot before you attach the can. A clean surface helps Velcro stick. It also keeps odors down. Remove loose trash and crumbs first.
Wipe and dry
Use a cleaner and a cloth. Dry the area fully. Moisture reduces adhesive strength. Drying is quick but important.
Test fit
Place the can in the chosen spot. Check reachability and stability. Sit in the seat and simulate using it. Adjust placement if it feels awkward.
Step 5: Attach using straps
Straps are common and secure. They handle weight well. Follow these clear sub-steps to strap your can in place.
Thread and tighten
Loop the strap around the anchor point. Pull tight until the can sits firm. Trim excess strap if needed. Make sure no strap hangs where it could tangle with pedals.
Test security
Push and pull the can gently. It should not shift more than an inch. Drive a short test if you feel safe doing so. Re-tighten as needed.
Step 6: Hang from a headrest
Hanging is easy and fast. It keeps the can upright. It frees up floor space and still looks neat.
Attach hook or strap
Clip the hook over the headrest pole. For strap models, loop and buckle. Ensure the bottom of the can hangs straight down.
Adjust height
Lower or raise the headrest to fit. The can should not hit passengers’ knees. Make it reachable for the driver if you plan to use it from the front seat.
Step 7: Mount with Velcro or adhesive
Velcro is tidy and removable. Use adhesive pads on hard surfaces. This method suits floor or console placement.
Apply Velcro
Clean the area well. Peel the backing from the Velcro. Press the Velcro base firmly for 30 seconds. Attach the matching Velcro to the can base. Press the can down to lock in place.
When to use adhesive
Adhesive is more permanent. Use it if you want a fixed mount. Test in a small area first to avoid damage to car trim.
Step 8: Use hooks or car-specific mounts
Some cars offer cup holders or hooks made for accessories. Use these to keep the can stable. They can be neat and very secure.
Cup holder placement
Small cylindrical bins fit cup holders well. They are stable and easy to remove. Choose a bin that fits tight in the holder.
Specialized mounts
Buy a mount designed for your car model if you want a custom fit. These snap into place and hold firm on rough roads.
Step 9: Line the trash can
Always use a liner to catch leaks. Leakproof bags prevent messes. Change the liner often to stop odors and germs.
Choose the right liner
Use heavy duty bags for food waste. Use biodegradable bags if you prefer. Fit the liner snugly over the rim to avoid slipping.
Secure the liner
Clip the liner to the can rim if your can has clips. Otherwise tie the top loosely to keep it from blowing out while driving.
Step 10: Final safety checks
Check that the can does not block airbags or vents. Make sure it does not hit the driver or passenger. Check seat adjustment after installation.
Check pedal clearance
If you placed the can near the floor, ensure it cannot reach the pedals. Push the seat forward and back to test. Safety comes first.
Check visibility
Do not block mirrors or windows. Never obstruct your view. Keep the can low or behind the seats if needed.
Practical tips and real examples
Use small bins for city cars. Use bigger bins for family SUVs. A hanging bag fits kids who snack a lot. A hard can is best for long trips where spills might happen.
Place a small trash can behind the driver for quick reach. Place one in the back for kids. Use two cans for longer family trips to make emptying easier.
Keep a small pack of spare liners in the glove box. Keep disinfectant wipes near the can. These little steps make messy cleanup fast and easy.
Troubleshooting: Common issues and fixes
If the can shifts on turns, re-tighten straps or add an anti-slip mat under the base. If Velcro fails, clean both surfaces and reapply. Replace worn adhesive pads.
Problem: Smells
If odors build up, empty the can more often. Use charcoal sachets or baking soda to neutralize smell. Wash the can weekly with mild soap and water.
Problem: Leaks
If liquids seep through liners, switch to thicker bags. Add absorbent pads at the bottom. Rinse and dry the can after a spill to prevent stains.
Problem: Can interferes with seat or door
If placement blocks a door or seat, move the can to a different spot. Consider a hanging bag or a slim console-mounted model instead.
Maintenance and cleaning
Empty the can daily on heavy-use days. Wash the can every week. Use a mild cleaner and let it dry fully. Rotate liners often for hygiene.
Deep clean steps
Remove liner and trash. Rinse with warm water. Use a mild soap and scrub gently. Rinse and air dry. Add a fresh liner after dry.
Keep odors away
Place a dryer sheet or charcoal packet at the bottom. Use scented liners if you like. Replace the scent source every few weeks.
Example installations
For a compact hatchback, a slim fabric can strapped to the center console works best. For an SUV, a larger hard can behind the front seats is ideal. For family vans, two hanging bags keep each row tidy.
Conclusion: Final checks and benefits
Now you know how to install car trash can in many ways. You can pick, mount, and maintain a can that fits your life. A well-installed trash can keeps your car neat and safe. Spend a little time now. Enjoy a cleaner ride every day.
🎥 Related Video: HOTOR Car Trash Can Review138
📺 HOTOR
Visit the Amazon product page for more detail https://bit.ly/3A2LT4S Visit the product page on VacLife website for more details …