
Learn how to use an OBD2 scanner to find car problems fast. This guide shows simple steps to connect, read codes, and fix or explain next steps. Start diagnosing your car today with clear steps and helpful tips.
Contents
- 1 Key Takeaways
- 2 Introduction: What you will learn
- 3 What is an OBD2 scanner?
- 4 Why use an OBD2 scanner?
- 5 Tools and supplies you need
- 6 Step 1: Locate the OBD2 port
- 7 Step 2: Prepare the car and the OBD2 scanner
- 8 Step 3: Plug in your OBD2 scanner
- 9 Step 4: Read trouble codes
- 10 Step 5: Use live data to pinpoint issues
- 11 Step 6: Freeze frame and readiness monitors
- 12 Step 7: Look up code causes and repair steps
- 13 Step 8: Clear codes and retest
- 14 Practical examples
- 15 Tips for better diagnoses
- 16 Troubleshooting common OBD2 scanner problems
- 17 When to see a mechanic
- 18 Safety and legal notes
- 19 Conclusion
Key Takeaways
- Point 1: An OBD2 scanner plugs into the car’s port to read fault codes and live data.
- Point 2: You can find the OBD2 port under the dash near the steering column in most cars.
- Point 3: Reading codes helps you decide if you can fix the issue or need a mechanic.
- Point 4: Clearing codes resets the check engine light but does not fix the root problem.
- Point 5: Live data from an OBD2 scanner helps diagnose sensors, fuel, and ignition issues.
- Point 6: Use safety steps and check battery voltage before testing with an OBD2 scanner.
Introduction: What you will learn
This guide teaches you how to use an OBD2 scanner to diagnose your car fast. You will learn where the port is. You will learn how to connect. You will learn how to read codes. You will learn how to clear codes and how to use live data. You will learn safety tips and common fixes. The words stay simple. The steps stay short. You can do this today with a basic OBD2 scanner.
What is an OBD2 scanner?
An OBD2 scanner is a tool that reads data from your car’s computer. It finds trouble codes. It shows live engine data. It tells you why the check engine light came on. An OBD2 scanner works on most cars made after 1996. It plugs into the OBD2 port and talks to the car’s systems.
Visual guide about How to Use OBD2 Scanner to Diagnose Your Car Fast Today
Image source: cdn.shopify.com
Why use an OBD2 scanner?
Using an OBD2 scanner saves time. It tells you what part may be failing. It can stop you from paying for a guess repair. It lets you clear codes after a repair. It helps DIYers and pros. An OBD2 scanner gives facts. Facts lead to better repair choices.
Visual guide about How to Use OBD2 Scanner to Diagnose Your Car Fast Today
Image source: vehiclescene.com
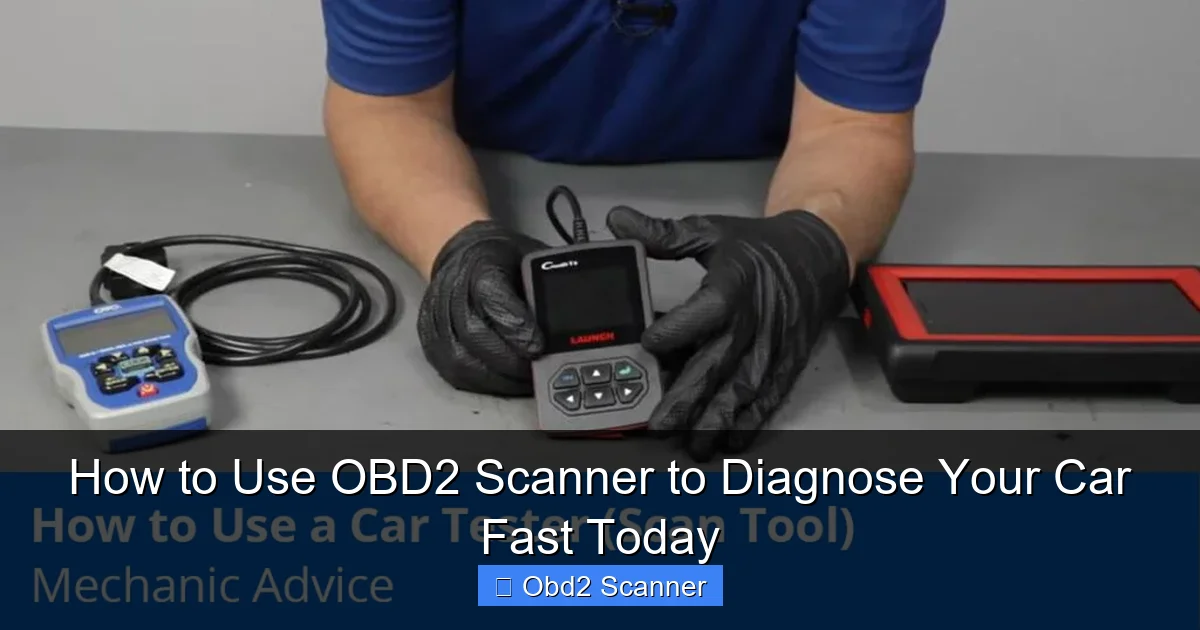
Tools and supplies you need
Get a simple list before you begin. You do not need much.
Visual guide about How to Use OBD2 Scanner to Diagnose Your Car Fast Today
Image source: blog.1aauto.com
- OBD2 scanner (basic code reader or Bluetooth adapter)
- Smartphone or tablet if using a Bluetooth OBD2 scanner
- Pen and paper or phone notes app to record codes
- Owner’s manual for fuse and port location
- Basic socket set and screwdrivers for minor fixes
- Gloves and safety glasses
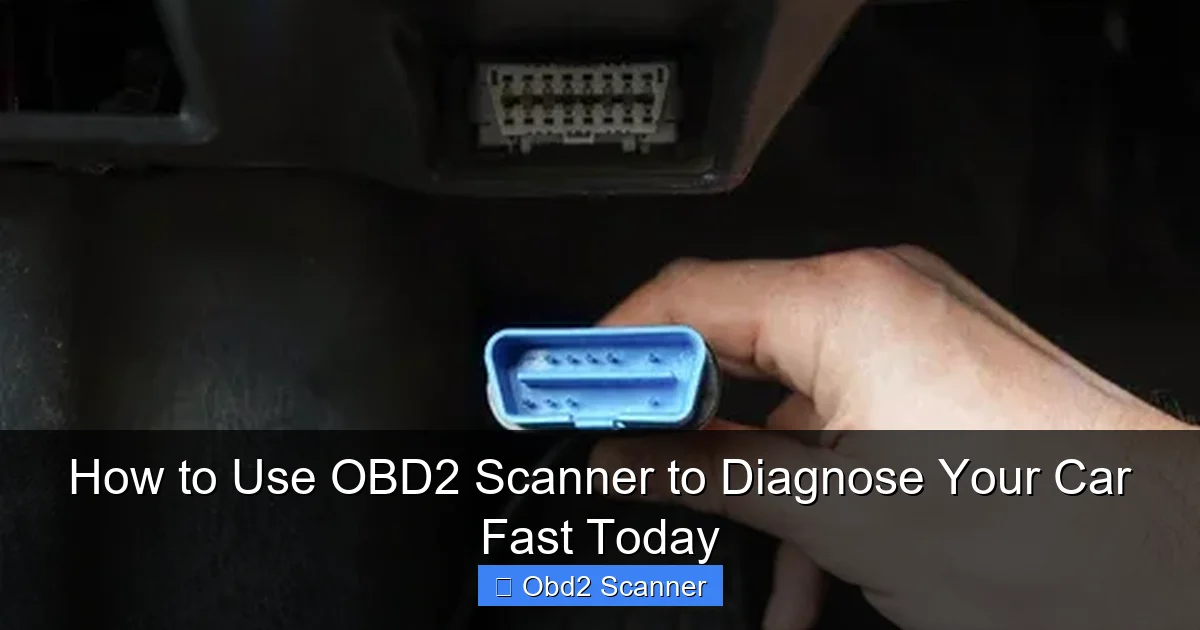
Step 1: Locate the OBD2 port
Find the port first. The port is where you plug the OBD2 scanner in.
Common locations
Look under the driver side dash. Check near the steering column. Look above the pedals. Some cars hide it behind a little cover. The port is rectangular and has 16 pins. If you can’t find it, check the owner’s manual. You can also search online for your car model and “OBD2 port.”
Step 2: Prepare the car and the OBD2 scanner
Make safe prep steps before you plug in the OBD2 scanner.
Car prep
Park on a flat spot. Set the parking brake. Turn off the engine. Make sure the key is out. For some tests, the key must be in the “on” position. Read your scanner manual for that detail. Check the battery voltage if you can. Low voltage can cause false data.
Scanner prep
Charge the scanner if it has a battery. If you use a Bluetooth OBD2 scanner, pair it with your phone. Install the app if needed. Update the app if asked. Keep the firmware up to date for best results.
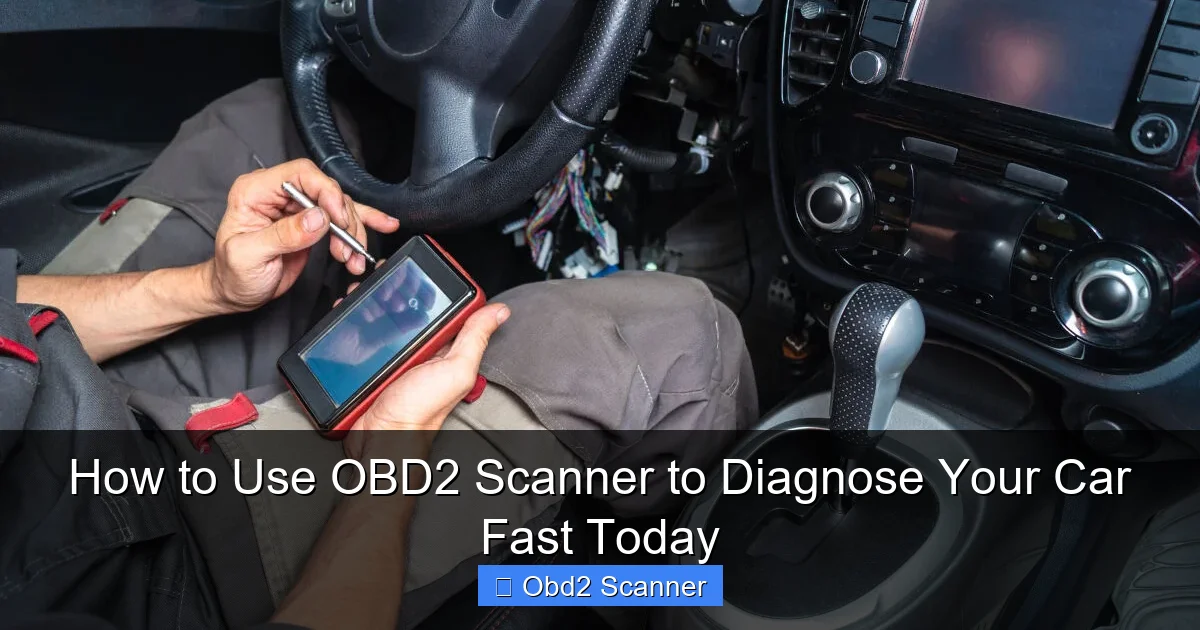
Step 3: Plug in your OBD2 scanner
Locate the OBD2 port and plug the scanner in. The plug only fits one way. Do not force it.
Turn on the ignition
Turn the key to the “ON” position. Do not start the engine unless the instructions say to. The car’s ECU will power up. The OBD2 scanner will boot. Wait for the scanner to connect.
Scanning modes
Some scanners have auto-scan. Some need you to pick the vehicle make and year. Follow the on-screen prompts. For Bluetooth adapters, open the app and connect to the device. The app will often auto-detect the car.
Step 4: Read trouble codes
Use the code read function on your OBD2 scanner. This reveals diagnostic trouble codes (DTCs).
How to read codes
Select “Read Codes” on the scanner or app. The scanner will list codes like P0301 or P0420. Some scanners show a short code description. Write down the code and the description. Look up the code in the app or online for a full explanation.
Meaning of codes
P codes are powertrain codes. They relate to engine and transmission. B codes are body codes. C codes are chassis codes. U codes relate to network communications. Most check engine codes you see will be P codes. Use the code to guide your next step.
Step 5: Use live data to pinpoint issues
Live data is a key feature of an OBD2 scanner. It shows real-time sensor readings.
Common live data items
- Engine RPM
- Vehicle speed
- MAF sensor readings
- Oxygen sensor voltages
- Short and long term fuel trims
- Coolant temperature
How to read live data
Open the live data or data stream menu on the OBD2 scanner. Watch values while you rev the engine or drive. Look for odd numbers. For example, a MAF reading that is too low can cause poor running. High fuel trims can show a vacuum leak or fuel issue. Use the data to test parts step-by-step.
Step 6: Freeze frame and readiness monitors
Freeze frame shows data at the time a fault set. Readiness monitors show if emissions systems are ready for testing.
Using freeze frame
Check the freeze frame data after you get a code. It shows speed, engine load, and temp when the code set. This helps to recreate the fault condition. Use it to test under the same conditions.
Check readiness
Readiness monitors must be “ready” for an emissions test. If you clear codes, readiness gets reset. You may need to drive for a few cycles to set monitors again. Your OBD2 scanner can show which monitors are incomplete.
Step 7: Look up code causes and repair steps
One code can mean many things. Use a clear plan to find the real issue.
Research the code
Search the code plus your car model. Use trusted sources. Use repair guides or forums for your specific vehicle. Check technical service bulletins (TSBs) if available.
Test suspect parts
Use the live data to test sensors. Swap parts when safe. Test vacuum lines with a smoke machine or manual tests. Replace cheap parts first if they are the likely cause. Keep parts receipts. This helps if the first fix does not fix the code.
Step 8: Clear codes and retest
After repair, you can clear codes with your OBD2 scanner. This resets the check engine light. Use this step only after you fix the issue.
How to clear codes
Select “Clear Codes” or “Erase Codes” on the scanner. The scanner will ask for confirmation. Confirm and wait. The code memory and freeze frame data will clear.
Retest tips
Drive the car to complete a drive cycle. Check if the code returns. If the light comes back, you need to keep diagnosing. If not, you are likely fixed. Remember clearing codes masks the problem temporarily if not repaired.
Practical examples
Here are two simple examples to show how an OBD2 scanner helps.
Example 1: Misfire code P0302
The scanner shows P0302. That means cylinder 2 misfire. Use live data to watch fuel trim and misfire counters. Swap the spark plug or ignition coil for cylinder 2 with another cylinder. If the misfire moves, the coil or plug is bad. Replace the bad part. Clear codes and retest.
Example 2: O2 sensor code P0420
P0420 shows catalyst efficiency low. Check O2 sensor voltages. If upstream O2 shows normal switching and downstream O2 follows, the catalyst may be bad. Check exhaust leaks and engine health first. Replace the catalytic converter only after ruling out other causes. Use your OBD2 scanner to confirm the fix.
Tips for better diagnoses
- Always record codes before clearing. You may need them later.
- Use a repair manual or online guide for torque specs and wiring diagrams.
- Check battery voltage before and during testing. Low voltage causes odd readings.
- Take photos of connector pins before unplugging them.
- Use a quality OBD2 scanner app and adapter if using Bluetooth.
- Update scanner firmware for better compatibility.
- If unsure, get a second opinion from a mechanic with the OBD2 codes ready.
Troubleshooting common OBD2 scanner problems
Your OBD2 scanner may not connect or may show no codes. Here are steps to fix that.
No power to scanner
Check the OBD2 port fuse. Make sure the car key is turned to ON if needed. Try a different car to confirm the scanner works.
Scanner cannot communicate
Some older cars or non-US models may use a different protocol. Use a scanner that supports your car’s protocol. Try updating scanner software. Try another scanner or adapter.
False codes or flaky readings
Low battery voltage can cause bad data. Dirty or corroded connectors can cause errors. Clean the port and pins gently. Try a different ground point. Reboot the scanner and the car’s ECU by disconnecting the battery for a short time if safe and if you know the consequences.
Codes return after clearing
This usually means the issue is not fixed. Use live data to find the faulty sensor or part. Replace or repair the root cause. Only clear codes when you are confident you fixed the problem.
When to see a mechanic
An OBD2 scanner helps a lot. But some repairs need a pro. Complex problems with the transmission, engine internals, or wiring harness often need shop tools. If the fix needs special tools or deep knowledge, take your car to a trained mechanic. Use your OBD2 scanner data to show the mechanic the codes and live data. This can save time and money.
Safety and legal notes
Do not drive with major faults. A big engine or transmission problem can cause danger on the road. Clearing codes to pass an emissions test without repair may be illegal. Always follow local laws and regulations. Use gloves and eye protection when working on the car. If you are unsure, get help from a pro.
Conclusion
An OBD2 scanner is a small tool with big power. It helps you find problems fast. You can save time and money. Follow the steps: find the port, connect the scanner, read codes, use live data, test parts, and clear codes after the repair. Use the tips and the troubleshooting steps when you run into issues. With practice, an OBD2 scanner will make you a smarter car owner. Start today with a basic OBD2 scanner and learn as you go.
🎥 Related Video: How to Use an OBD2 Scan Tool
📺 EasyAutoFix
OBD2 Scanner: https://amzn.to/4jdzrUc ▶︎ Check Out ALLDATA Manuals: …