
Learn how to wire car stereo without harness in easy steps. This guide shows simple tools, wire colors, and testing tips. Follow clear safety steps and finish a clean install without a factory harness.
Contents
- 1 Key Takeaways
- 2 Introduction
- 3 What you need before you start
- 4 Understand wiring basics
- 5 Step 1: Remove the old stereo and access wiring
- 6 Step 2: Identify car wires
- 7 Step 3: Map stereo wires to car wires
- 8 Step 4: Make secure connections
- 9 Step 5: Connect and test power before installing
- 10 Step 6: Antenna and amplifier connections
- 11 Step 7: Final fit and secure the stereo
- 12 Practical tips and examples
- 13 Troubleshooting common problems
- 14 Safety and legal notes
- 15 Advanced options and upgrades
- 16 Conclusion
- 17 Author
Key Takeaways
- Point 1: You can install a head unit without a harness by matching wires and using connectors, solder, or crimp terminals.
- Point 2: Identify power, ground, speaker, and antenna wires before you cut or splice to avoid damage.
- Point 3: Use a wiring diagram for your car and the stereo to map wire functions correctly.
- Point 4: Test all connections with a multimeter before finalizing the install.
- Point 5: Secure connections with heat shrink and tape to prevent shorts and noise.
- Point 6: Keep factory features like steering controls by using adapters if needed.
Introduction
This guide teaches how to wire car stereo without harness. You will learn the tools you need. You will learn how to find the right wires. You will learn safe ways to connect them. You will learn how to test and finish the job. The steps are simple. The language is plain. You do not need a wiring harness to get the job done. Read on to complete a clean, working stereo install.
What you need before you start
Gather tools and parts. Plan your work. Know what each wire does. This saves time and prevents mistakes.
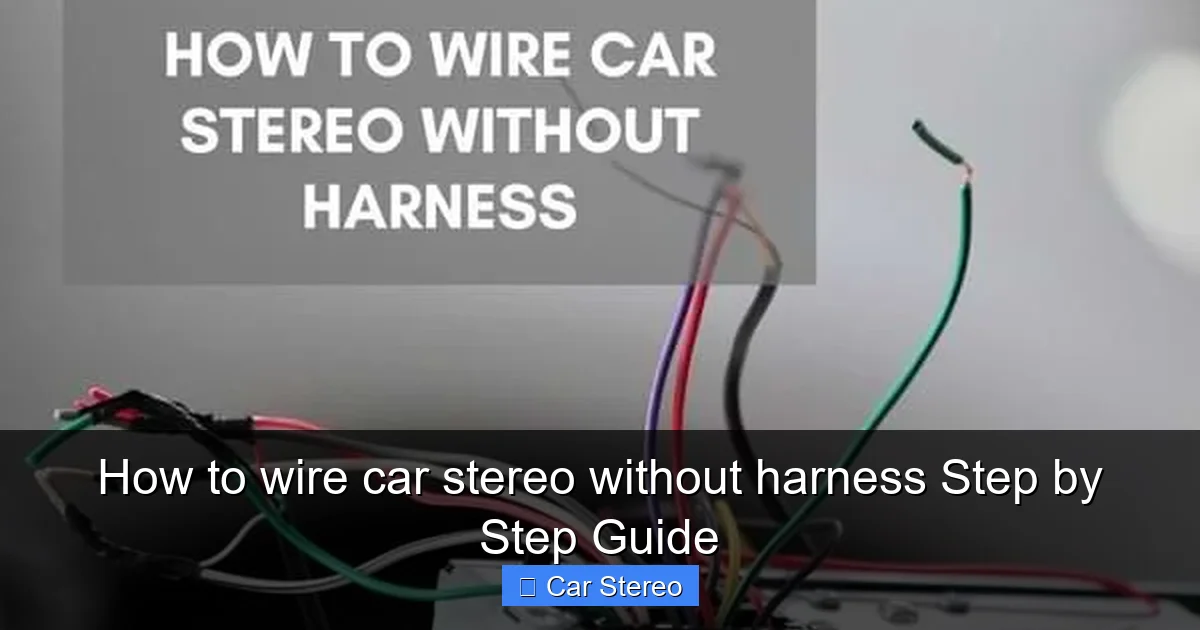
Visual guide about How to wire car stereo without harness Step by Step Guide
Image source: improvecaraudio.com
Tools
- Wire stripper and cutter
- Crimping tool
- Soldering iron and solder (optional but strong)
- Heat shrink tubing or electrical tape
- Multimeter or test light
- Small screwdrivers and trim tools
- Wire connectors or butt connectors
Parts
- Your new head unit (stereo)
- Speaker wires or speaker adapters
- Power and accessory wires if not included
- Grounding bolt or ring terminal
- Antenna adapter (if needed)
Understand wiring basics
Before you start, learn basic wire functions. This makes wiring without a harness easy.
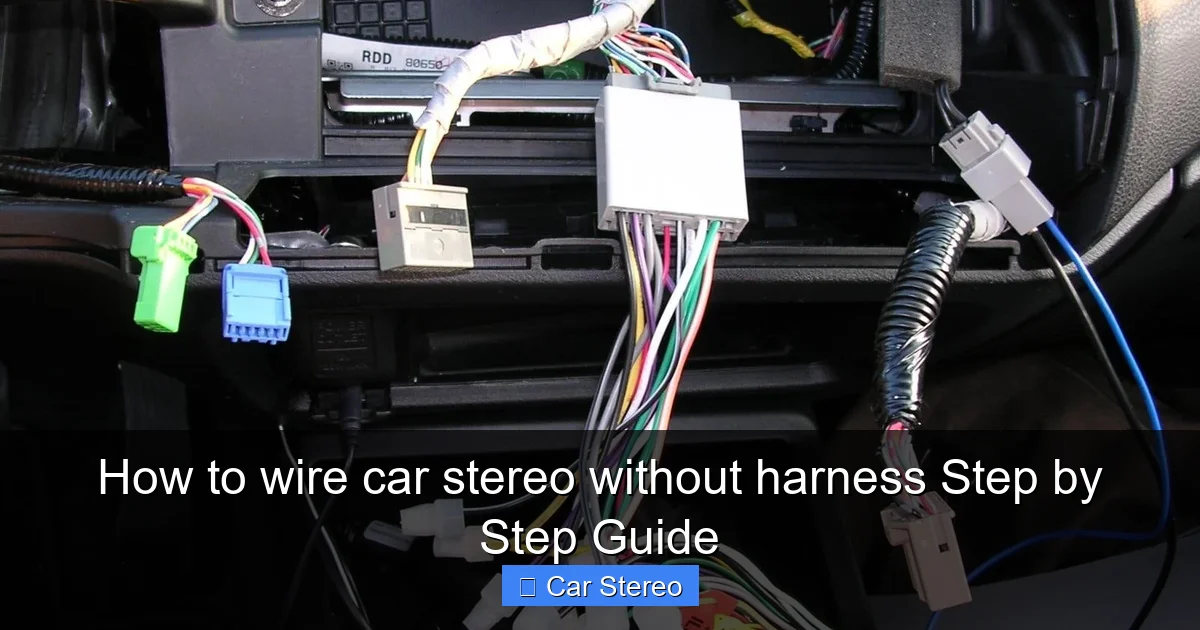
Visual guide about How to wire car stereo without harness Step by Step Guide
Image source: carfromjapan.com
- Constant 12V (Battery): Keeps memory and clock
- Accessory 12V (ACC): Turns on with key
- Ground: Negative connection to car chassis
- Speaker wires: Four pairs for front and rear speakers
- Illumination/dimmer: Optional for dash lights
- Antenna/amp turn-on: For powered antenna or external amp
When you know each function you can match wires from car to stereo. This is the core of how to wire car stereo without harness.
Step 1: Remove the old stereo and access wiring
Start by disconnecting the car battery. This prevents shorts. Remove dash panels with care. Pull the radio out gently. You will see a bundle of wires and often a factory connector. You may need to remove brackets or screws.
Visual guide about How to wire car stereo without harness Step by Step Guide
Image source: motoristcare.com
Sub-step: Disconnect battery
Disconnect the negative battery terminal. Wait a minute. This prevents airbags or electronics from acting up.
Sub-step: Remove trim and radio
Use trim tools to avoid damage. Unscrew bolts. Slide the head unit out. Keep screws in a safe place.
Sub-step: Inspect wires
Note wire colors and any existing connectors. Take photos. Label wires with tape and a marker. This helps when you connect wires later.
Step 2: Identify car wires
Finding the right wires is the key to how to wire car stereo without harness. Use the car manual or a wiring diagram. If you do not have one, use a multimeter.
Sub-step: Locate constant 12V
With battery connected or key on, find the wire that is always 12 volts. Set the multimeter to 12V DC. Probe wires while touching a good ground. The constant 12V stays hot with the key off.
Sub-step: Find accessory 12V
Accessory 12V is hot only with the key in ACC or ON. Turn the key and test wires. Mark the accessory wire.
Sub-step: Find ground
Ground wires are usually black. Test continuity to chassis with the multimeter. If you lack a ground wire, plan to add a ring terminal to a clean metal point.
Sub-step: Identify speaker wires
Speakers use pair wires with color codes. Typical pairs are white/white-black for front left, gray/gray-black for front right, green for rear left, purple for rear right. Test each pair with the speaker connected or by using a small battery tap to confirm which speaker plays a tone.
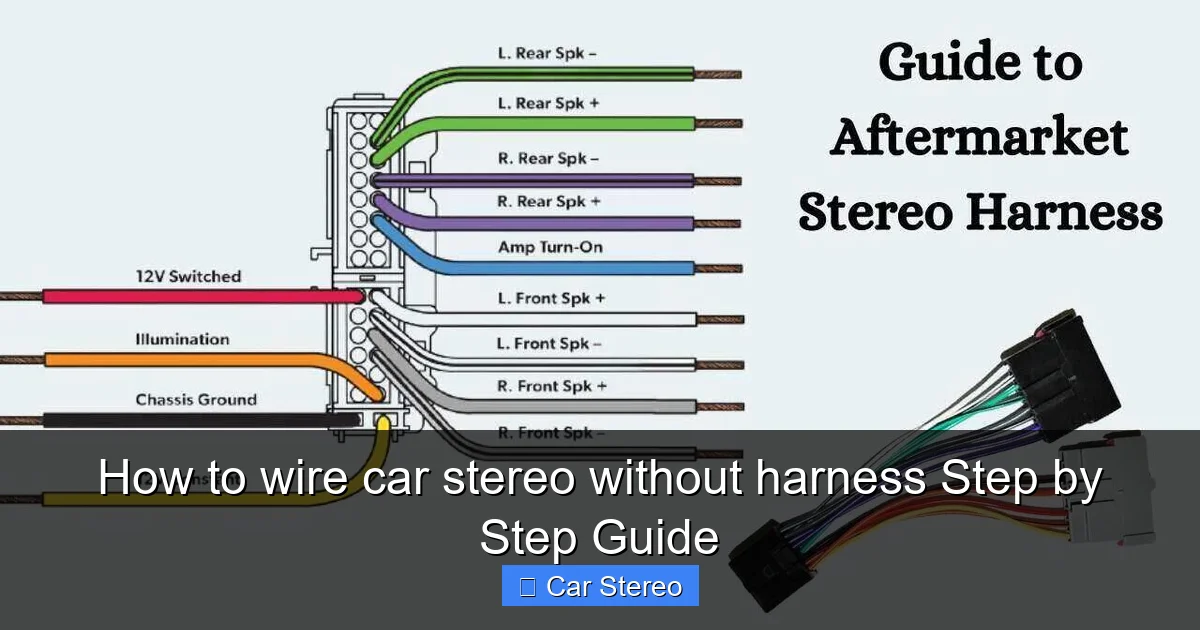
Step 3: Map stereo wires to car wires
Now match the head unit wires to the car wires. The stereo has labeled wires. Common colors on aftermarket stereos:
- Yellow – Constant 12V
- Red – Ignition/Accessory 12V
- Black – Ground
- Blue/White – Amp turn-on
- Blue – Power antenna
- White, White/Black – Front left speaker
- Gray, Gray/Black – Front right speaker
- Green, Green/Black – Rear left speaker
- Purple, Purple/Black – Rear right speaker
Use this list to link each stereo wire to the corresponding car wire. This is the essence of how to wire car stereo without harness.
Step 4: Make secure connections
Do not twist wires without protection. Use crimp connectors or solder. Heat shrink is best for a durable seal. Follow these simple steps.
Sub-step: Prepare wires
Strip about 1/4 inch of insulation. Make a neat strip. Keep wire strands intact.
Sub-step: Crimp method
Insert wires into a butt connector. Use a crimp tool to secure. Tug lightly to test the hold. Cover with heat shrink or tape.
Sub-step: Solder method
Twist wires together. Heat the joint and apply solder. Slide heat shrink over the joint and shrink it with a heat gun. Solder gives the strongest connection but needs skill.
Sub-step: Use adapters when needed
In some cars, you can use a factory to aftermarket adapter. This saves time and keeps factory plugs intact. Even if you plan to wire without a harness, adapters help in complex cars.
Step 5: Connect and test power before installing
Testing saves you from re-doing the dashboard. Reconnect the battery. Do not fully seat the stereo yet. Turn the key to ACC and check functions.
Sub-step: Test power
Turn the key to ACC. The stereo should power on if the accessory wire is correct. If not, check the red wire connection and ACC wire again.
Sub-step: Test memory
Turn the key off and reconnect battery. Make sure the constant 12V (yellow) keeps memory like clock and presets. Wrong wiring here will erase settings.
Sub-step: Test speakers
Play audio and check each speaker. Pan live tracks left and right to test each channel. If a speaker is out of phase, swap the wire polarity on that pair. This resolves weak or thin sound.
Step 6: Antenna and amplifier connections
Hook up the antenna and any external amp. Most stereos use a coax antenna plug. If your car uses a different plug, use an adapter.
Sub-step: Amp turn-on wire
Connect the blue/white amp turn-on wire from the stereo to the amp turn-on wire in the car or to the existing amp harness. This tells the amp to power up with the stereo.
Sub-step: RCA and speaker level inputs
If your car has a factory amp, you may need speaker-level inputs or a line output converter. Match left and right channels carefully to avoid phase or crossover issues.
Step 7: Final fit and secure the stereo
Once all tests pass, push the stereo into the dash. Screw it in place. Reinstall trim and panels. Make sure wires do not pinch or rub. Secure loose wires with zip ties.
Sub-step: Ground properly
Create a strong ground. Use a ring terminal on a clean metal bolt. Sand away paint if needed. A bad ground causes noise and power issues.
Sub-step: Clean finish
Use foam or insulation behind the dash to stop rattles. Tuck wiring neatly. Heat shrink gives a factory look.
Practical tips and examples
Here are simple tips to make how to wire car stereo without harness easier and safer.
- Label everything: Use masking tape to label car wires before you cut.
- Use photos: Take a picture of the factory plug and wiring for reference.
- Work one speaker at a time: This prevents swapping left and right.
- Protect your hands and eyes: Wear gloves and safety glasses when soldering.
- Buy an adapter: If your car uses a circular factory plug, an adapter saves time.
- Use a fuse tap: For adding constant power, a fuse tap gives a neat and safe source.
Example: If your front right speaker does not work, check the gray wire and gray/black wire. Swap them to test. If sound returns, the polarity was reversed. This is a common fix when learning how to wire car stereo without harness.
Troubleshooting common problems
Problems happen. Here are quick fixes for the most common issues when you learn how to wire car stereo without harness.
- No power: Check battery, fuses, yellow and red wires. Use a multimeter to confirm voltage.
- Only memory lost: Swap constant 12V and accessory 12V. Yellow must be constant, red must be ACC.
- No sound: Check speaker wires and fuses. Test speakers directly with a battery tap to confirm they work.
- Distorted sound: Check speaker wiring for shorts to ground. Confirm ground is solid.
- Rattles or noise: Ensure wires are tucked away and not touching moving parts. Add foam or padding behind the stereo.
- Steering controls not working: Use a steering control adapter made for your car and head unit.
Safety and legal notes
Always disconnect the battery when handling wiring. Do not cut factory wiring unless you plan to join it correctly. Improper wiring can damage electronics or start a fire. If you are unsure, consult a pro. This guide teaches how to wire car stereo without harness for DIY projects, but safety comes first.
Advanced options and upgrades
Want extra features? Here are some upgrades you can add once the basic install is done.
- Backup camera connection
- Bluetooth microphone and mic routing
- Navigation and USB integration
- Sound deadening for better bass
- Use of a CAN bus adapter to retain door chimes and other factory features
For CAN bus cars you may need a module to keep advanced functions. Research your make and model first. These modules plug into the factory plug and give you clean outputs to wire to the stereo.
Conclusion
Now you know how to wire car stereo without harness. You can identify wires, make solid connections, and test your work. You can install a head unit that works well and looks neat. Follow safety steps and test before you finish. If a problem appears, use the troubleshooting tips here. With patience you can complete a clean, professional install.
🎥 Related Video: car sterio wiring diagram #sony #music#xplod #youtube #android #speaker #cars #Dolby #wiring
📺 Kunal Auto