
Learn where to plug in OBD2 scanner in minutes with this clear guide. Find the OBD-II port, connect your scanner, and read codes step by step.
Contents
- 1 Key Takeaways
- 2 Introduction
- 3 What is the OBD-II port and why its location matters
- 4 Tools and items you need
- 5 Step 1: Understand the OBD-II connector
- 6 Step 2: Common locations to check
- 7 Step 3: Use these quick search steps
- 8 Step 4: Connecting your OBD2 scanner
- 9 Practical tips and examples
- 10 Troubleshooting: Scanner not powering on
- 11 Special cases and exceptions
- 12 Safety and best practices
- 13 When to seek professional help
- 14 Conclusion
- 15 Author
Key Takeaways
- Point 1: Most OBD-II ports sit under the dashboard near the steering column.
- Point 2: The OBD2 connector is a 16-pin trapezoid plug that fits your scanner only one way.
- Point 3: If you cannot find the port, check under the dash, near the center console, or consult the owner’s manual.
- Point 4: Always use the engine off and ignition key on sequence when connecting your scanner unless the manual says otherwise.
- Point 5: If the scanner shows no power, check fuses, pins and try a different port location.
- Point 6: Some vehicles hide the OBD-II port behind panels or in the glove box—inspect carefully.
Introduction
This guide will teach you exactly where to plug in OBD2 scanner on any vehicle. You will learn to find the OBD-II port. You will learn how to connect safely. You will learn common trouble spots and fixes. The steps are simple. The words are plain. By the end, you can plug in and read codes with confidence.
What is the OBD-II port and why its location matters
The OBD-II port is the vehicle’s diagnostic link. It lets a scanner read engine and system codes. Knowing where to plug in OBD2 scanner saves time. It prevents damage. It helps you get quick answers about warnings like the check engine light.
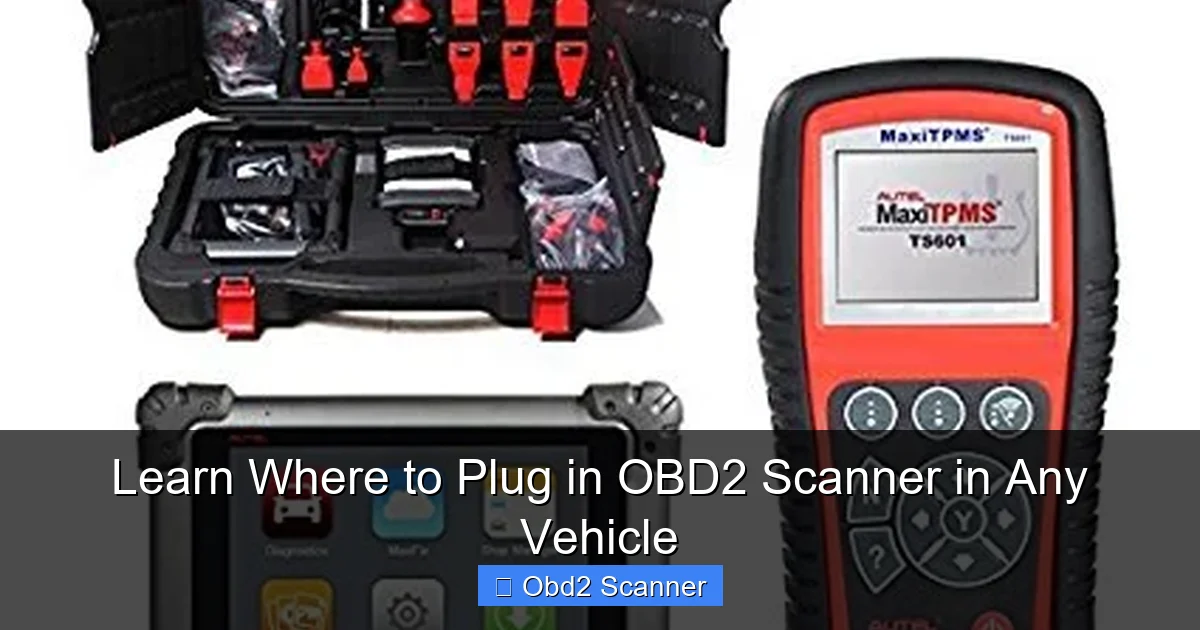
Visual guide about Learn Where to Plug in OBD2 Scanner in Any Vehicle
Image source: totalcardiagnostics.com
Tools and items you need
- OBD2 scanner (wired or Bluetooth)
- Flashlight or phone light
- Owner’s manual (if available)
- Small mirror or inspection tool (optional)
- Gloves (optional)
Step 1: Understand the OBD-II connector
Before searching, know what to look for. The OBD2 connector is a 16-pin trapezoid plug. It is about 2 inches wide. It has two rows of pins. The plug won’t fit any other socket. This shape helps you find where to plug in OBD2 scanner quickly.
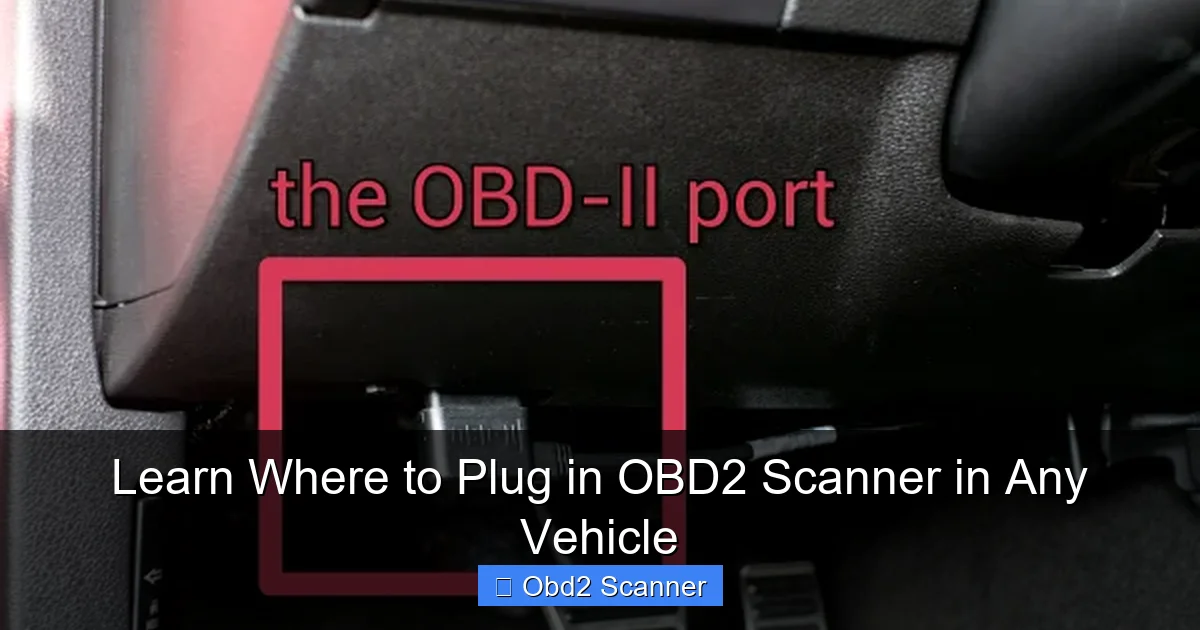
Visual guide about Learn Where to Plug in OBD2 Scanner in Any Vehicle
Image source: totalcardiagnostics.com
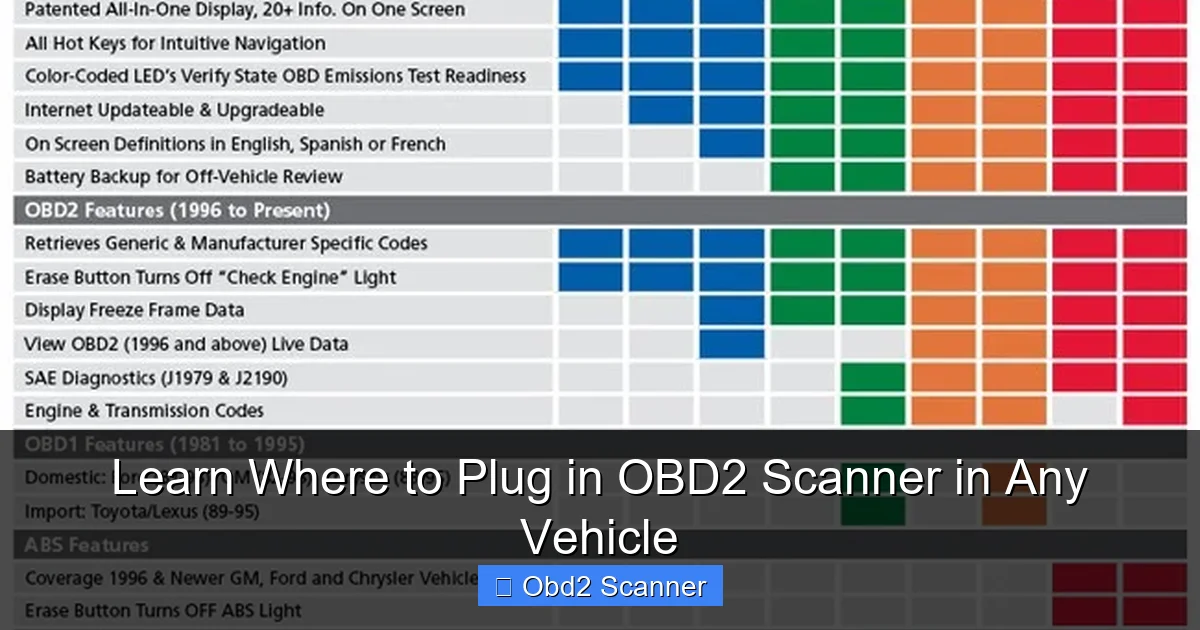
Visual guide about Learn Where to Plug in OBD2 Scanner in Any Vehicle
Image source: totalcardiagnostics.com
How the connector looks
Look for a black plastic housing. Pins can be visible or recessed. Some ports have a cover or flap. The port might sit vertically or horizontally. Knowing the shape helps you spot it under panels.
Step 2: Common locations to check
Most cars follow standard location patterns. Check these spots first when you wonder where to plug in OBD2 scanner.
Under the steering column
This is the most common spot. Sit in the driver’s seat. Look up under the dash near the steering column. The port often hangs beneath a panel. It can be tucked near the brake pedal box or left of the steering column.
Near the center console
Some cars place the OBD2 port near the center console. Check the lower dash area between the driver and passenger sides. The port can be near cup holders or under a small plastic panel.
Under the dash on the passenger side
In some models the port moves to the passenger side. Peek under the glove box. It may sit behind panels or the kick panel near the door hinge.
Inside the glove box
Some manufacturers put the OBD-II port inside the glove box. Open the glove box fully. Look at the back or the left side inside. A cover may hide the connector.
In the center console storage
Vehicles with deep center consoles may hide the port inside. Open the console and look at the bottom or toward the front. This spot is common on trucks and SUVs.
Under seats or behind trim panels
Less common placements include under the driver or passenger seat. Some cars place the port behind removable trim. If you have trouble, gently remove covers. Use a flashlight and a small mirror. This helps when searching where to plug in OBD2 scanner on tricky vehicles.
Step 3: Use these quick search steps
Follow this short plan to find the port fast. These steps answer “exactly where to plug in OBD2 scanner” for most vehicles.
Step 3.1: Sit in the driver’s seat
Always start inside the car. Sit where you will use the scanner. This gives a clear view under the dash.
Step 3.2: Turn the interior light on or use a flashlight
Light helps spot hidden ports. Use your phone light. Move it under the dash slowly. Look for the trapezoid connector.
Step 3.3: Check lower dash, steering column, and center console
Use your hand to feel around. The port may be tucked in a recess. Don’t yank wires. Feel for a rectangular opening with a plug shape inside. This is the most reliable way to find where to plug in OBD2 scanner.
Step 3.4: Open glove box and center consoles
If you don’t find the port under the dash, check inside storage areas. Remove small panels if safe. Some panels just snap out. Keep screws and fasteners safe.
Step 3.5: Consult the owner’s manual or dealer
If all else fails, check the manual. It often shows the port location. If no manual, search the make and model online. Many forums list port locations and images showing exactly where to plug in OBD2 scanner.
Step 4: Connecting your OBD2 scanner
Once you find the port, you are ready to connect. Follow these steps to plug in safely.
Step 4.1: Turn off the engine
Most scanners recommend engine off. Turn the engine off. Leave the key out unless the scanner manual says to use ignition on. This prevents electrical spikes.
Step 4.2: Inspect the port and scanner plug
Check for bent pins, debris, or damage. Clean gently if dirty. Do not use metal objects. Make sure your scanner plug matches the 16-pin shape. Align the trapezoid shape. The plug connects one way only.
Step 4.3: Firmly plug the scanner in
Push the plug straight in. Do not force it. A snug fit is normal. Use a little wiggle if needed. If tight, check alignment. Once plugged in, some scanners lock with a latch or clip.
Step 4.4: Turn the ignition to “ON” or start engine per manual
Follow the scanner instructions. Many scans require ignition on but engine off. Some need the engine running. Read your scanner manual. Now the scanner should power up.
Step 4.5: Operate the scanner and read codes
Use the scanner menu to read codes. Save or write down codes. Clear codes only after you diagnose problems. This helps you track intermittent issues.
Practical tips and examples
Here are real tips to make things faster. Each tip helps you find where to plug in OBD2 scanner in odd situations.
- Tip: Use a mirror and flashlight to view tight spaces behind panels.
- Tip: Some ports have a flip cover. Press to open or pull down the cover gently.
- Tip: For vans and older trucks, look near the fuse box or knee panel.
- Example: On a 2012 Honda Civic, the port sits left of the steering column under a trim panel. On a 2016 Ford F-150, the port sits under the dash near the center console.
- Tip: If you have a Bluetooth OBD2 dongle, plug it in and pair with your phone app before you start driving.
Troubleshooting: Scanner not powering on
If your scanner shows no power, follow these checks. These steps help you confirm where to plug in OBD2 scanner and fix common issues.
Check 1: Confirm port power
With the ignition on, test the port for power. You can use a small test light or a multimeter. Pin 16 usually has battery power. A lack of power often points to a blown fuse.
Check 2: Inspect fuses
Check the fuse box for blown fuses related to the OBD or diagnostic port. Replace blown fuses only with the correct rating. Your owner’s manual shows fuse locations.
Check 3: Bent or damaged pins
Look closely at the port pins. Bent pins can stop the connection. If pins are slightly misaligned, a technician can repair them. Avoid forcing the scanner in to prevent damage.
Check 4: Wrong port or adapter
Some heavy trucks and older vehicles use older OBD connectors. Make sure your scanner fits a standard 16-pin OBD-II connector. If the vehicle uses a proprietary port, you may need an adapter.
Check 5: Software or app issues
If you use a Bluetooth scanner, check the app settings. Ensure Bluetooth pairing is complete. Restart the phone and app. Update the app if needed. Some apps require permissions like location services.
Special cases and exceptions
Not all vehicles place the port in common spots. Here are special cases to keep in mind when searching where to plug in OBD2 scanner.
Electric and hybrid vehicles
Hybrids and EVs still have diagnostic ports. Ports may be placed in the same common areas or near service panels. For high-voltage systems, follow safety instructions. If unsure, contact dealer service.
Motorcycles and small vehicles
Many motorcycles and small vehicles use smaller connectors or adapter cables. Check the manual to confirm how to connect your scanner.
Commercial trucks and diesel vehicles
Heavy trucks may use J1939 or other protocols. They may have the port in the cabin or under the dash. These systems sometimes require a different cable or adapter.
Safety and best practices
- Turn off electronics before unplugging the scanner.
- Never force the connector into the port.
- Avoid water or damp areas when connecting electronics.
- Keep the port cover closed when not in use to prevent dirt buildup.
- Record codes before clearing for proper diagnosis.
When to seek professional help
If you still cannot find where to plug in OBD2 scanner, or if the port is damaged, see a mechanic. If electrical issues persist after fuse checks, a technician can trace wiring. For complex hybrid or commercial systems, professional diagnostics are safer.
Conclusion
Finding where to plug in OBD2 scanner is usually quick. Check below the steering column, near the center console, or inside the glove box. Use light and feel for the 16-pin trapezoid port. Plug in carefully, power the scanner per instructions, and read codes. If problems occur, inspect fuses and pins, and consult the manual. With these steps, you can locate the port on most vehicles and start troubleshooting with confidence.